Or, “Out of the Old, Into the New”
First of all, Monday night, I recorded my last patch on my already somewhat decommissioned “Roomba Rack,” my second DIY case. The Roomba Rack is so named because the heavy duty cardboard box with a handle that my old Roomba came in perfectly housed a DIY 3-row (9U) x 19″ (84HP) rack. And I thought I’d ‘never’ fill it, or at least not for a while, but here we are. I don’t have a good picture on hand of it in-box, so instead here’s a picture of my first ‘case.’
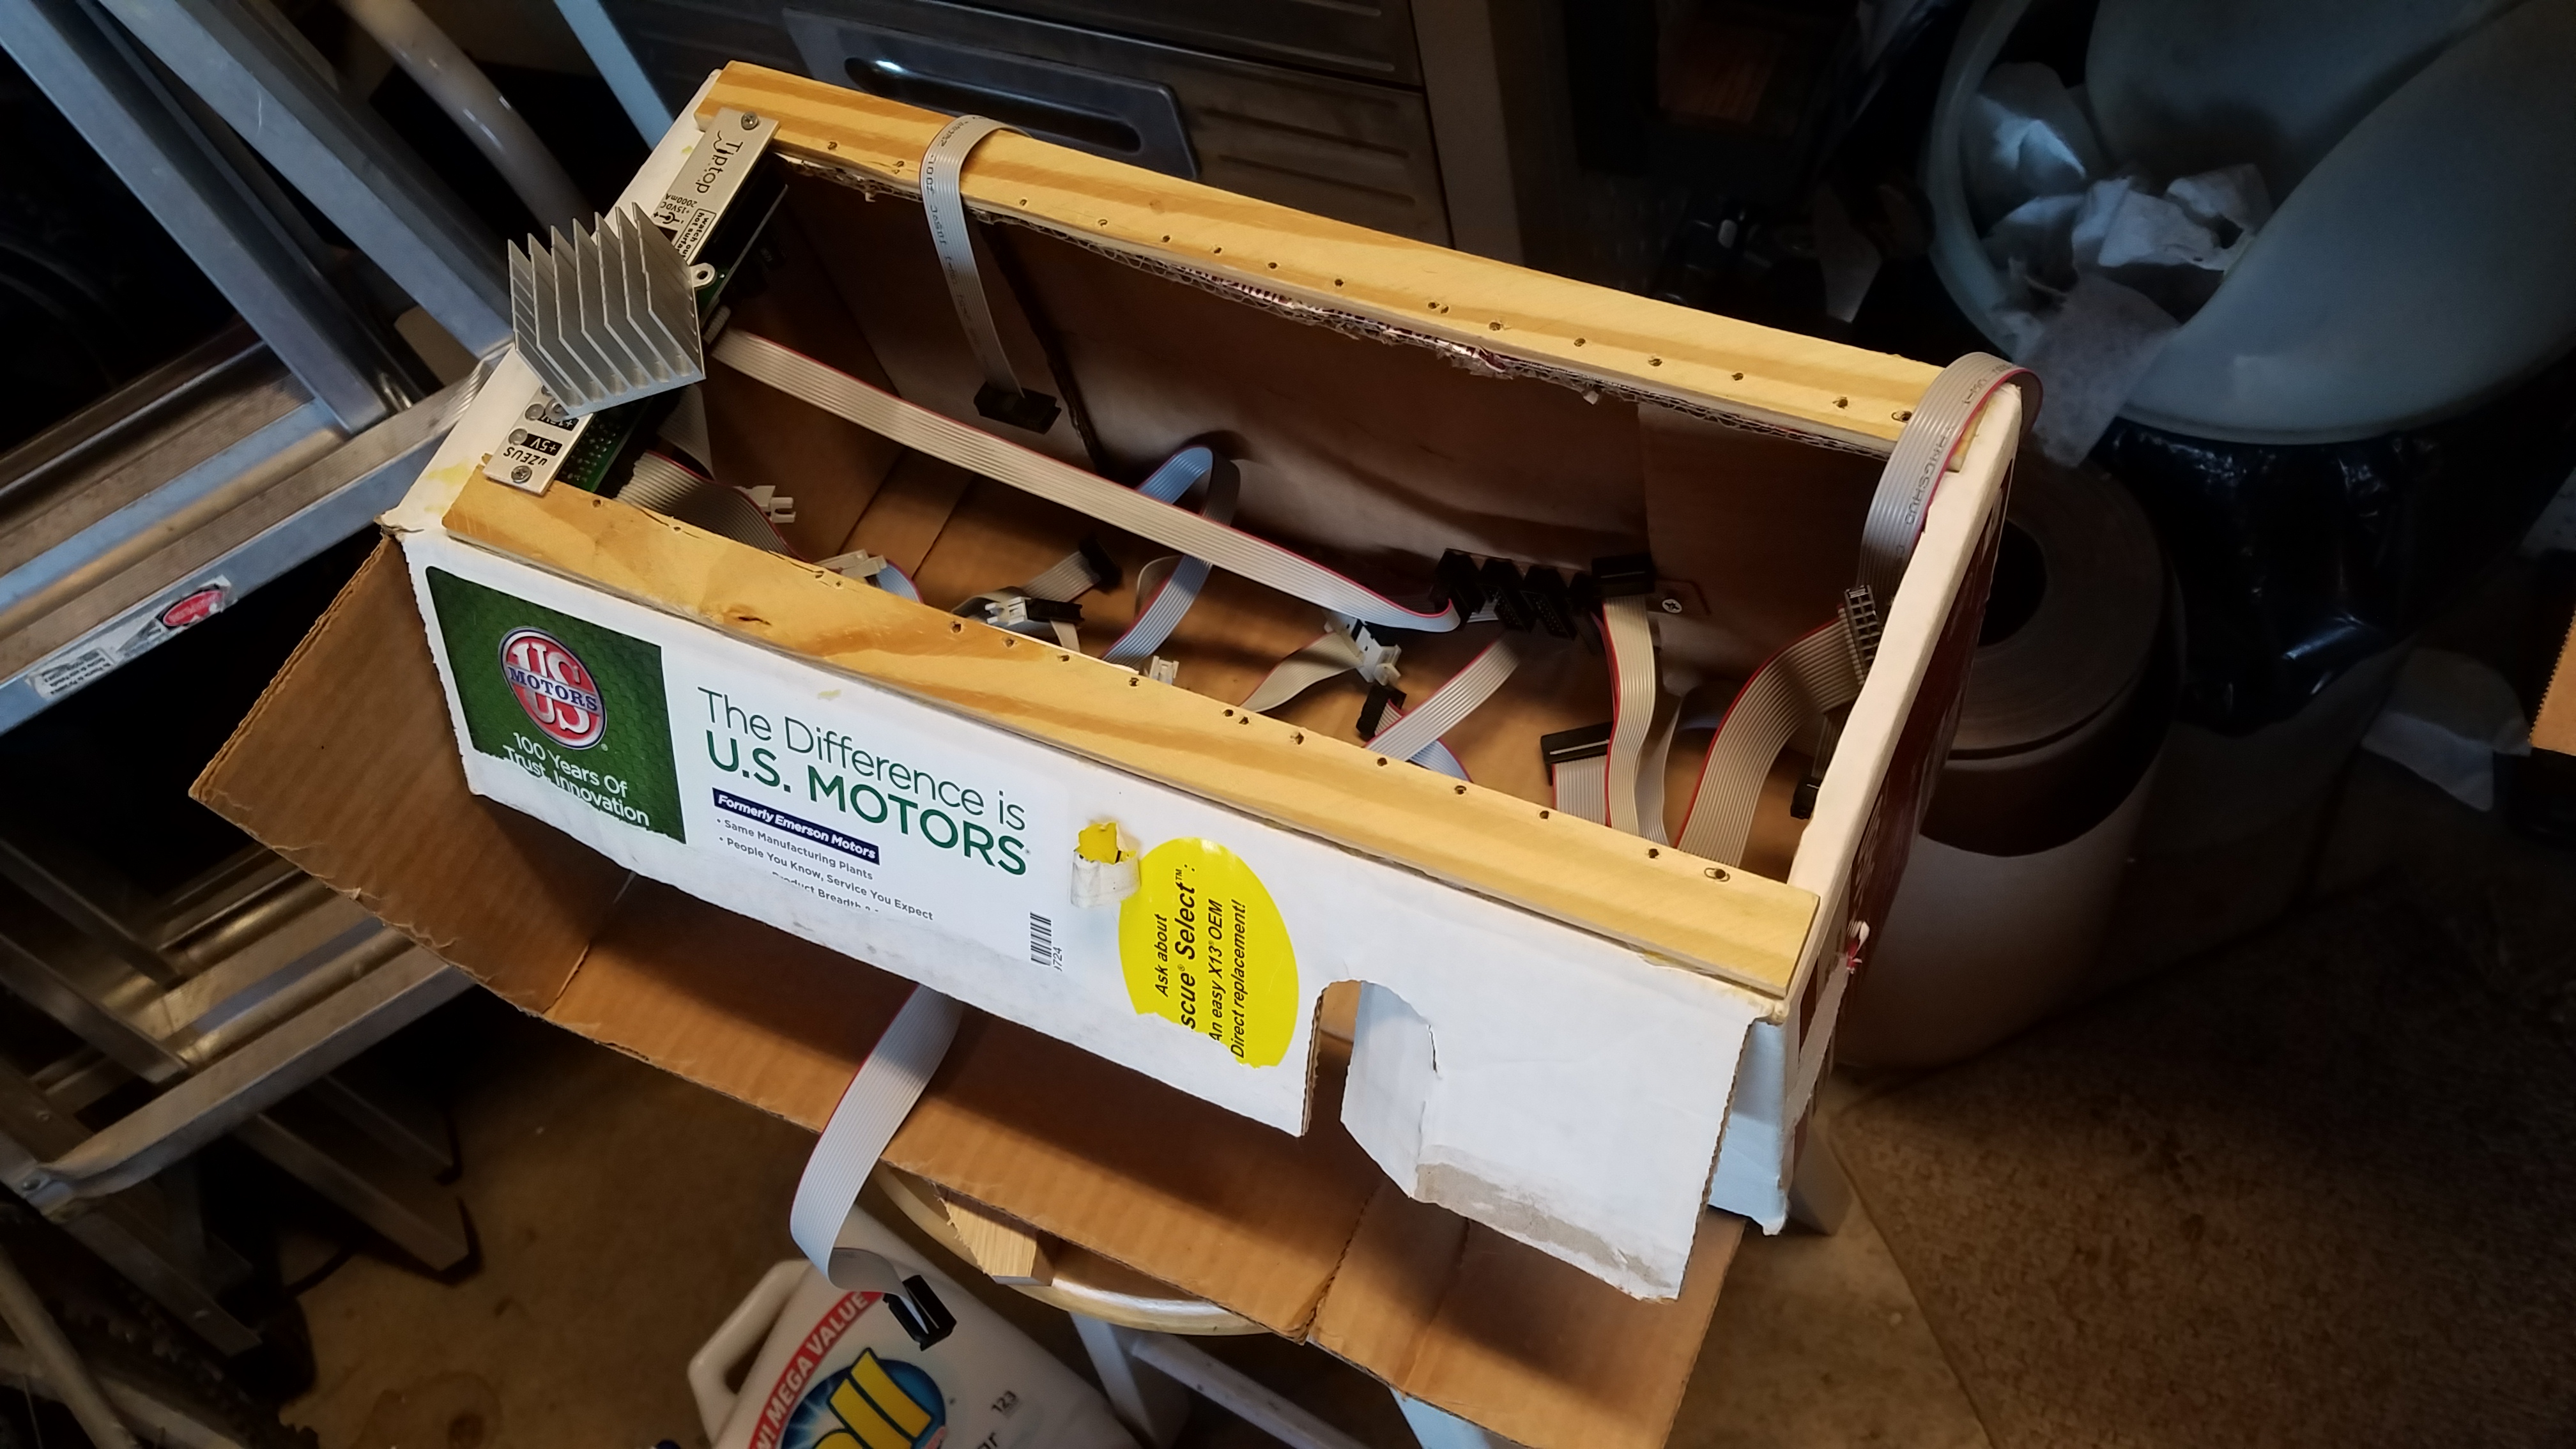
The Roomba Case was my first that wasn’t just wood rails glued on to a cardboard box.

While recording the video (below), I accidentally took some snapshots as well. Cool.
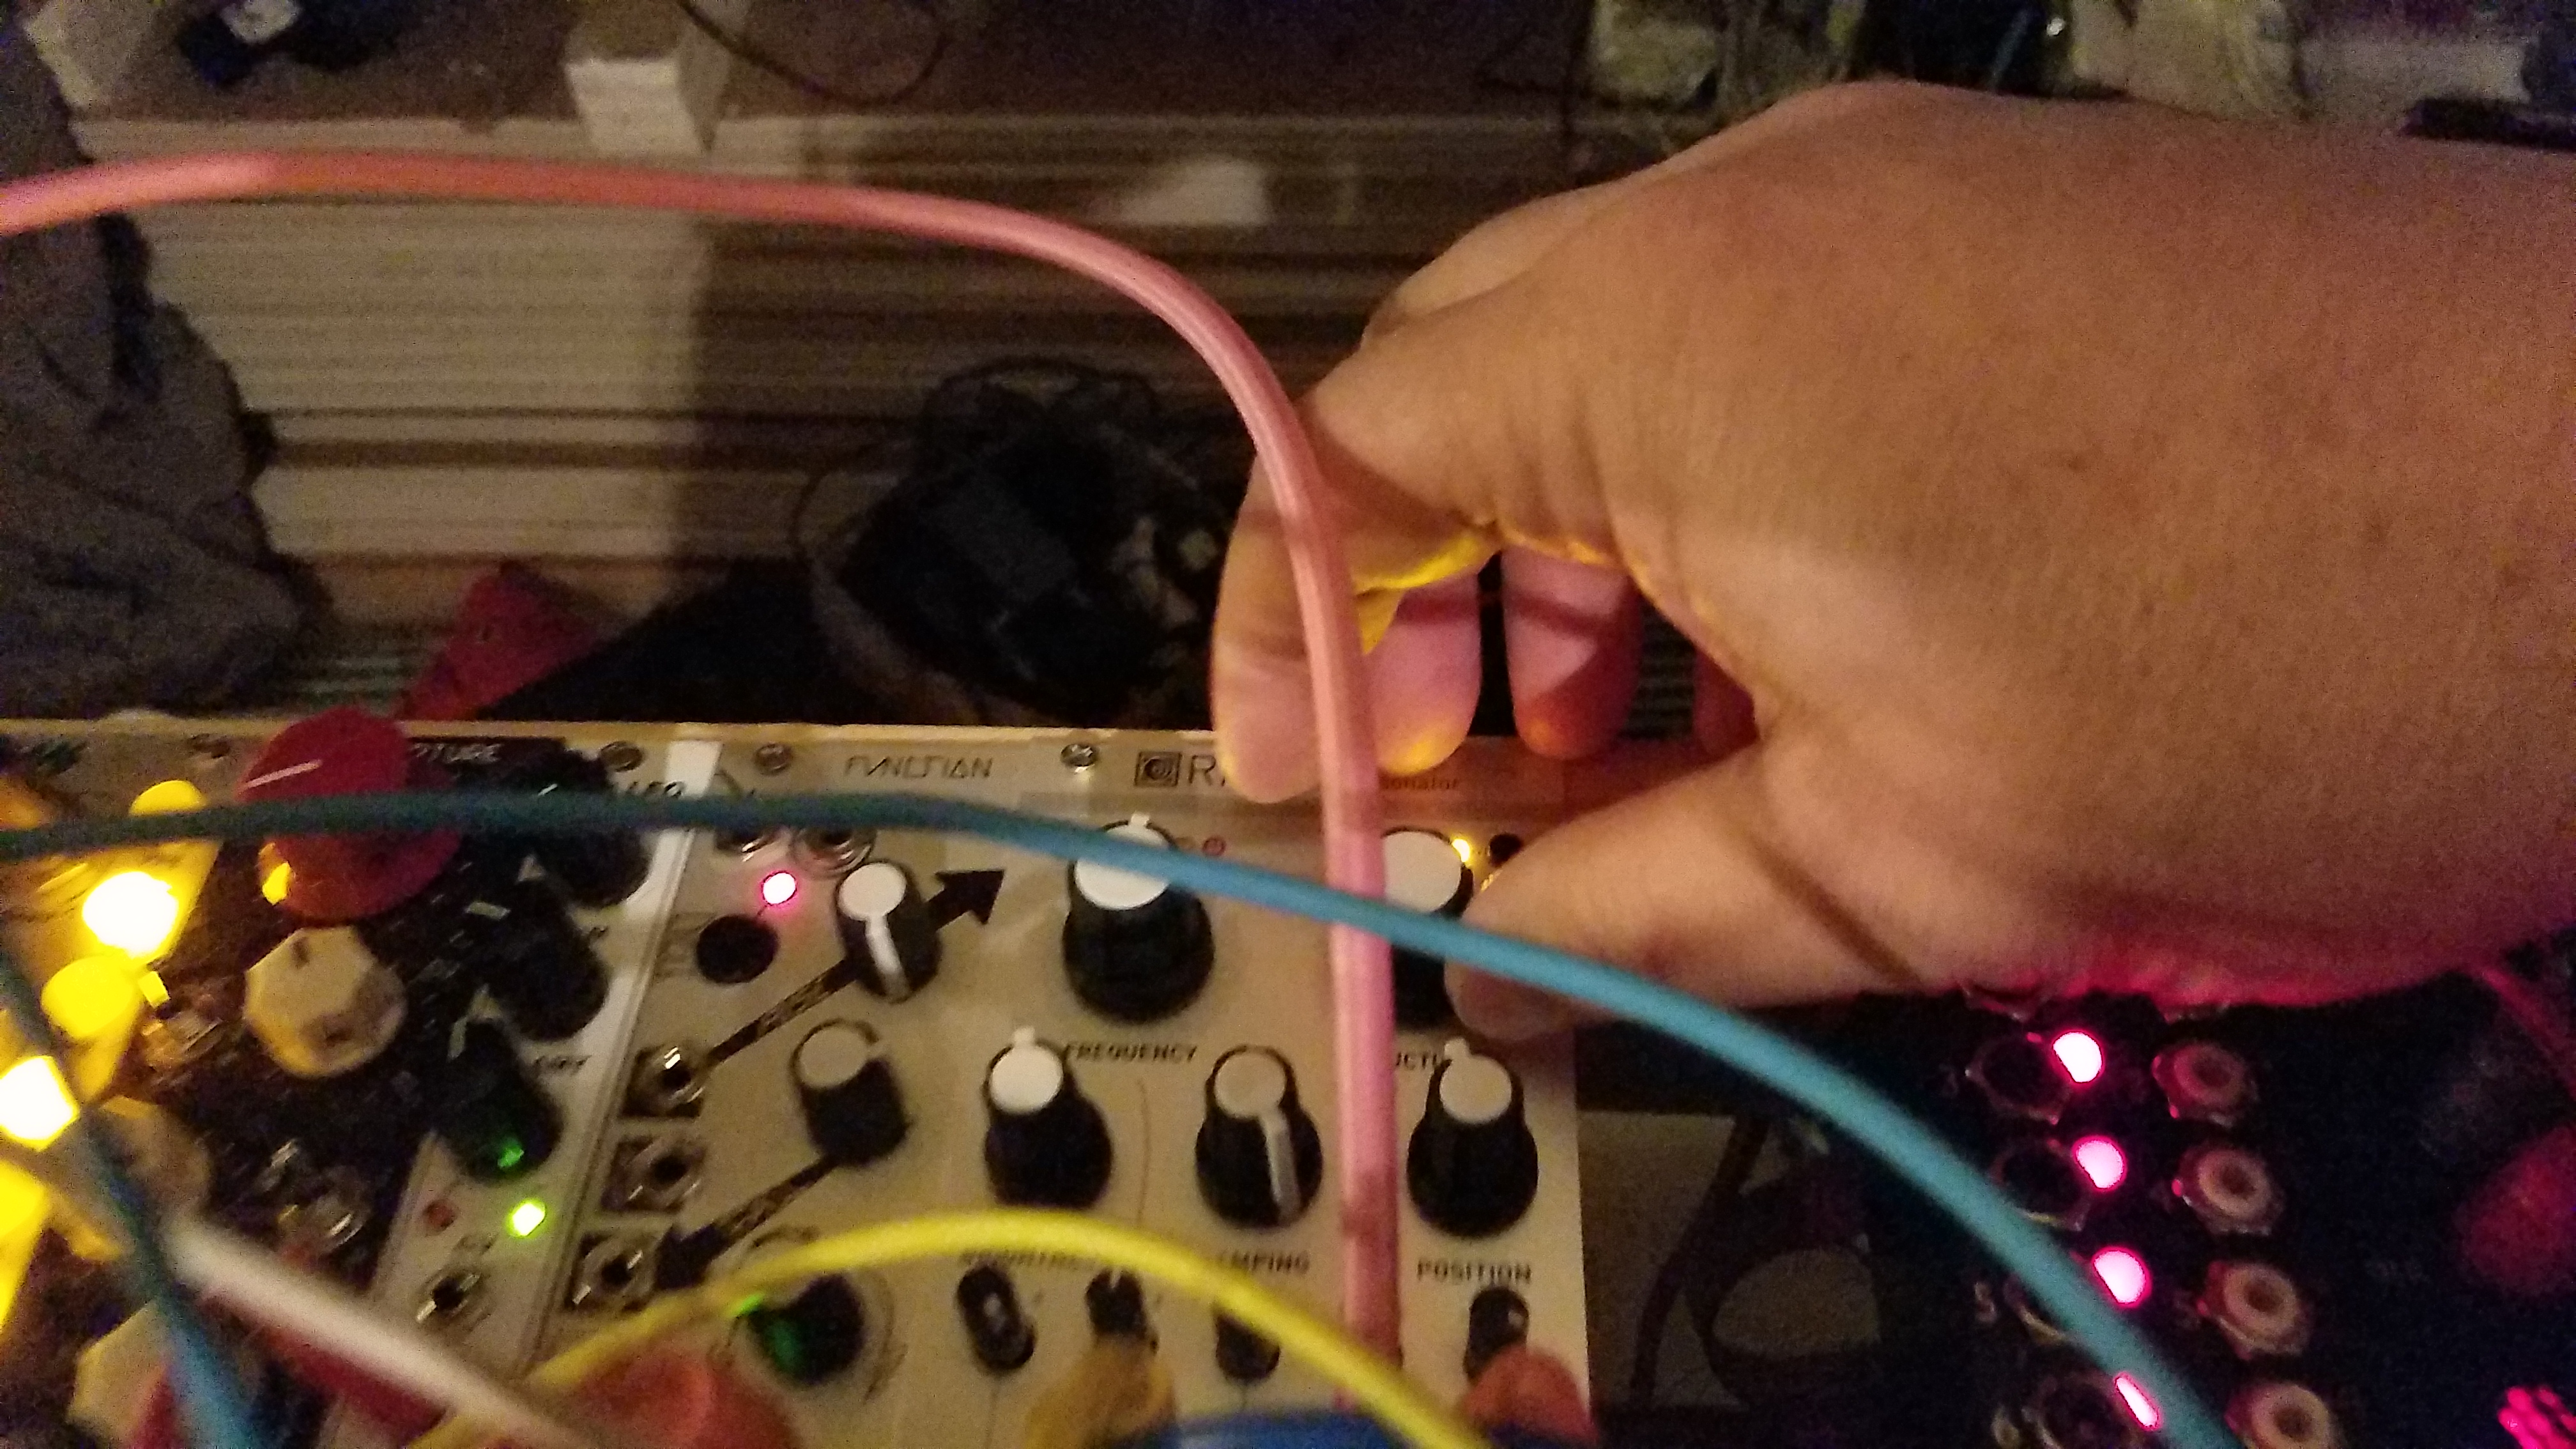
Happy accidents.
Here’s a whacked out video of the patch. Details are included in the YouTube description.
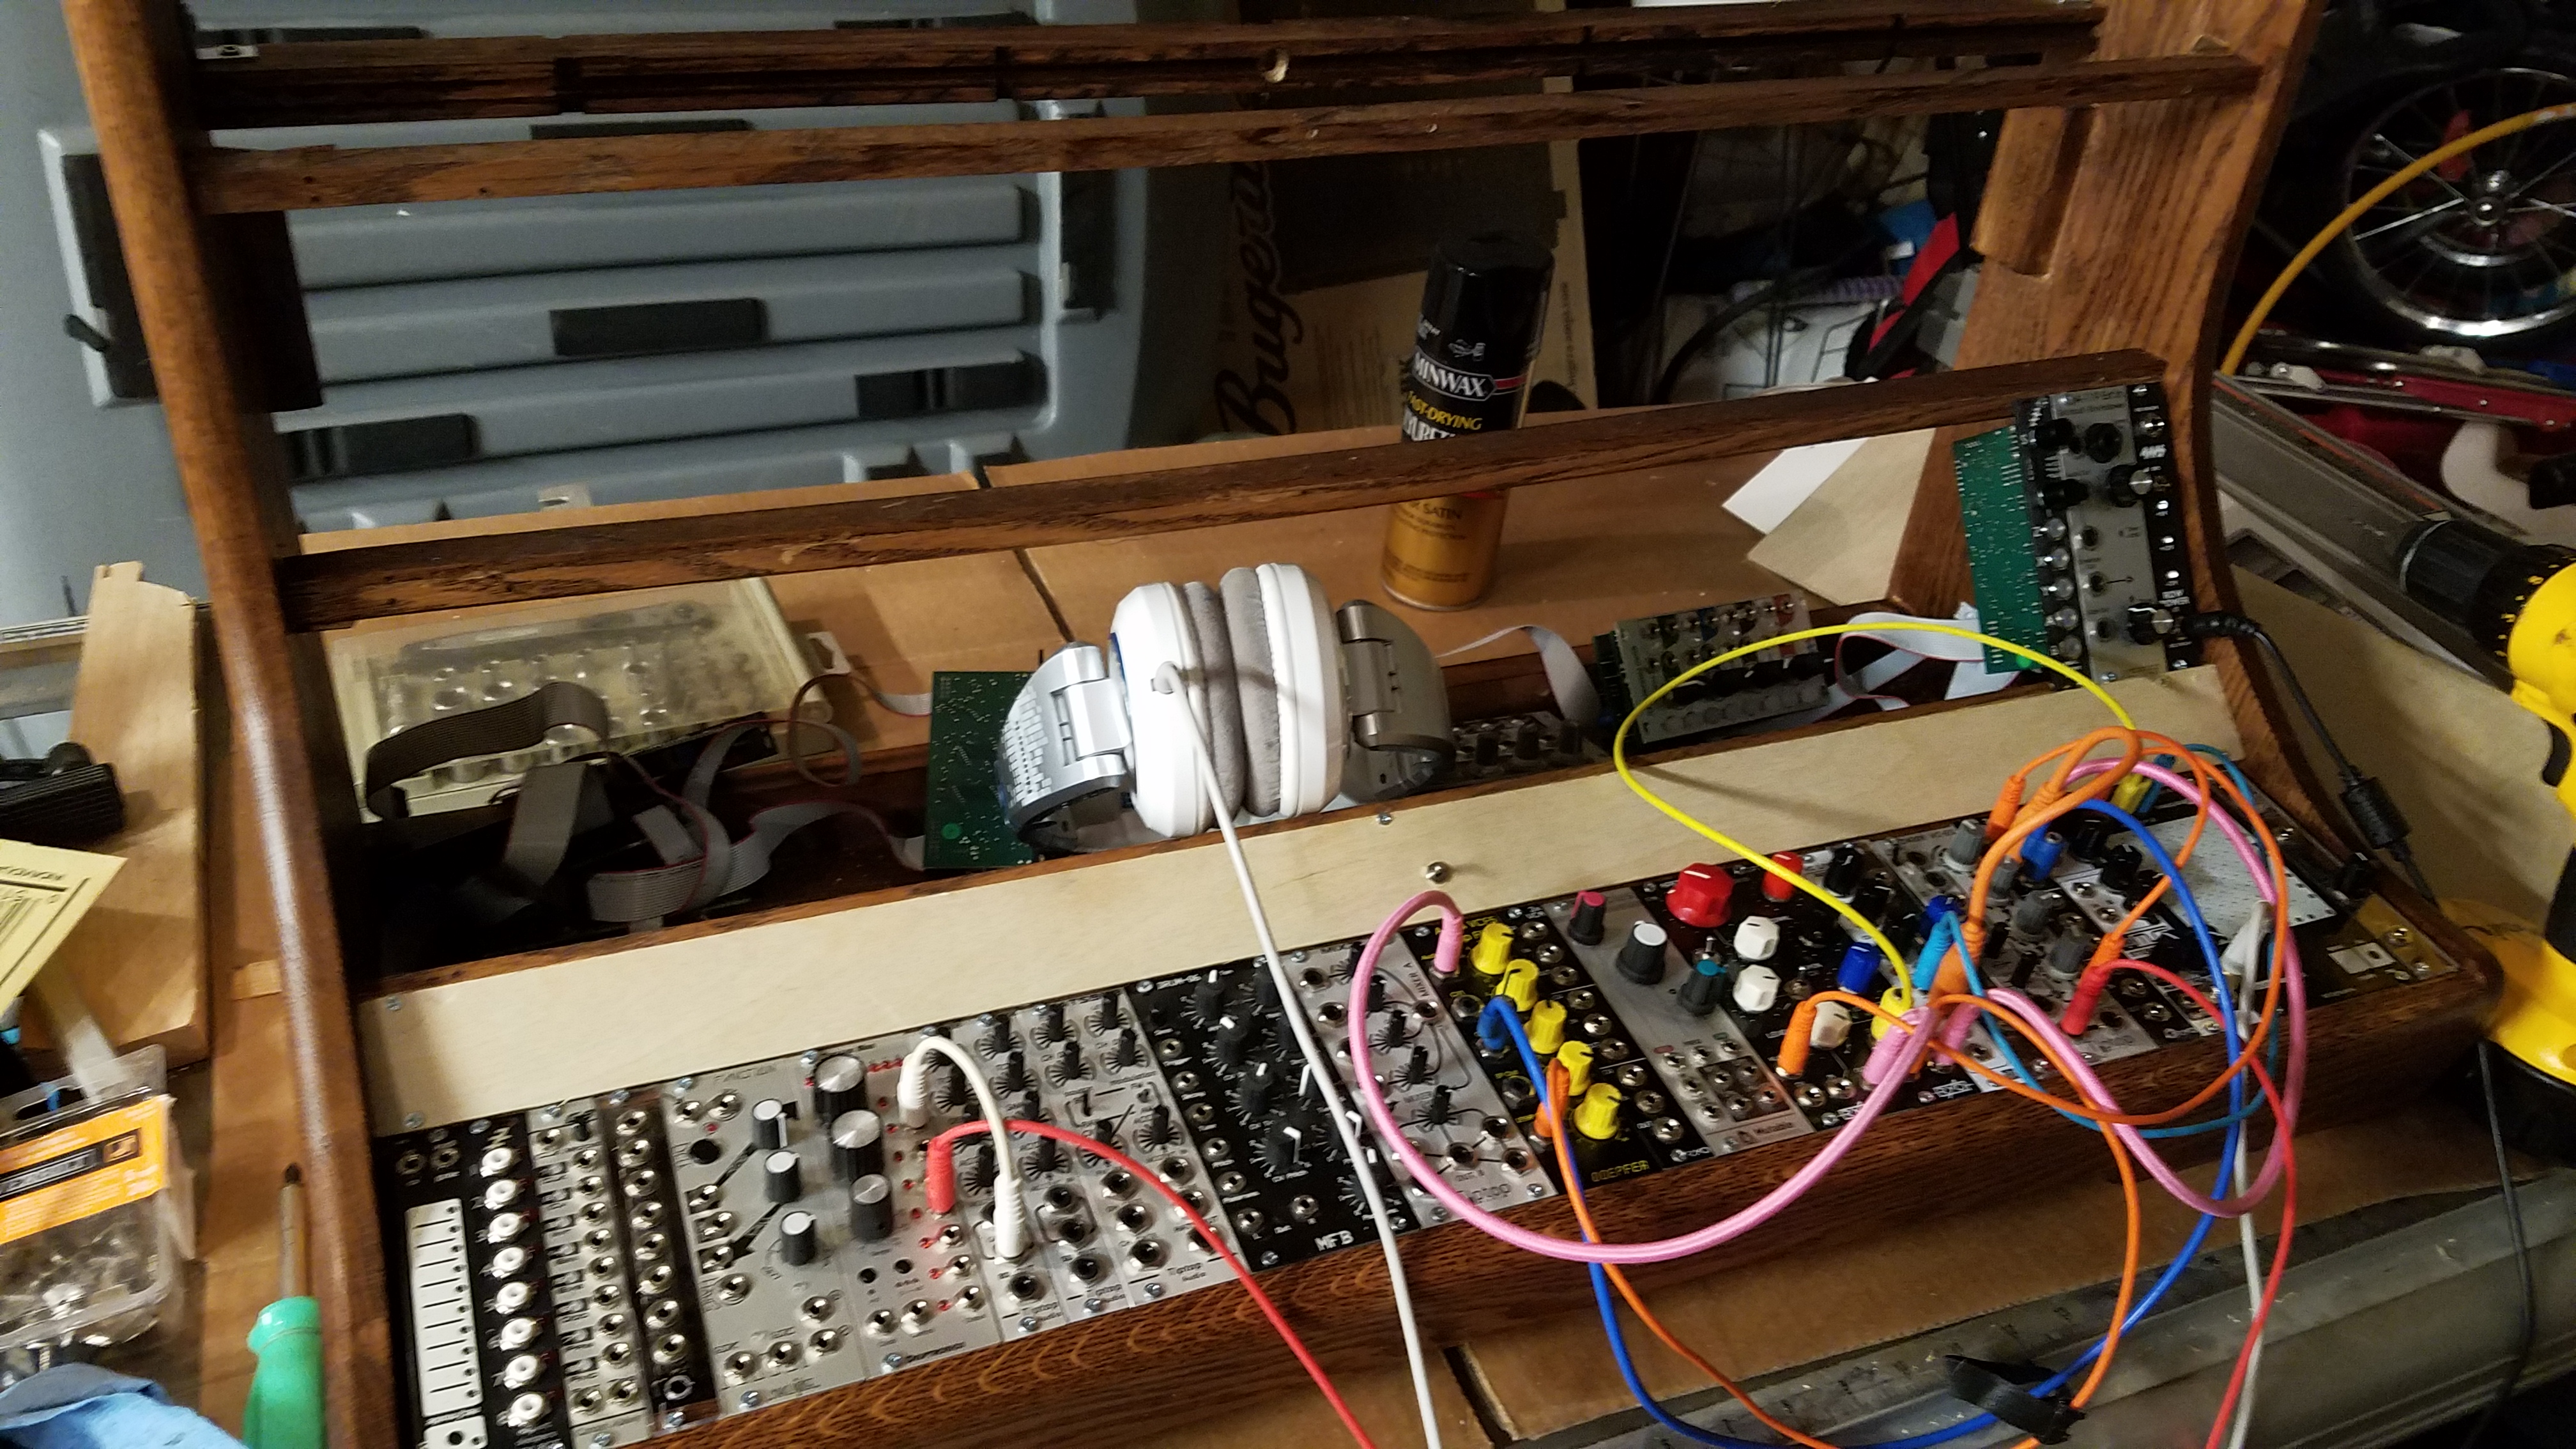
Tuesday (last night), I took apart the old case, removing the bus boards, and the modules as needed for the new layout. Here’s the last photo of it mostly intact.
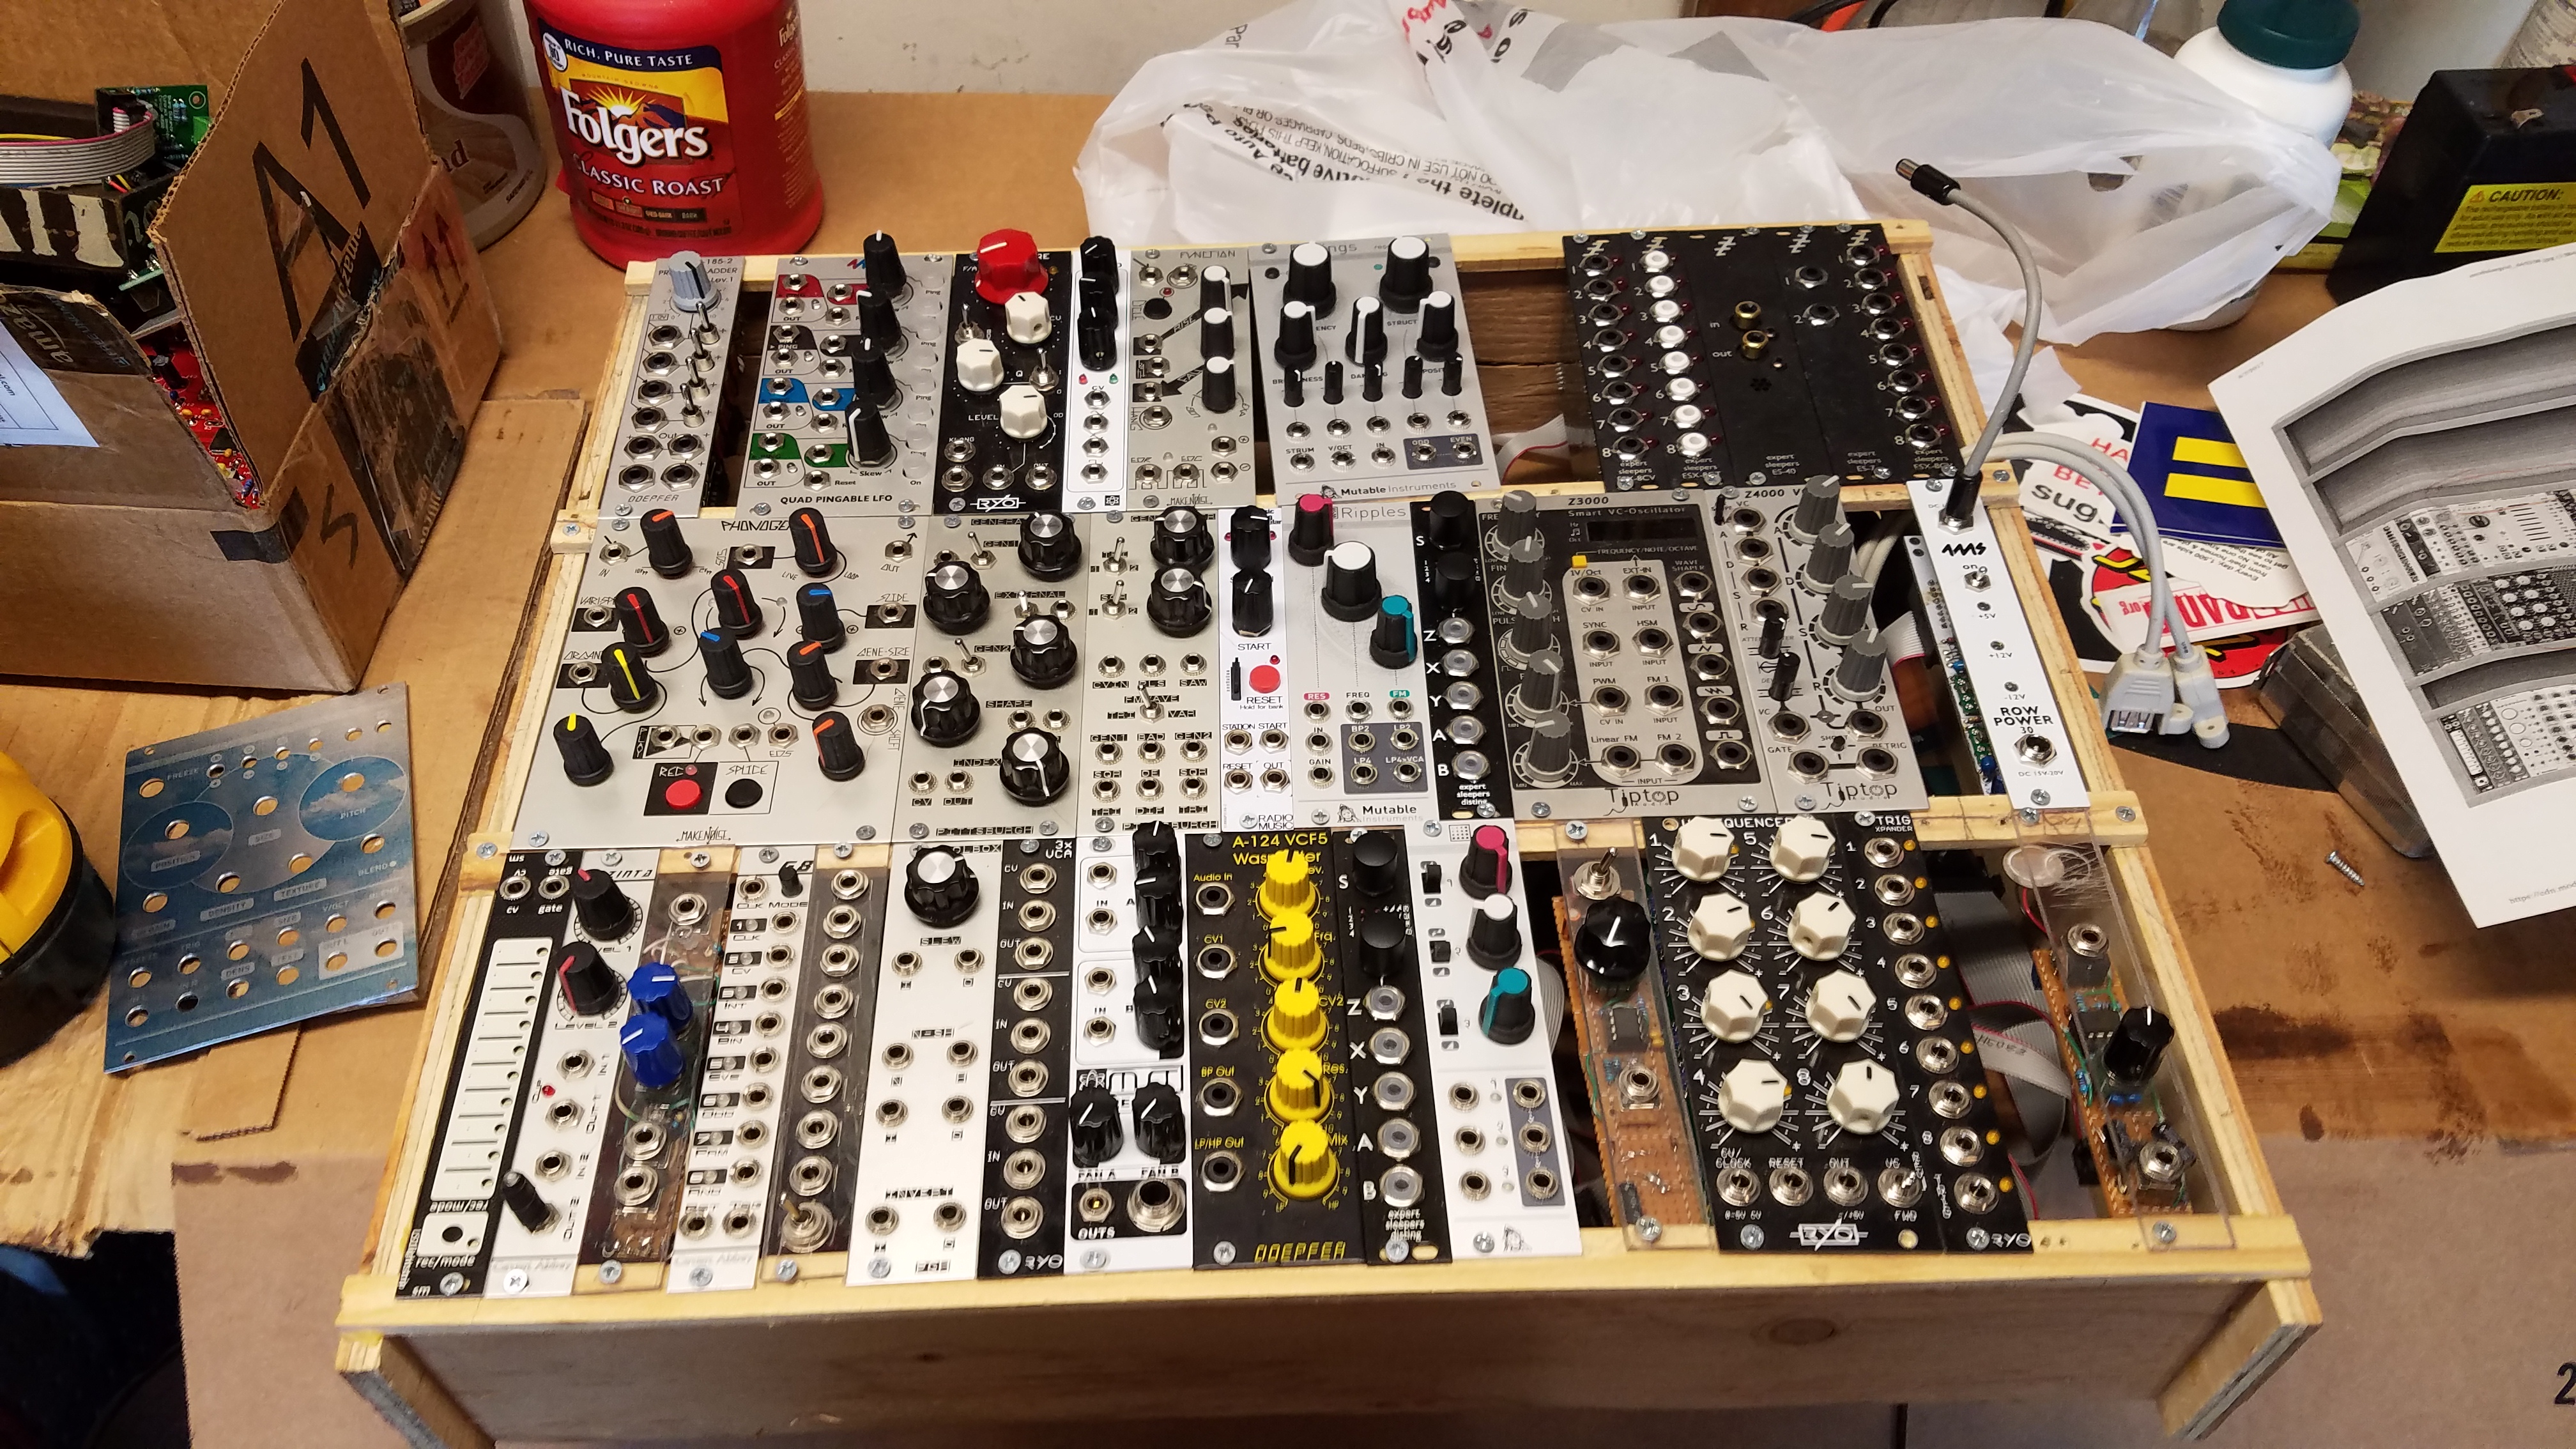
Here it is on the workbench before I started stripping the power buses and modules out. I’d already pulled the Maths (where the Rings module is on top) and maybe something else to test-fit in the new case. This case could not stand upright because it was so shallow to fit into the box, it was too front-heavy and would fall forward.
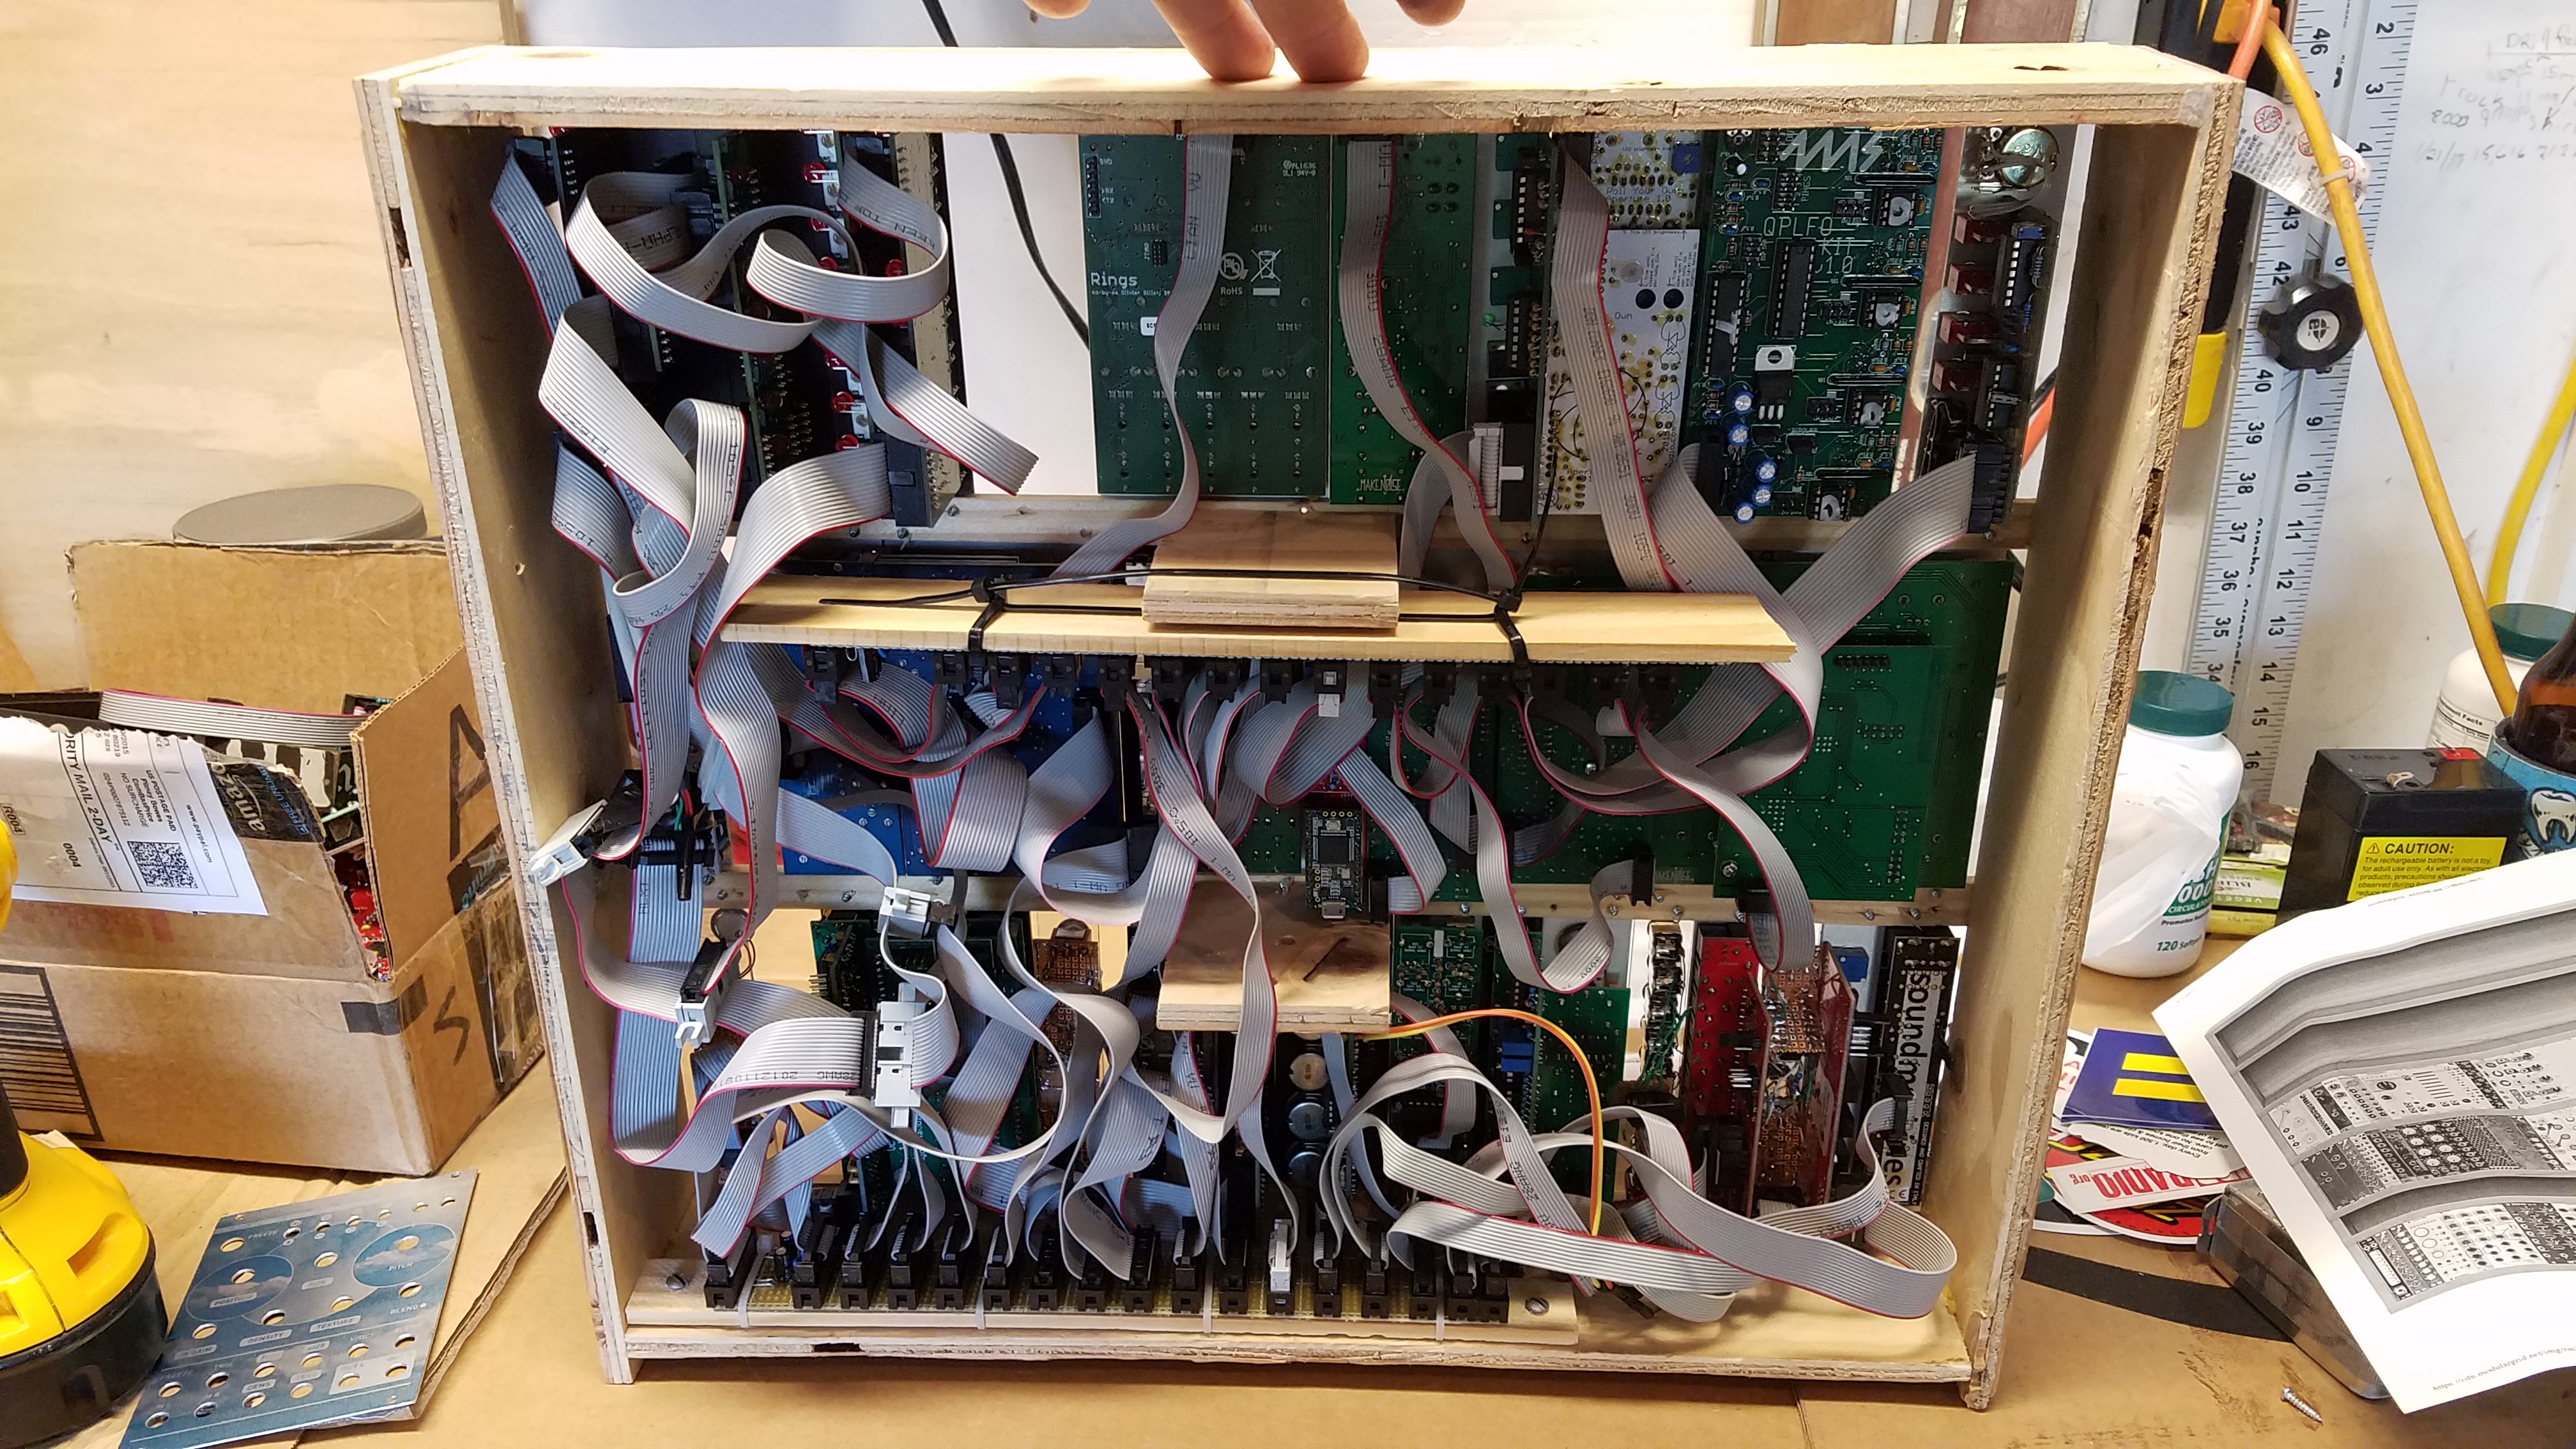
From the backside. The ribbon cables carry power (+12v, -12v, and +5v), ground, and a CV and Gate bus which I never use. The bus boards are DIY as well. I built this out of some thin scrap plywood I had sitting around and used the cardboard box as a jig while the glue dried. Once set, I reinforced it with a few screws. Since the wood rails were so thin, I supported the middles with those two rectangles of plywood. It kept the case pretty solid while plugging and unplugging cables. Construction wasn’t really based on anything else I’d seen, I just threw it together and it worked surprisingly well.
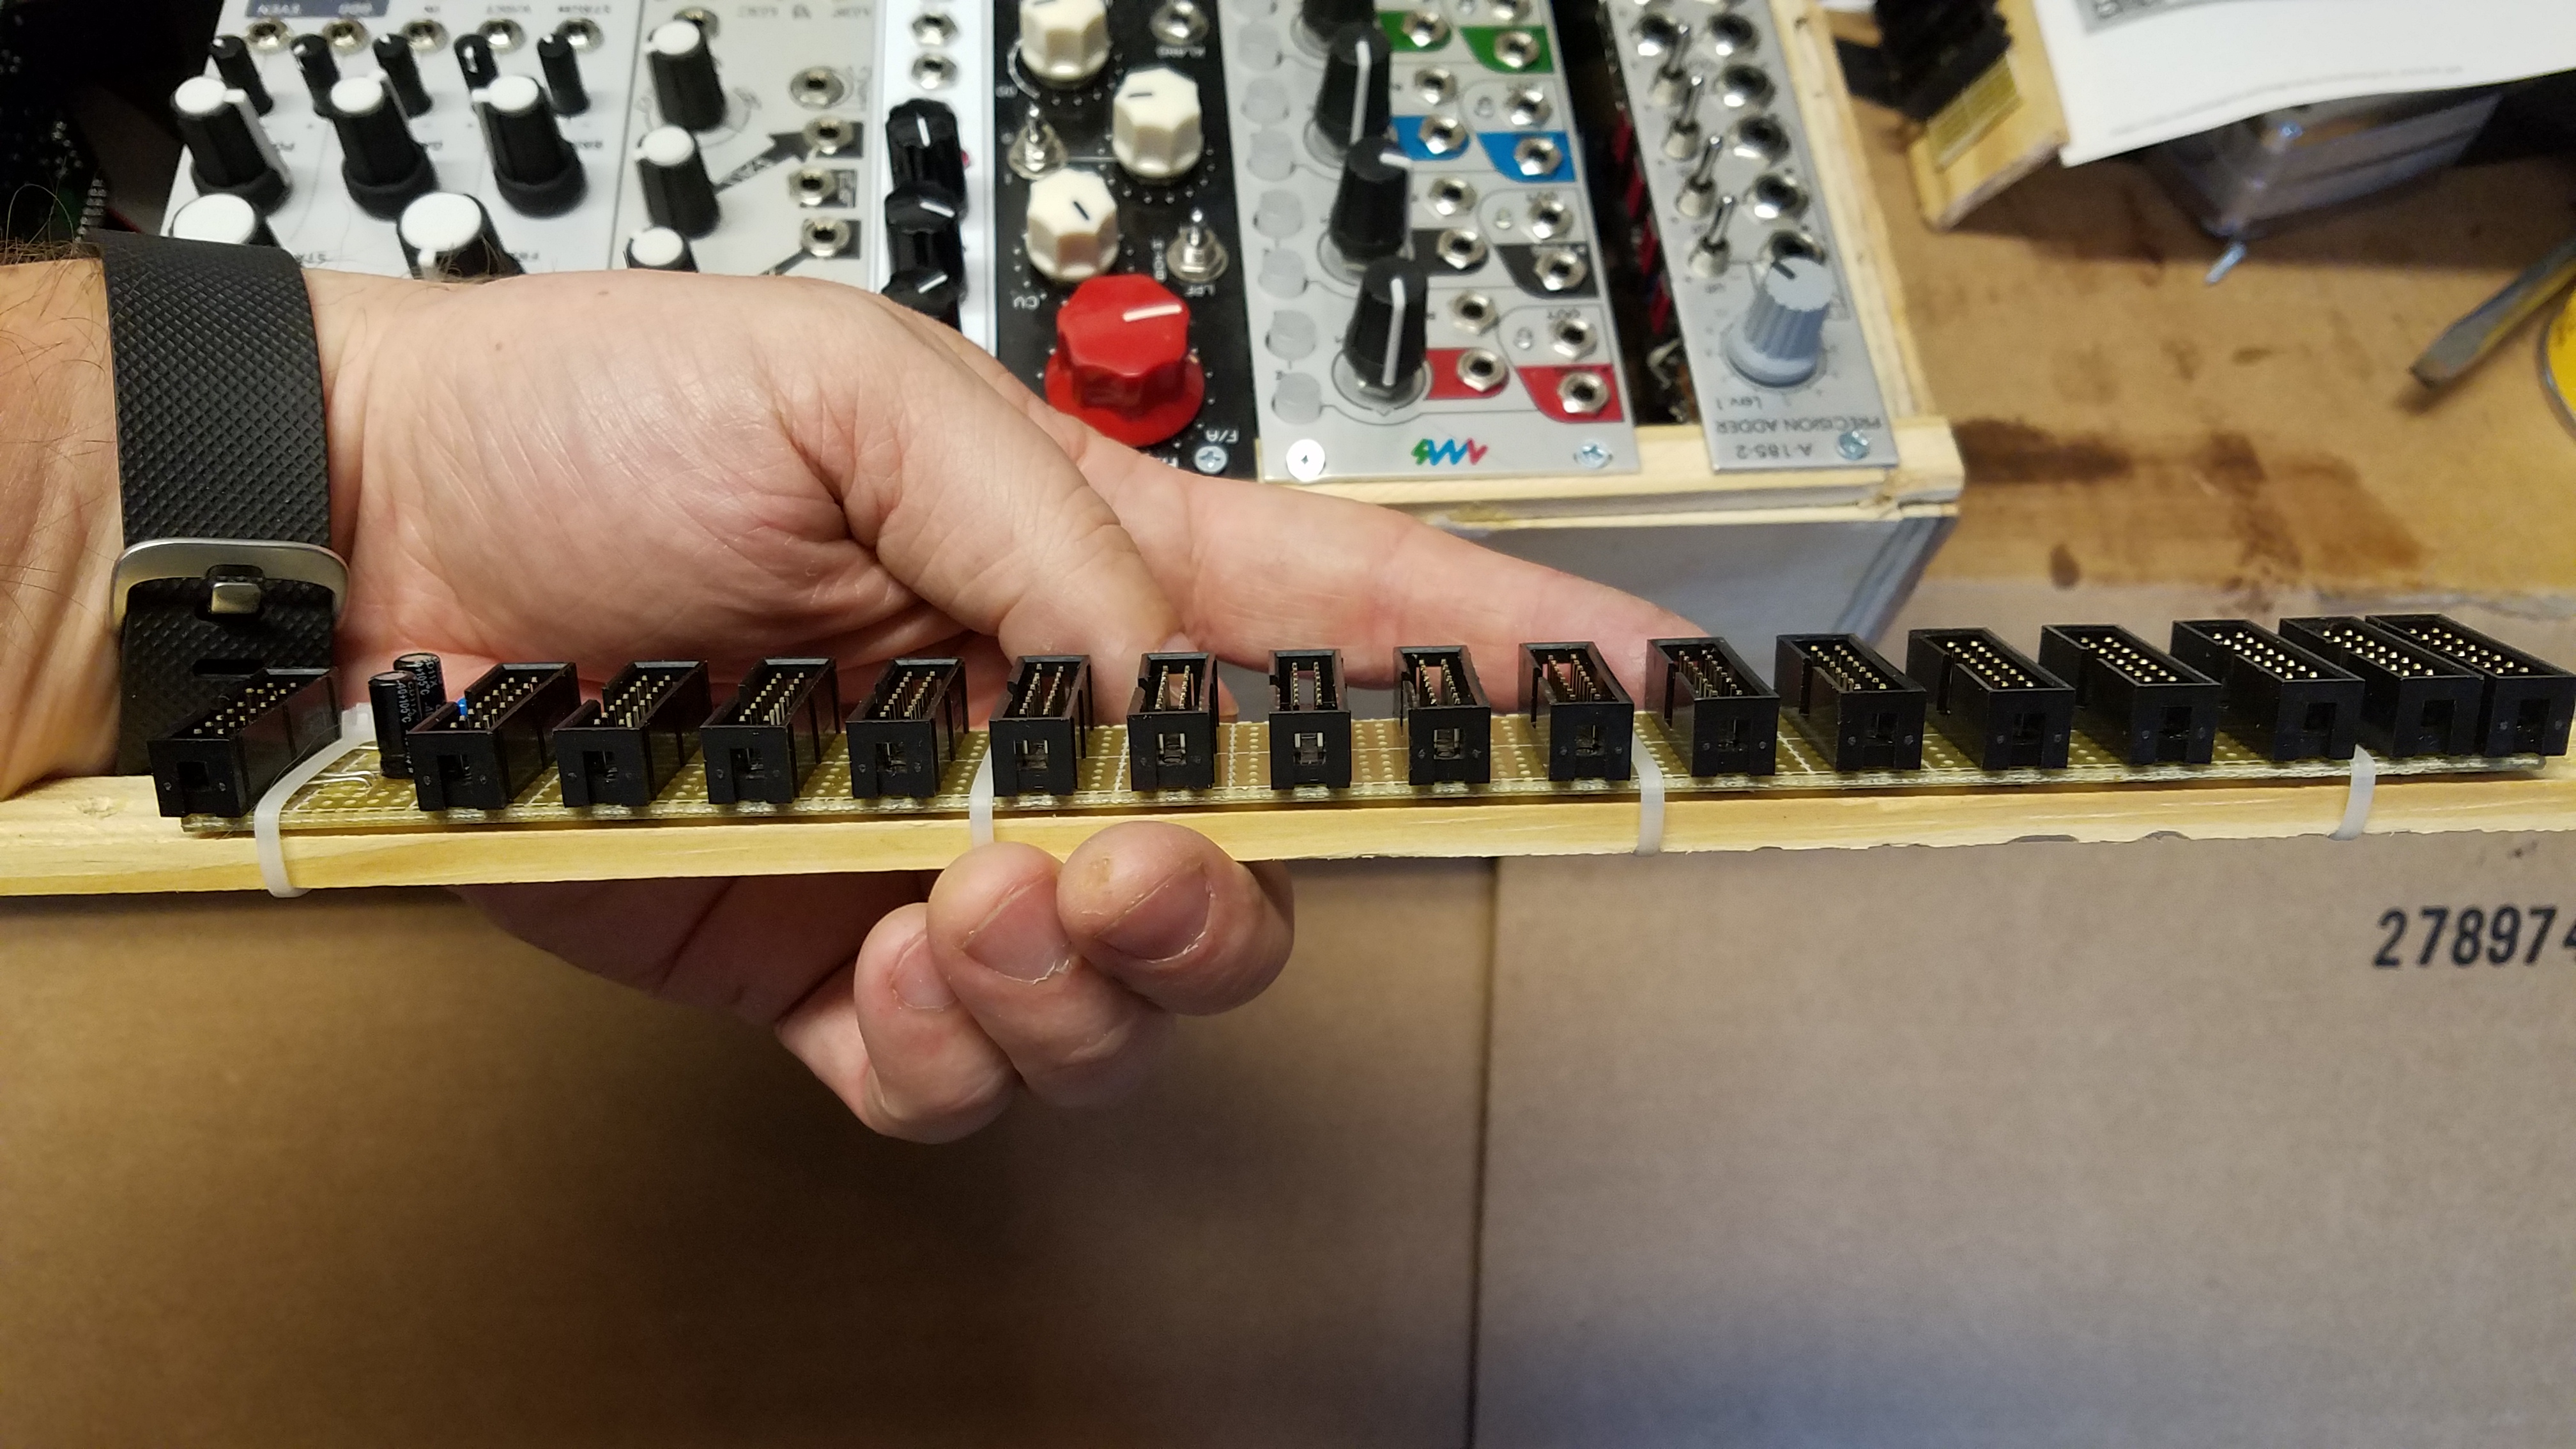
Bus boards are expensive. I bought a bunch of strip-board (10 “x 2”, I think) for $10 for 5 (now it’s $30+ ???), cut them in half lengthwise (so I can make 10), soldered on keyed headers and filtering caps (I JUST realized i’m not filtering the 5V rail – though it’s seldom, if ever, used).

I zip-tied them to boards (I bought a busted bundle of lathing strips from Menard’s or Home Depot once for next to nothing, in fact, that’s what made up the rails in the Roomba case) for reinforcement and easier mounting. I’ll need to assemble at least one more of these for now, possibly 2 since the new case is so wide.

I drilled out the case bottom the the bus board for the bottom row).

Then zip-tied in the board.

It’s time for the first row, pulling modules from a few boxes as well as the Roomba case following my printed out plan from ModularGrid.
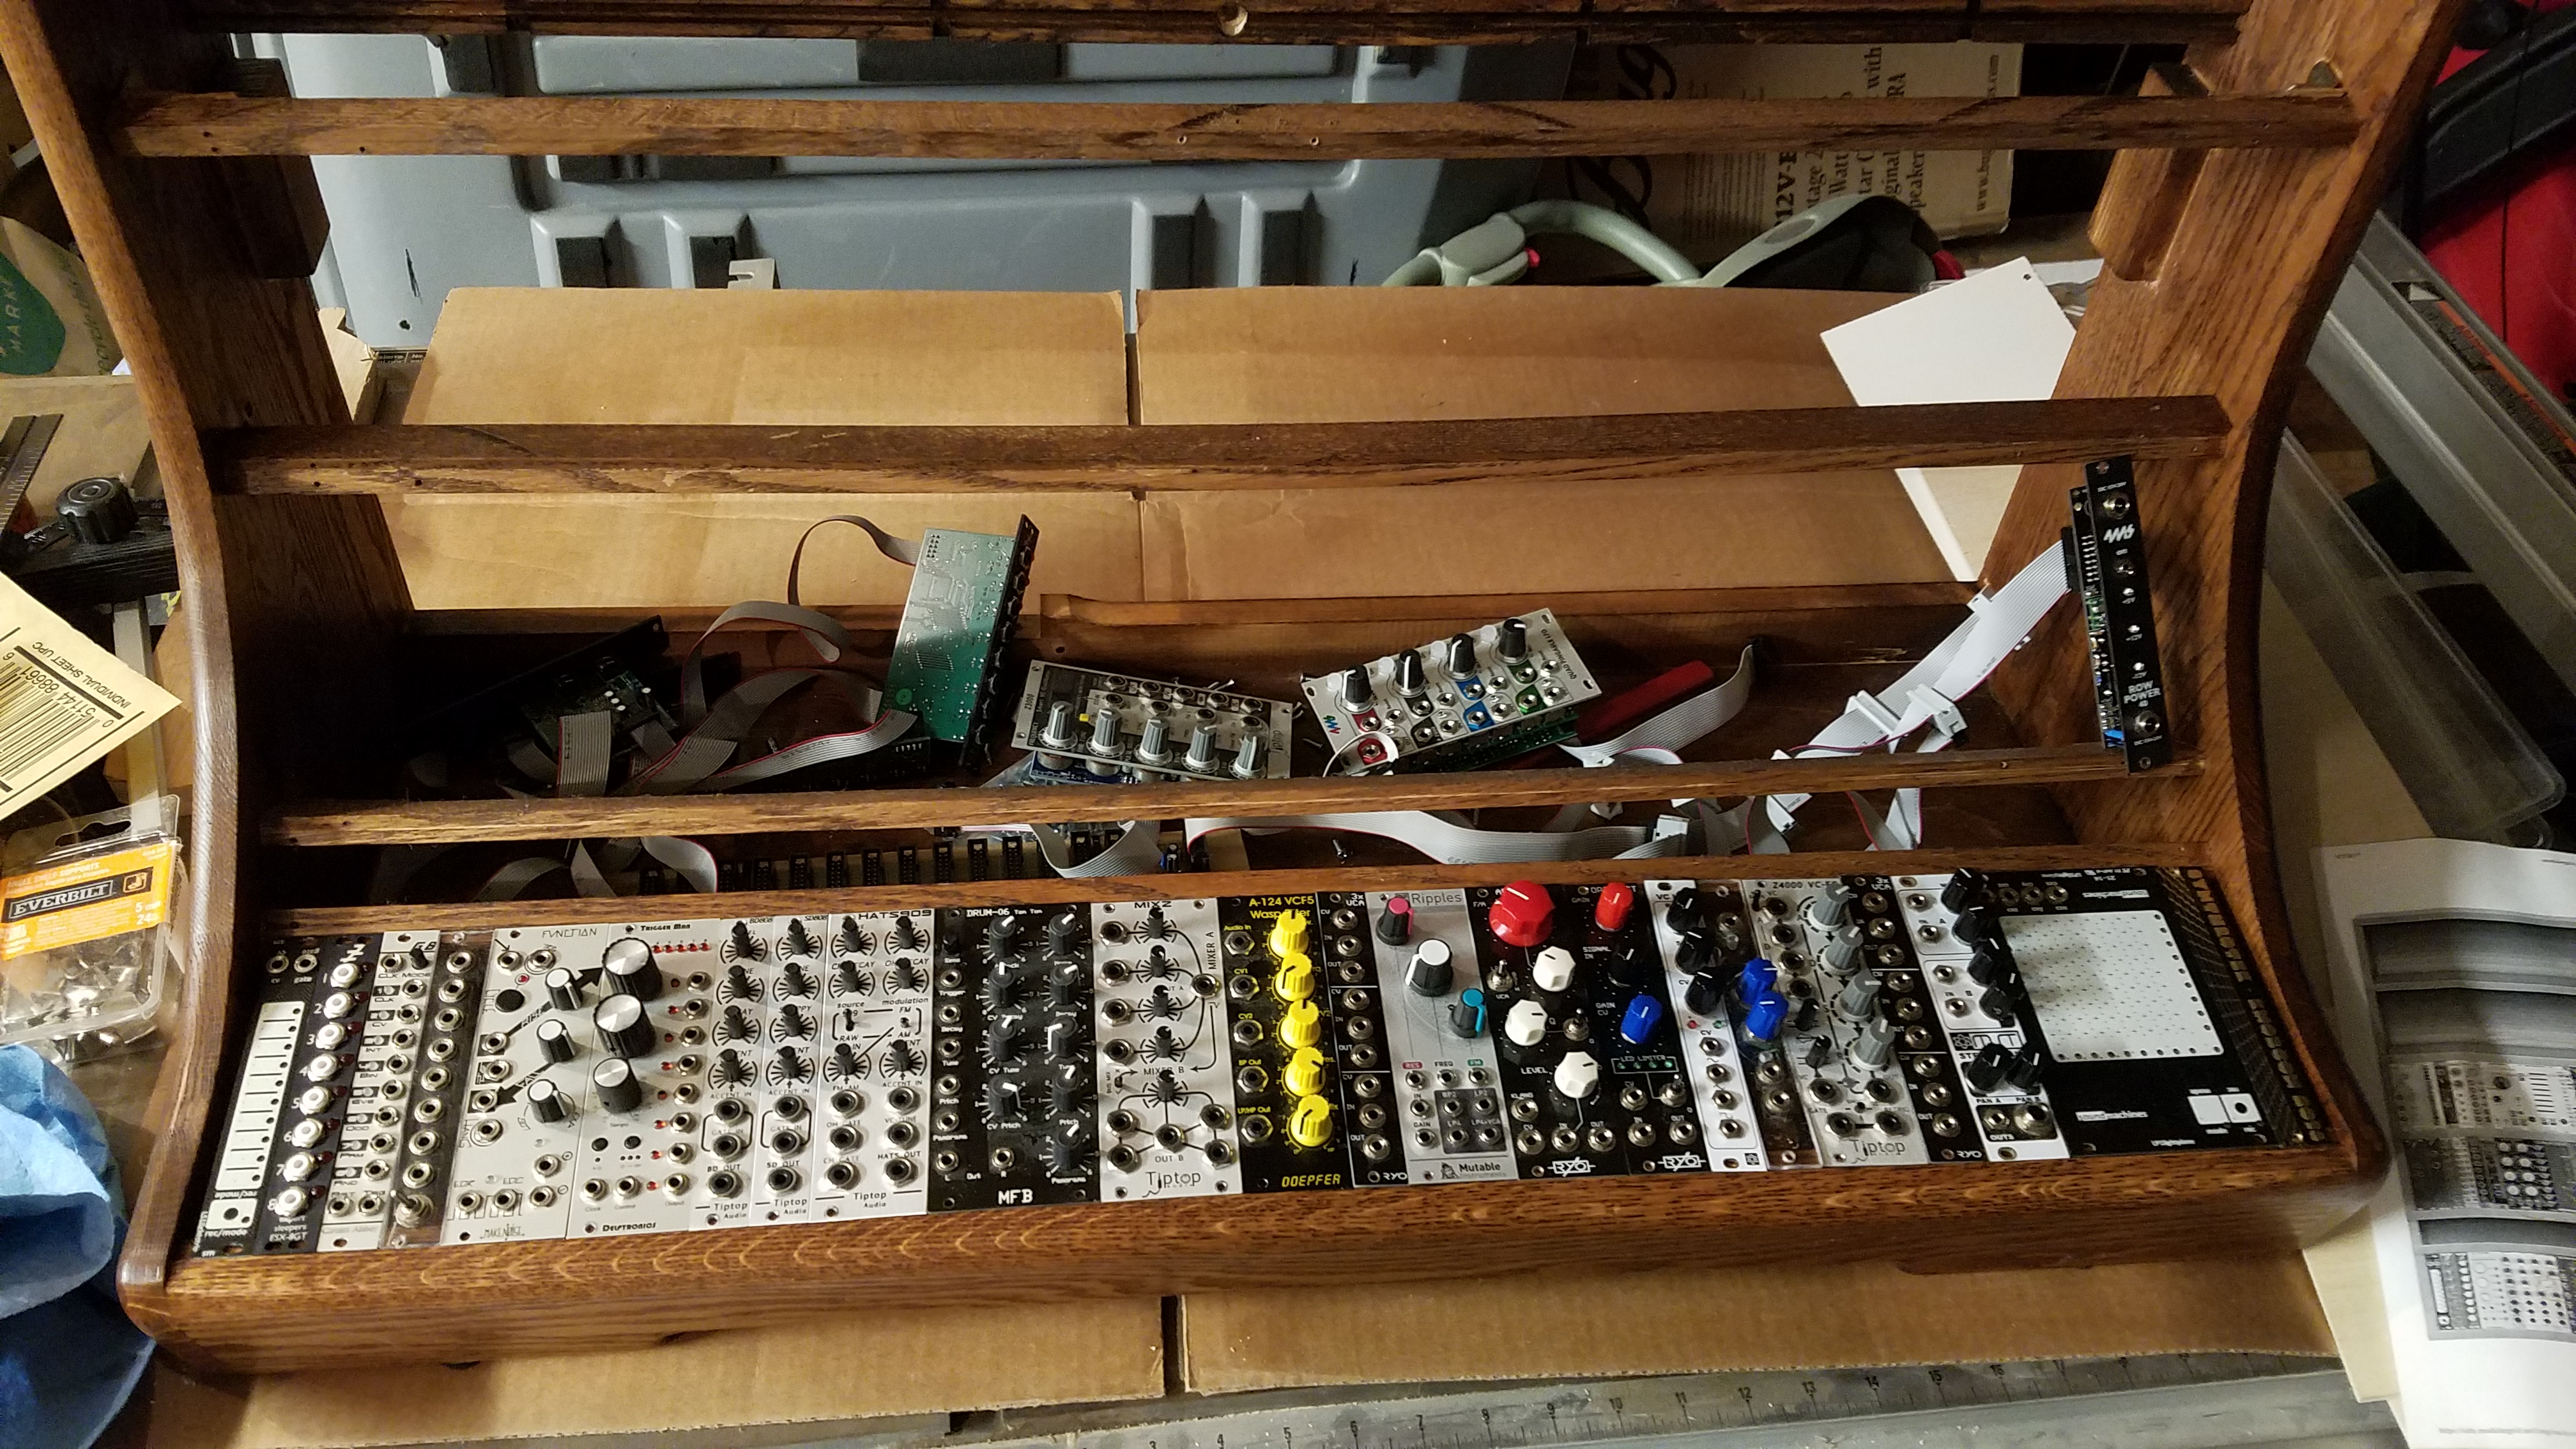
A test fit before I start drilling pilot holes. Some modules are standing in for blanks that will be left for future expansion. The rows are planned out with certain functions near each other. Drilling the rails is the tedious part about wood rails, and keeping everything correctly spaced and near-perfectly vertical/square is an exercise in frustration when the drill bit starts to walk, but the gaps are tiny and as my neighbor said, I’ll be the only one who notices. Still, I took the time to get it as perfect as possible.
First row fitted. The major advantage to wood rails is the cost – the metal counterpart for a case this size would run into a few hundred dollars. These were cutoffs from the same solid oak board the rest of the case is made out of, so they’re sturdy and resist splitting if pre-drilled (something I learned from the thinner ‘rails’ I used in the Roomba case). Here, I’ve also place the ‘blind panel’ in for the 1U row, reserved for smaller utilities. That’s cut from the same panel of birch as the bottom and back.

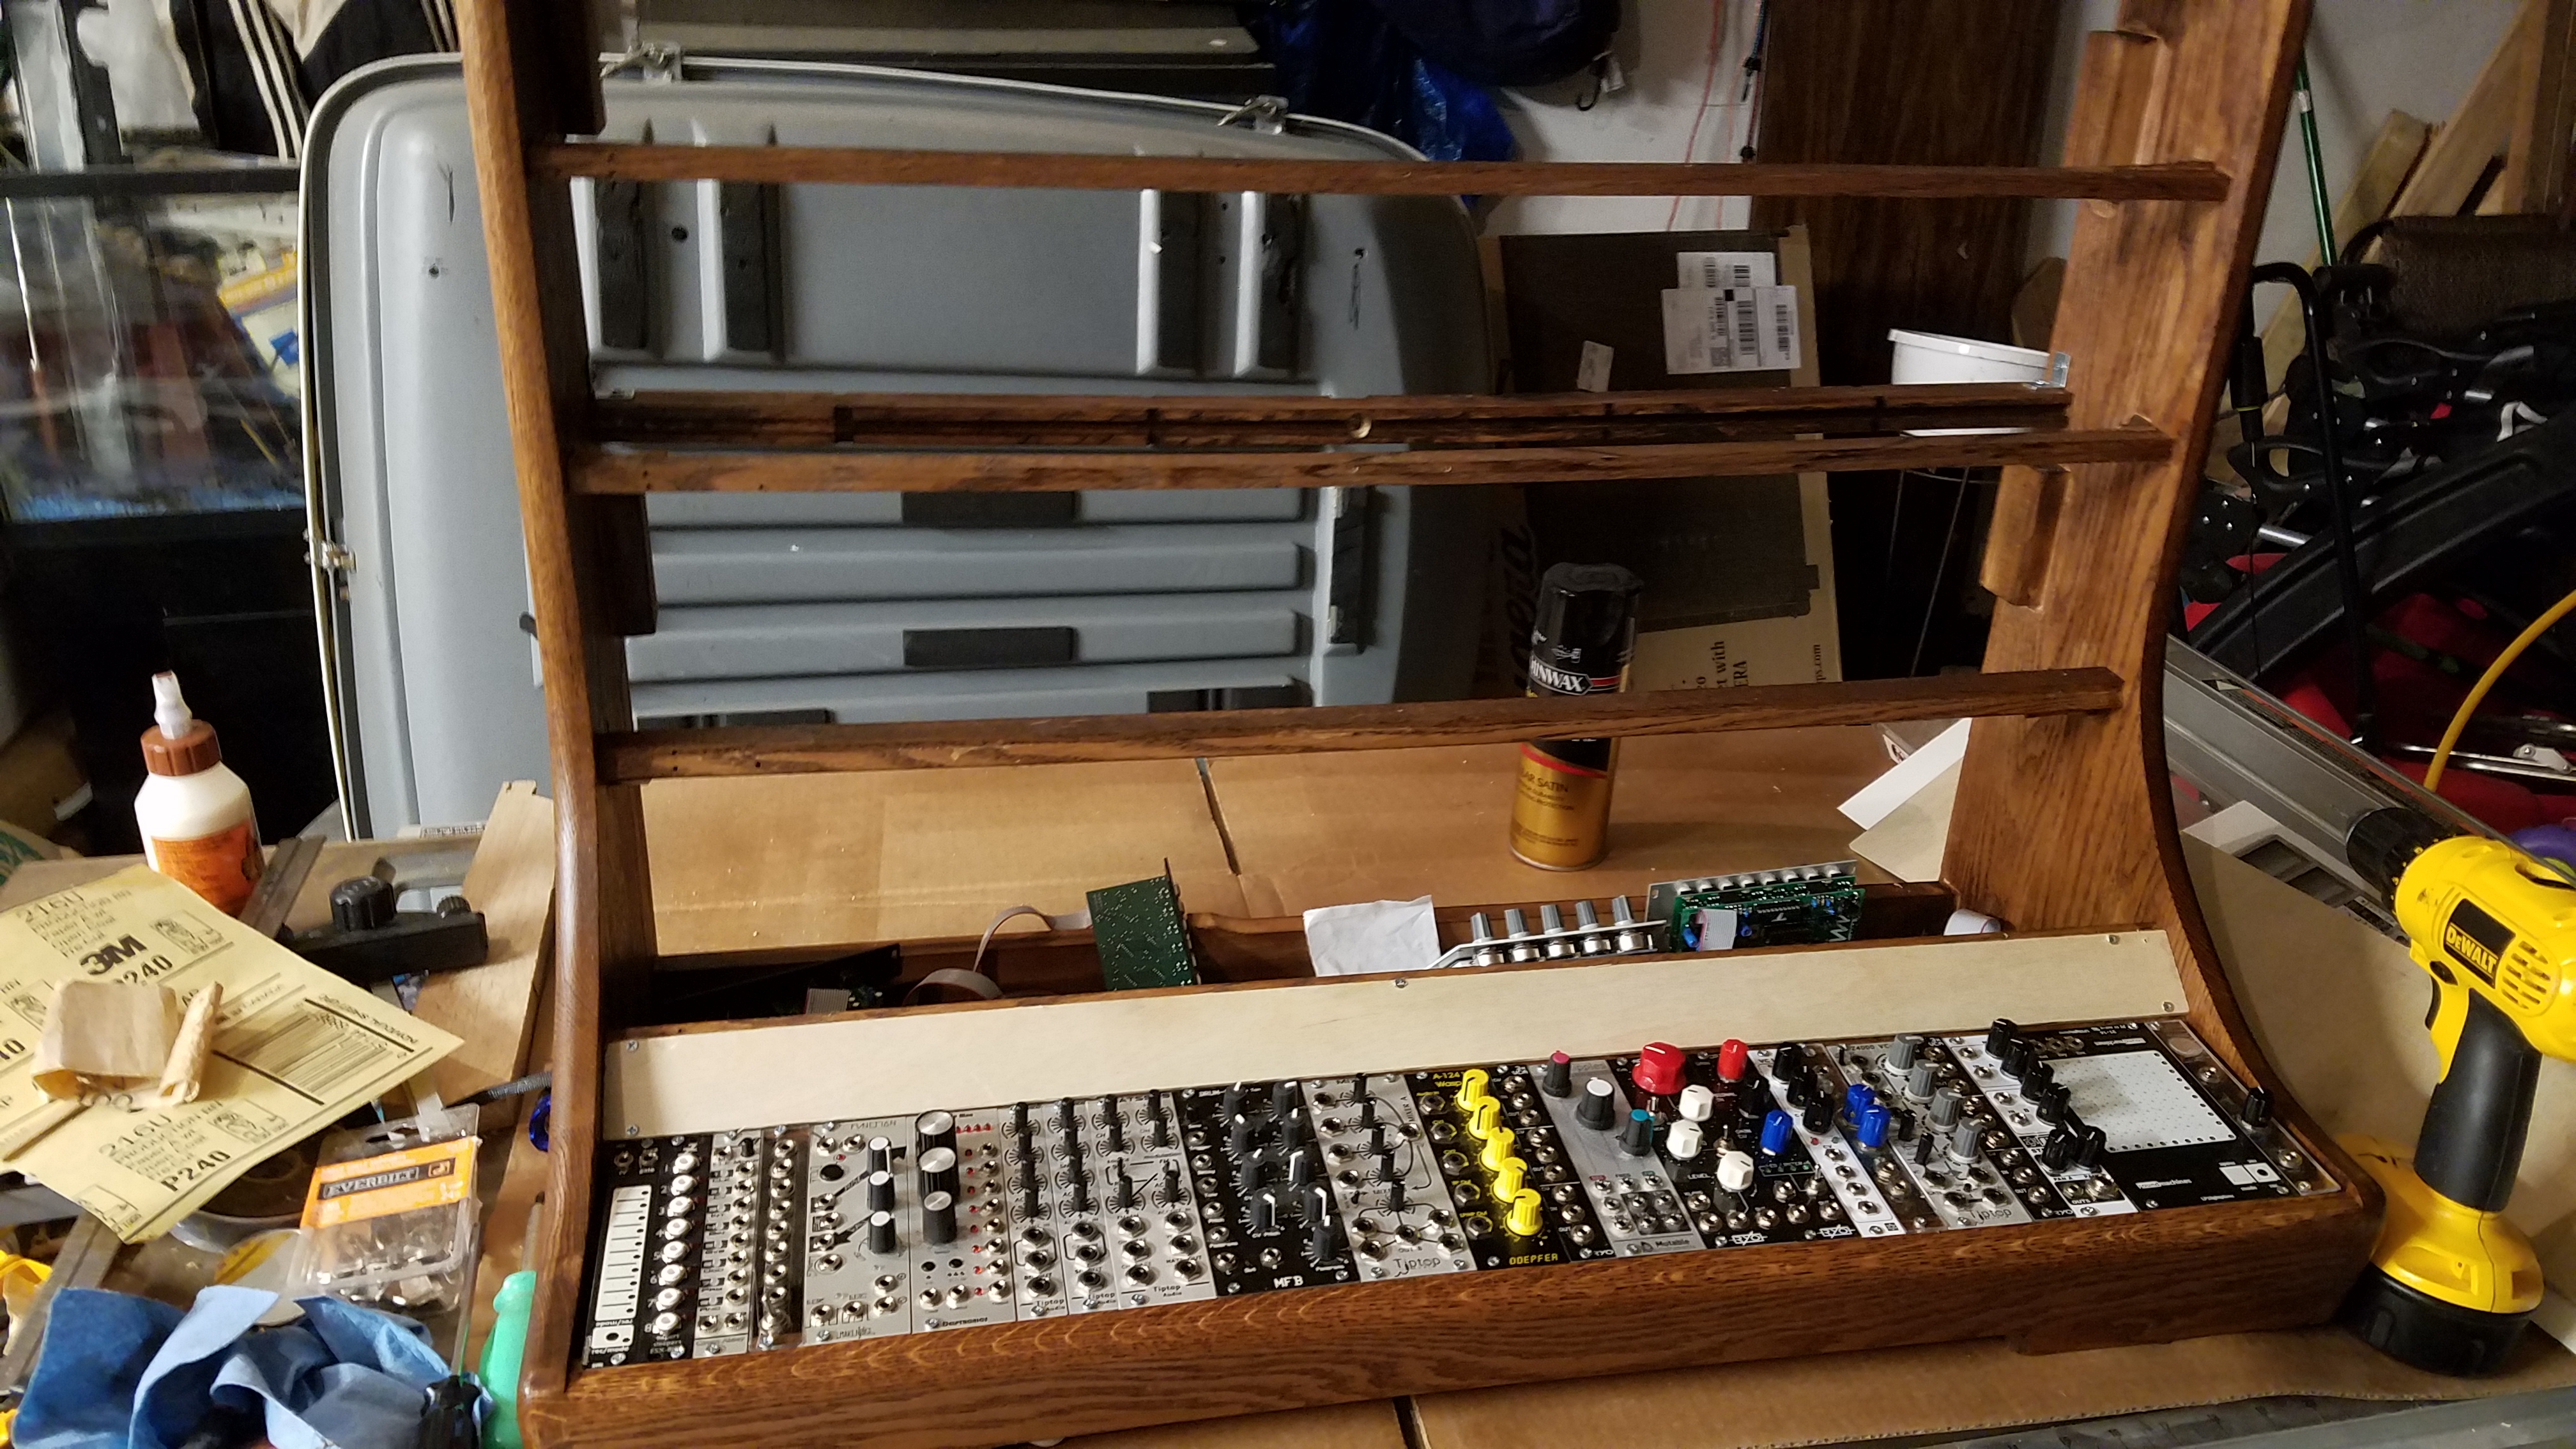
Another, somewhat blurry view. Modules are secured with 1/2″ #4 flat-head phillips screws. They stand a little proud of the panels, but I live with it.
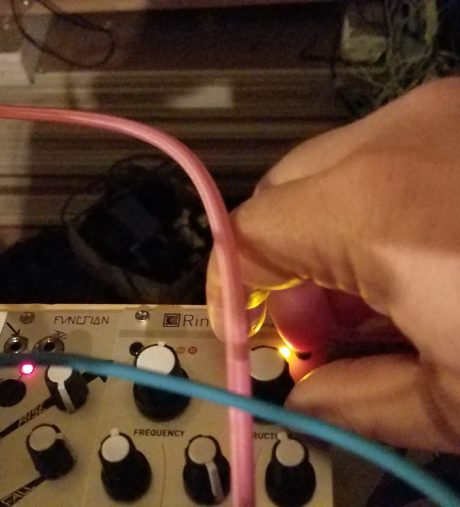
And of course I had to test the power and patch it up before I went to bed. Sounds awesome, and I love how the panels line up with the front bar. There’s a small gap on both ends of the row – allowing for variance in both factory and my DIY panels and also because too ig is better than too small. I may cut some thin inserts to block those gaps before I return my neighbor’s table saw if I get really fidgety.
Thanks for following along. I hope to get to work on the next row this evening, though I have some other commitments, so I probably won’t get ‘done.’