
[EDIT: I hated how the pictures were presented. Still getting used to WP.]
Yesterday, between paint coats on the back panel, I hit the main body of the synth case with air compressor to blow off the sanding dust. I found some pretty large pores/open grain, especially in some of the roundover edges. So this morning when I couldn’t sleep, I hit it with the grain filler and let it set until Imani was napping this afternoon. I did one more (I thought) of sanding and blew it off again and did a light wipe-down with mineral spirits.
This was eye-opening. Not only did it lift out more dust, it revealed a couple spots where I needed MORE filler and LESS filler (more sanding). It also showed where I’d gotten some glue on a show surface which also needed to be sanded away. So after the touch ups, I was FINALLY ready to release some fumes . . .
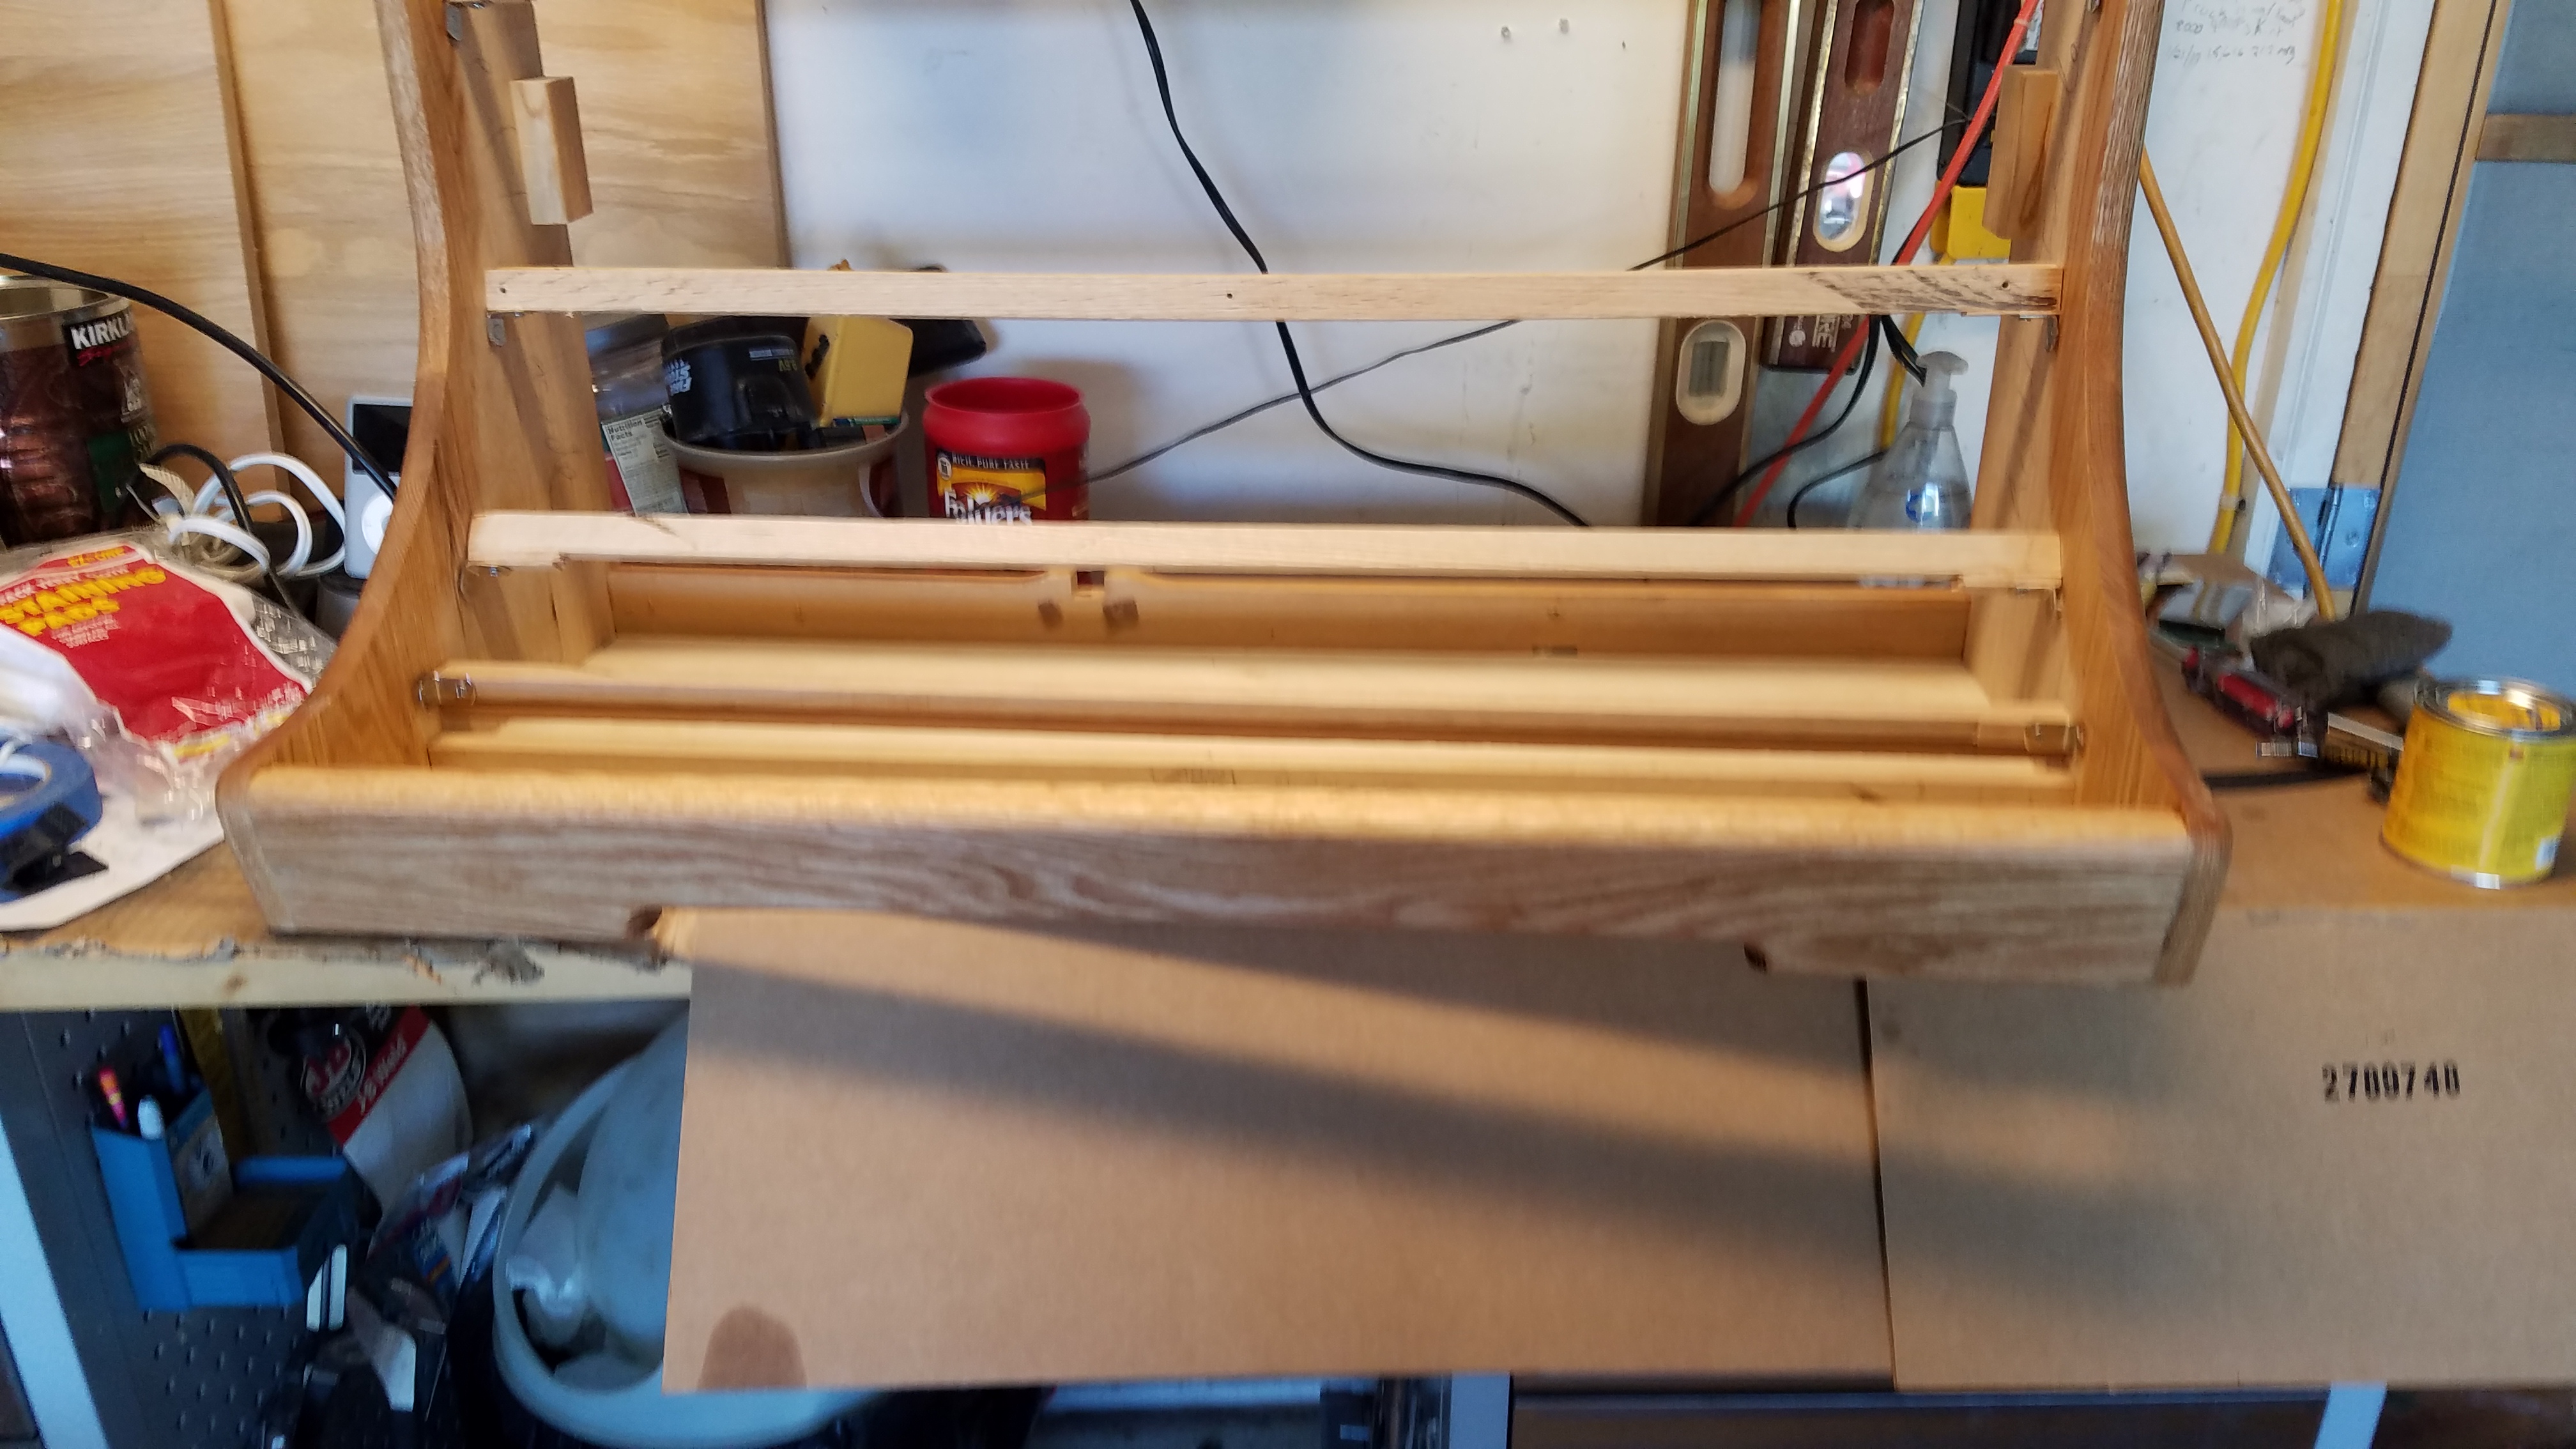
I started with a coat of Minwax Pre-stain Wood Conditioner. I’ve never used this before, but it purports to condition the wood (duh) to avoid blotchy coverage. Since my few other stained projects (aquarium stand and large shelf) have some blotchiness, I figured it was worth the $3-4 for the tine can. A little of this went a LONG way, and it IMMEDIATELY made the grain pop. I’m not generally a ‘light oak’ kind of guy, but this looked REALLY nice to me – a light amber, almost butterscotch coloration. For a minute, I thought about running out and getting different stain to keep it light. Check it out . . .

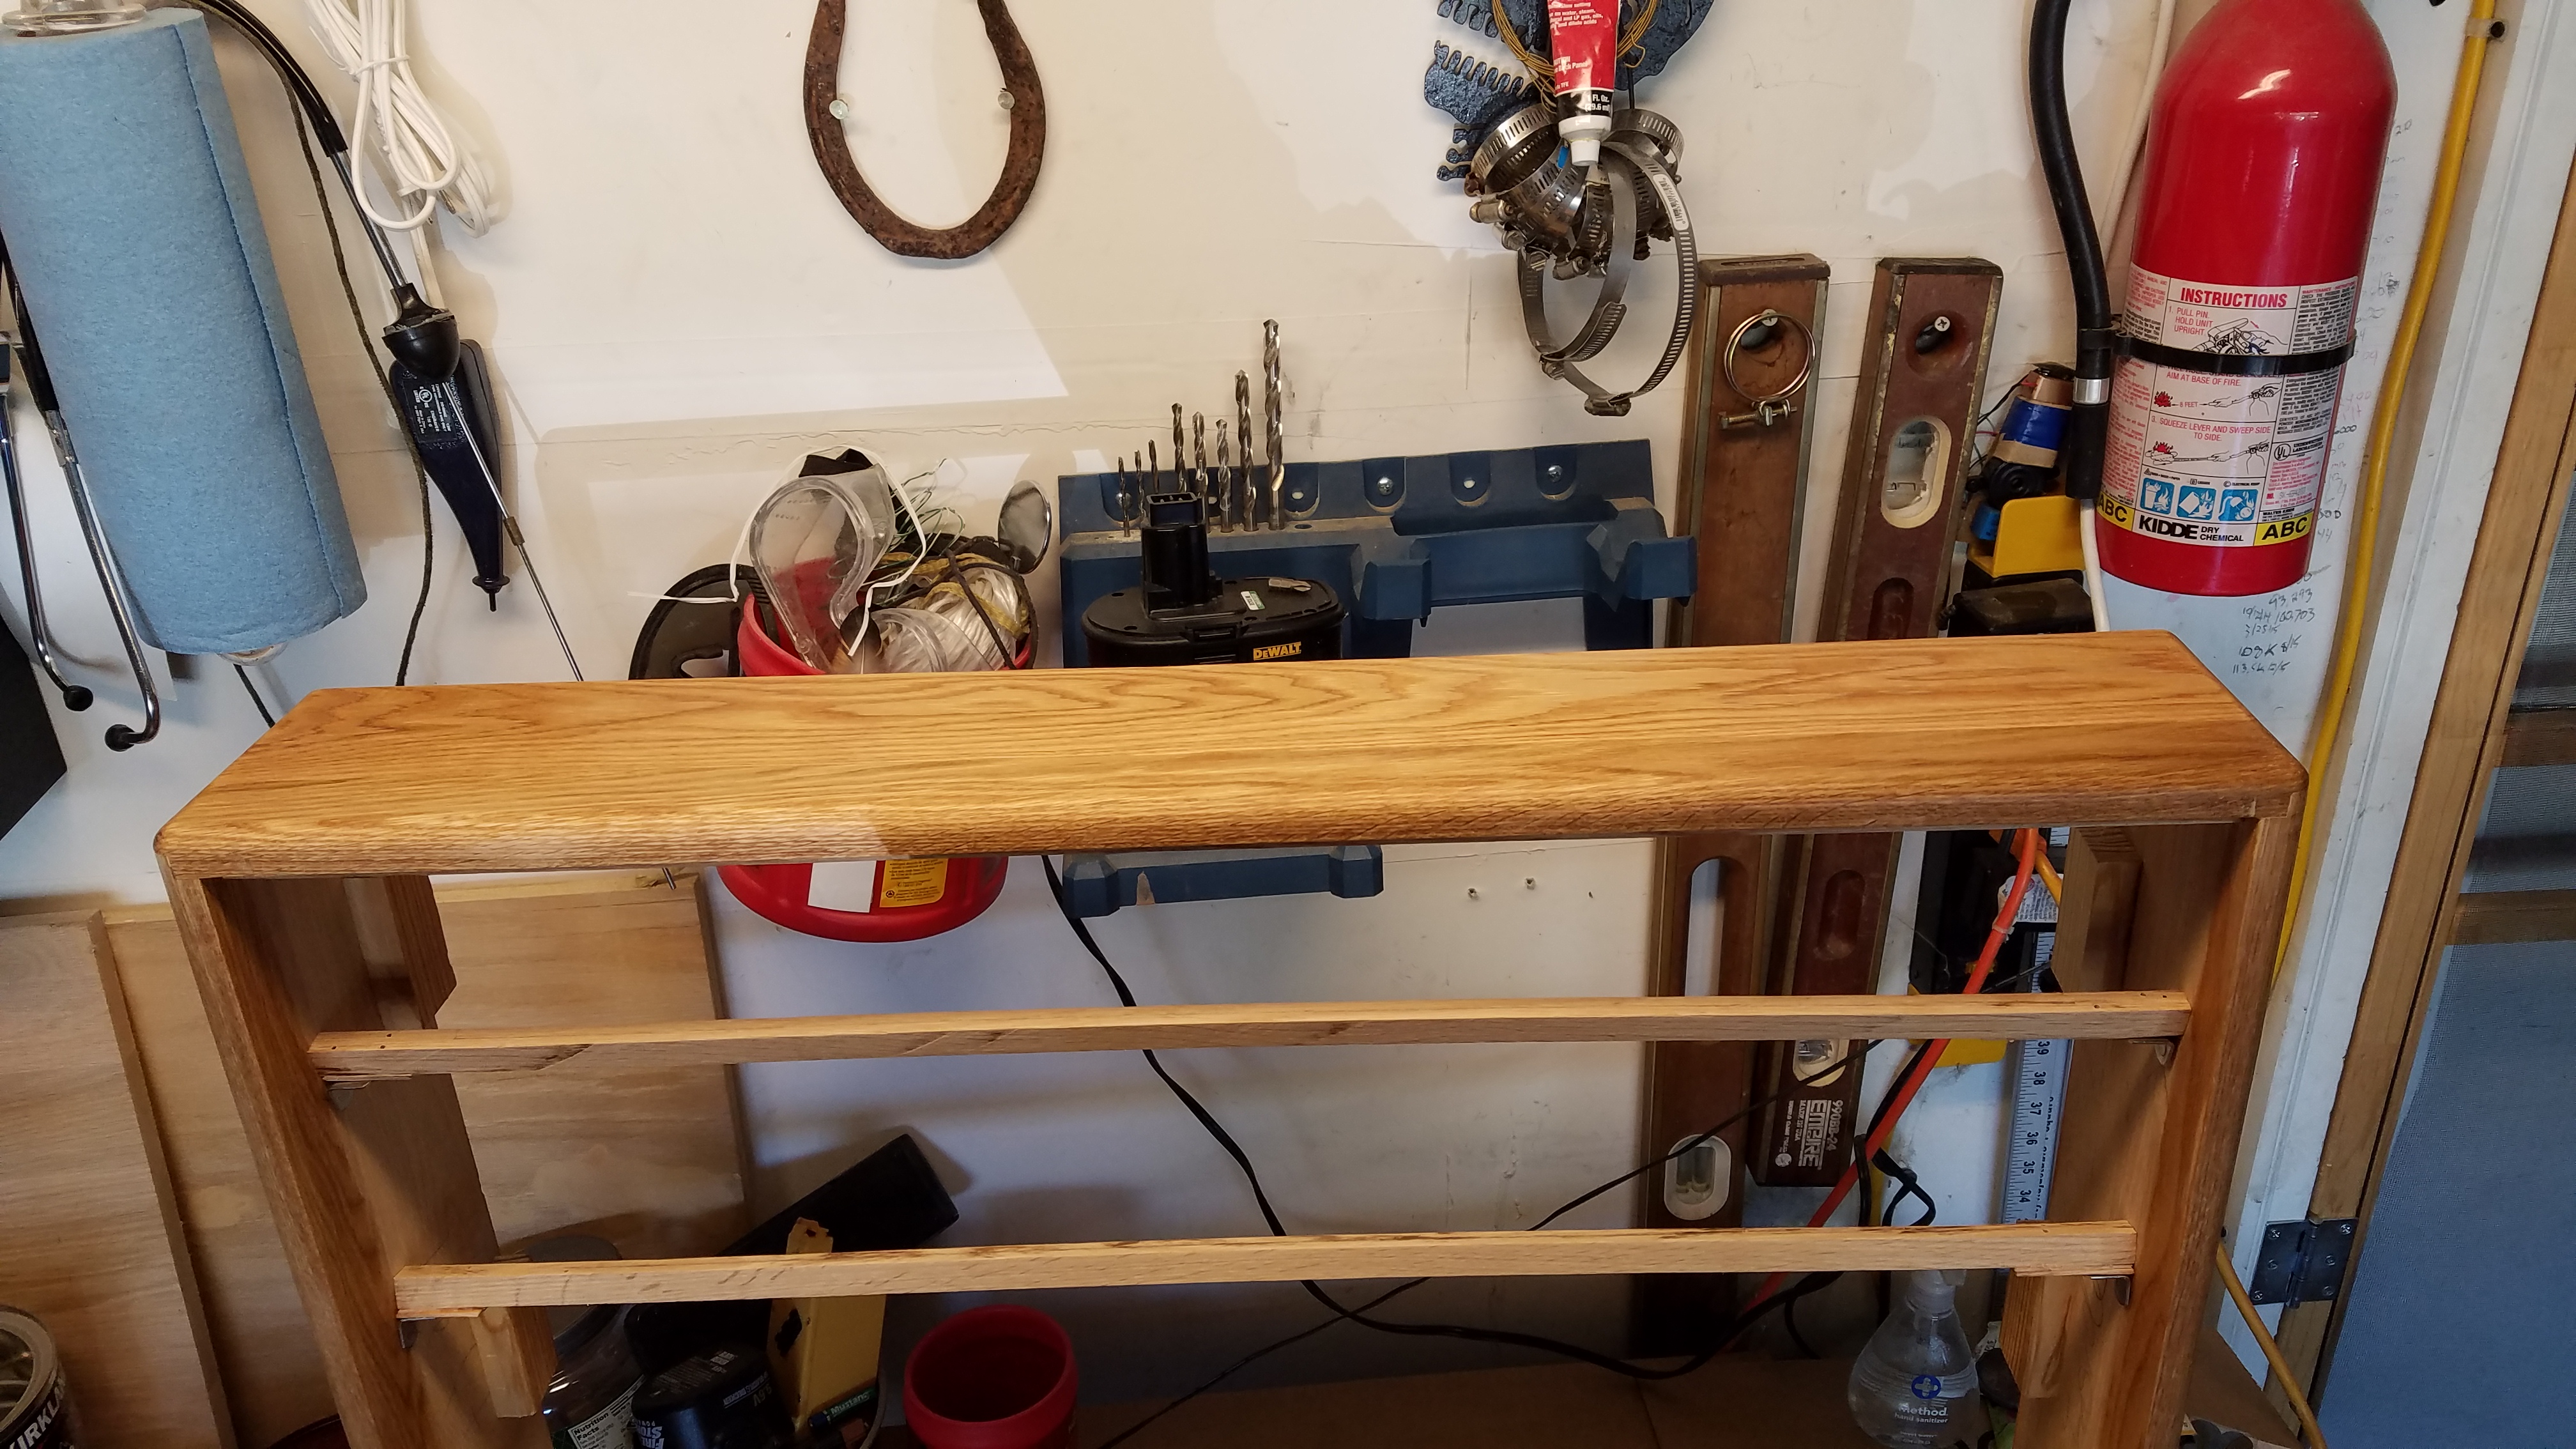
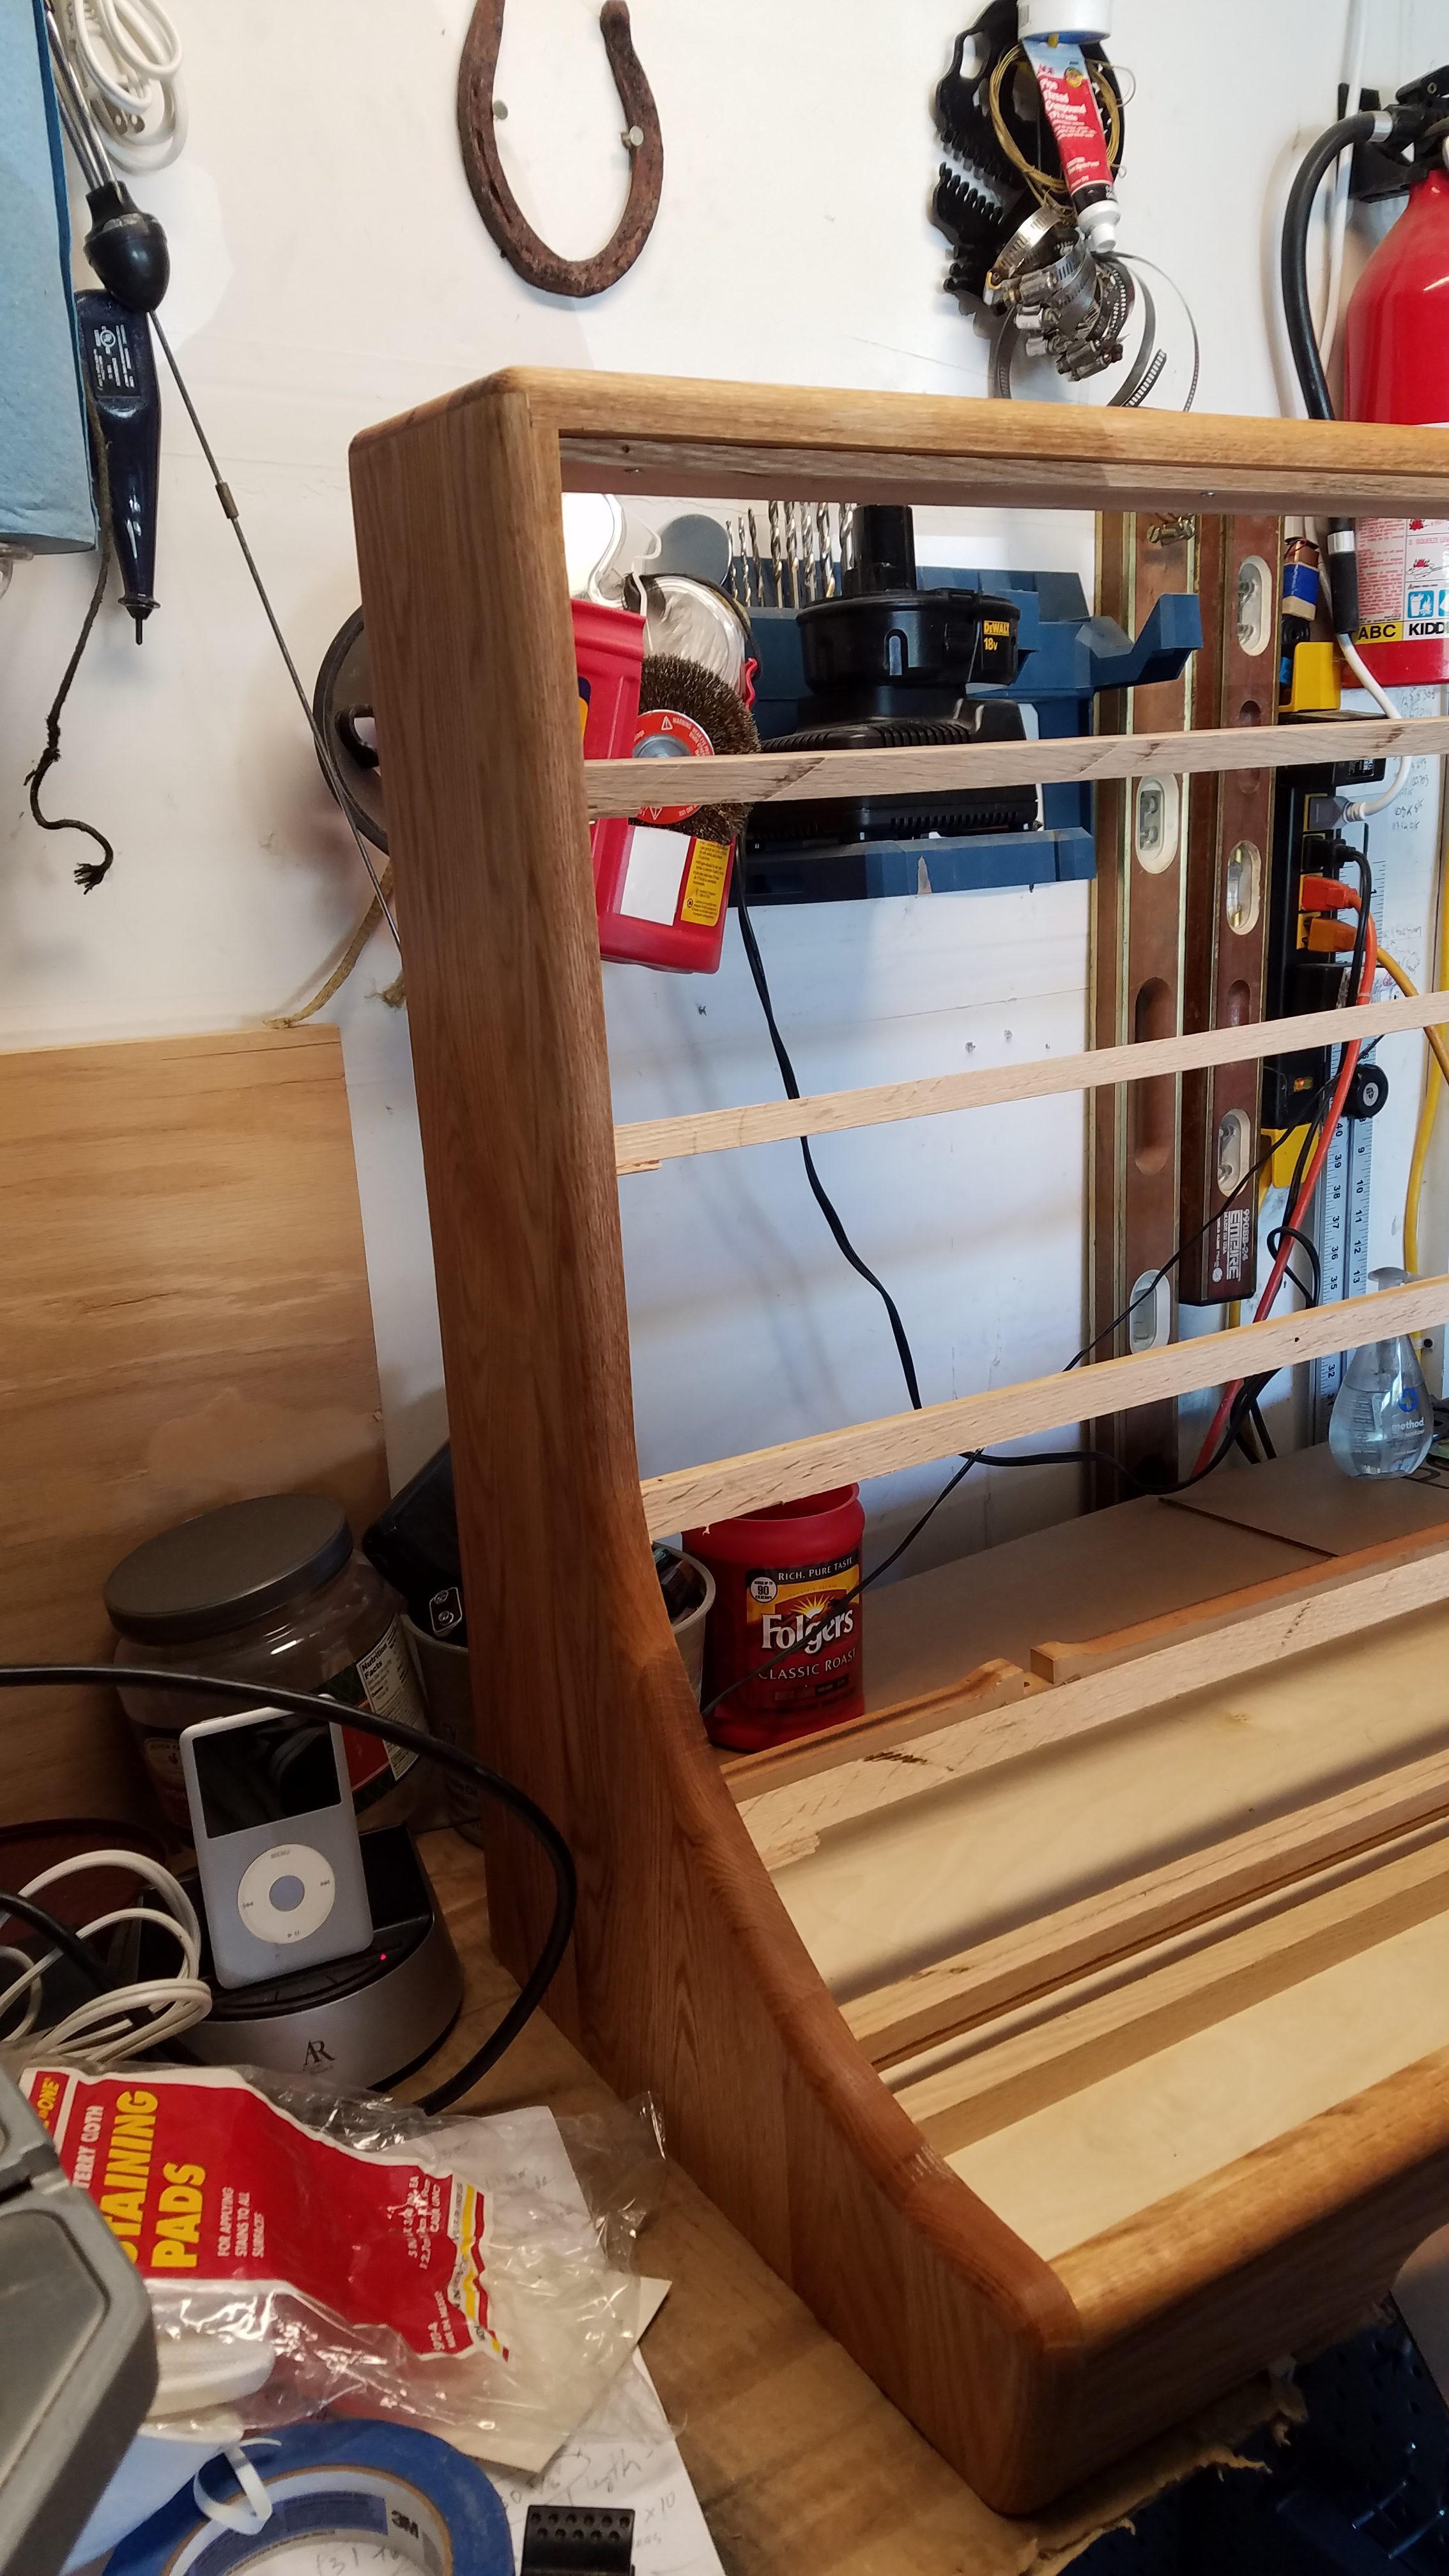

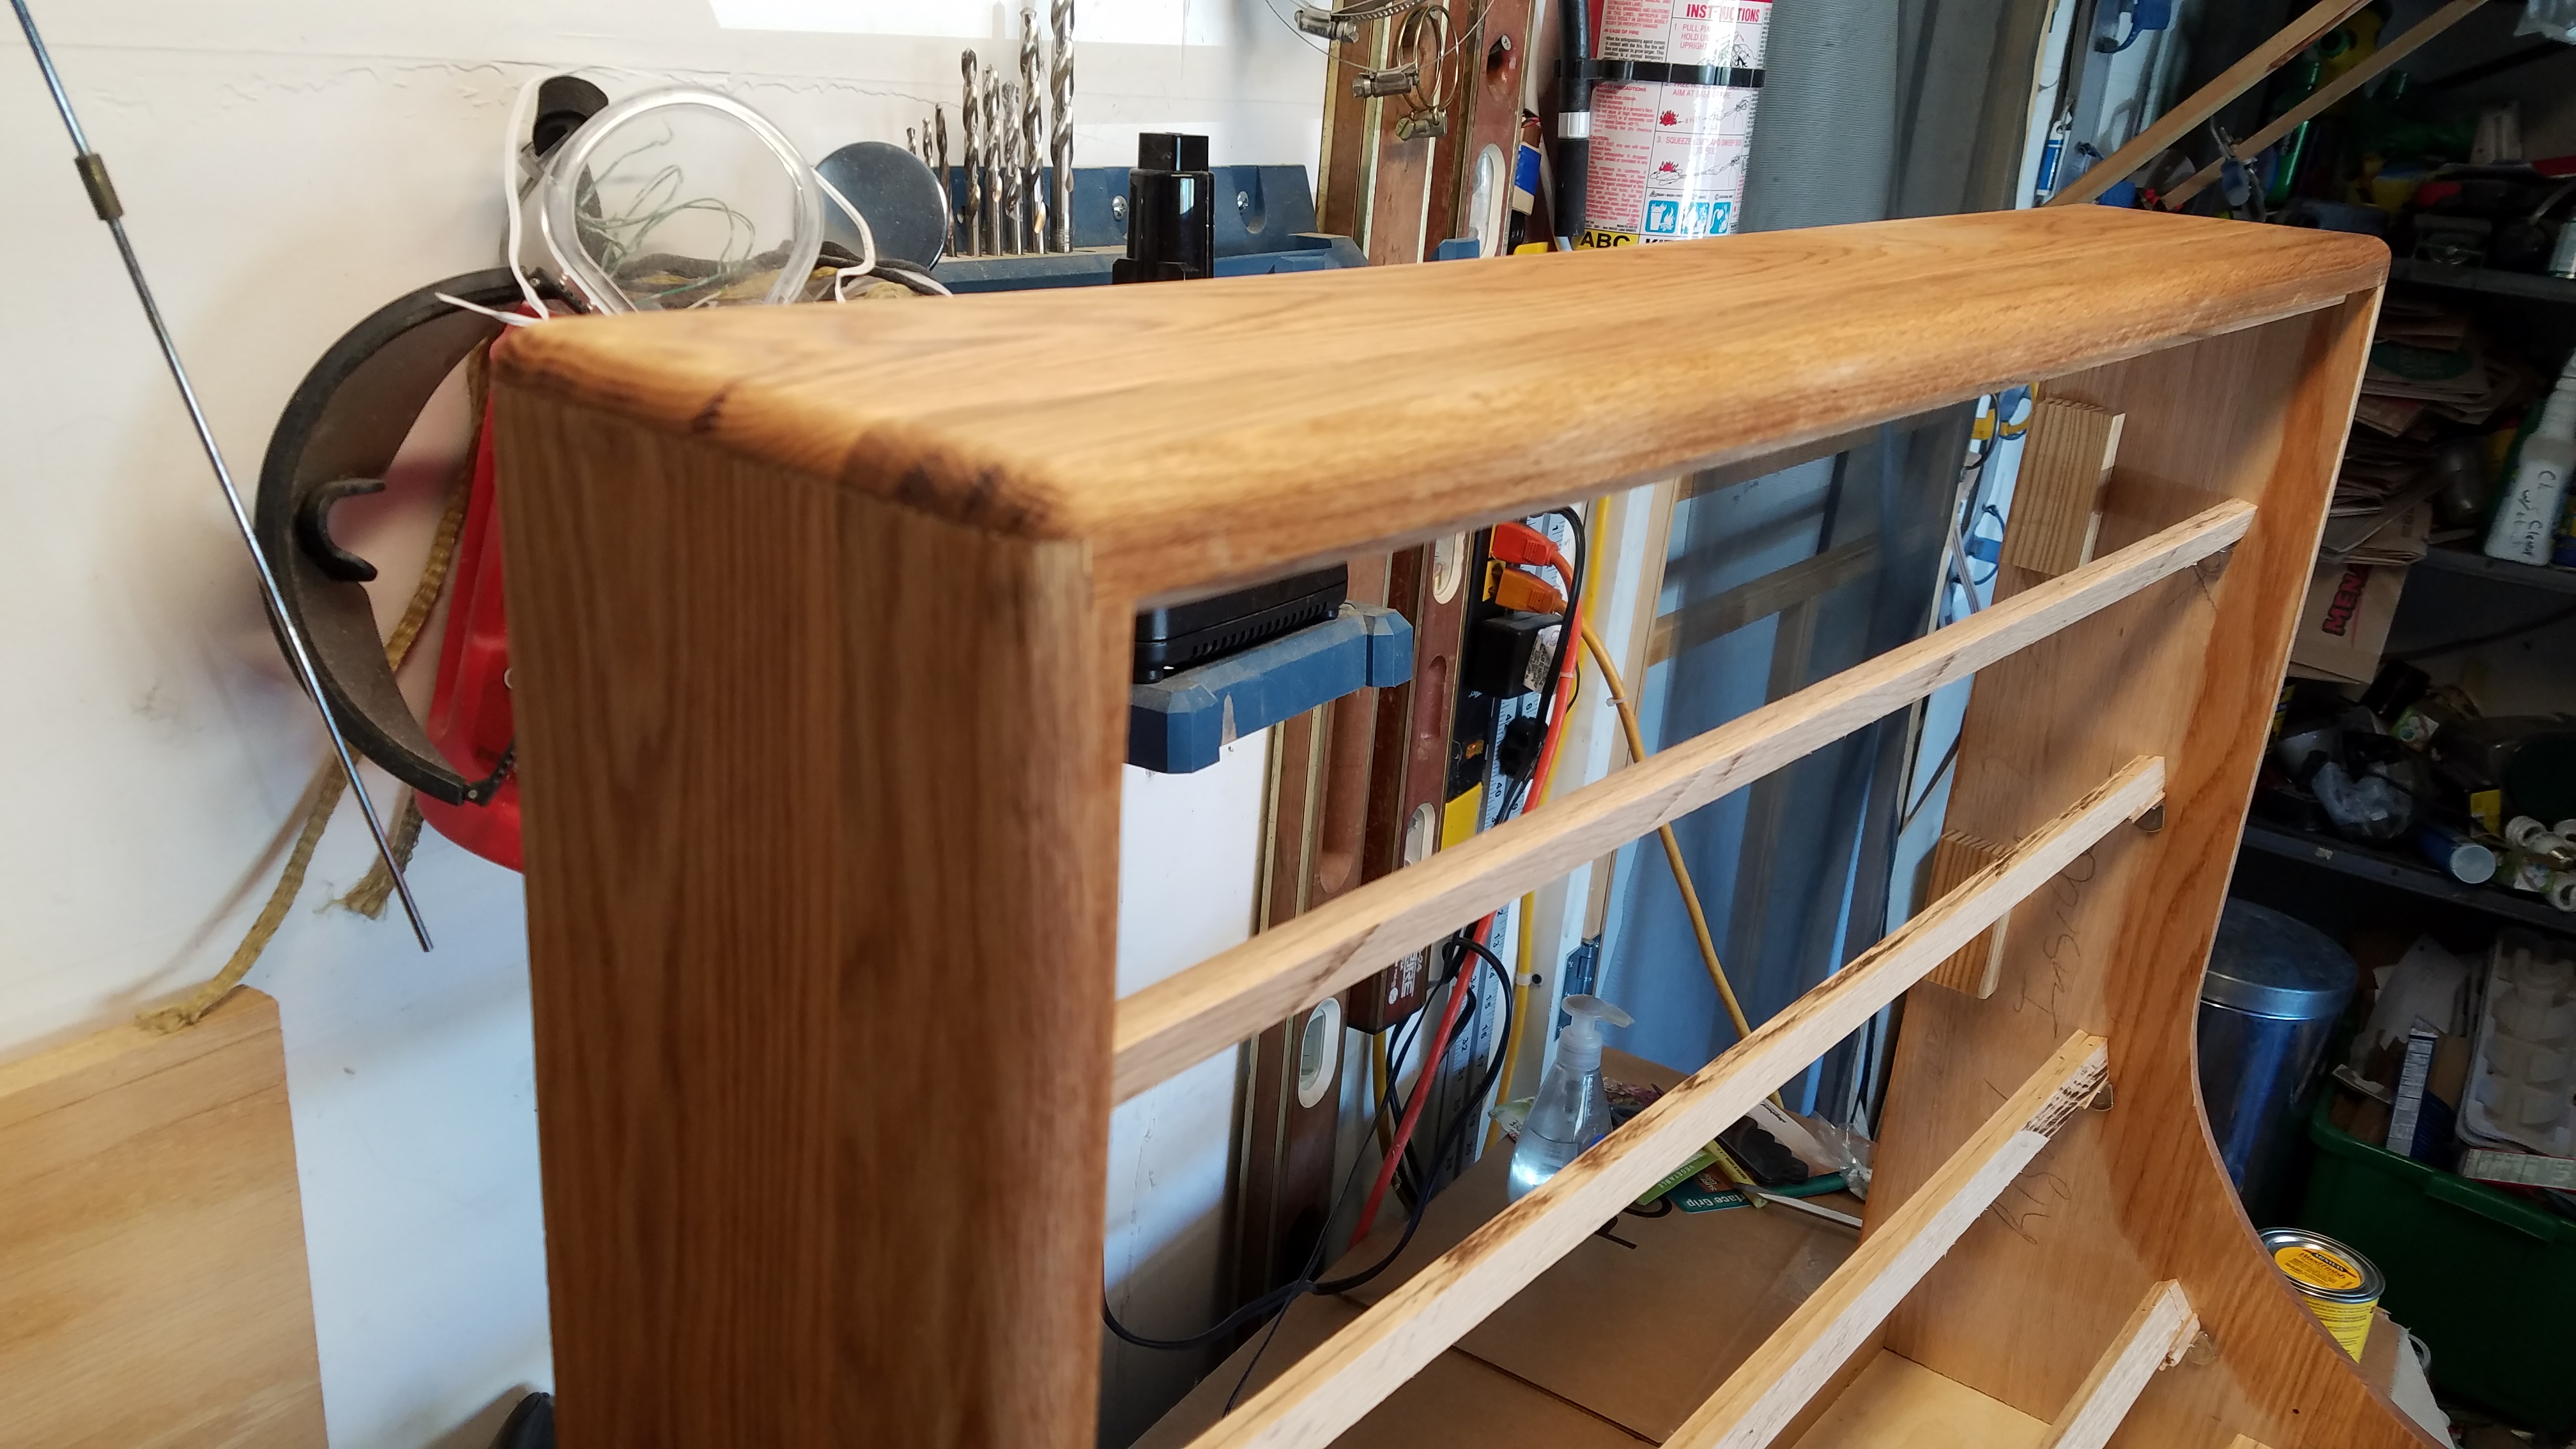
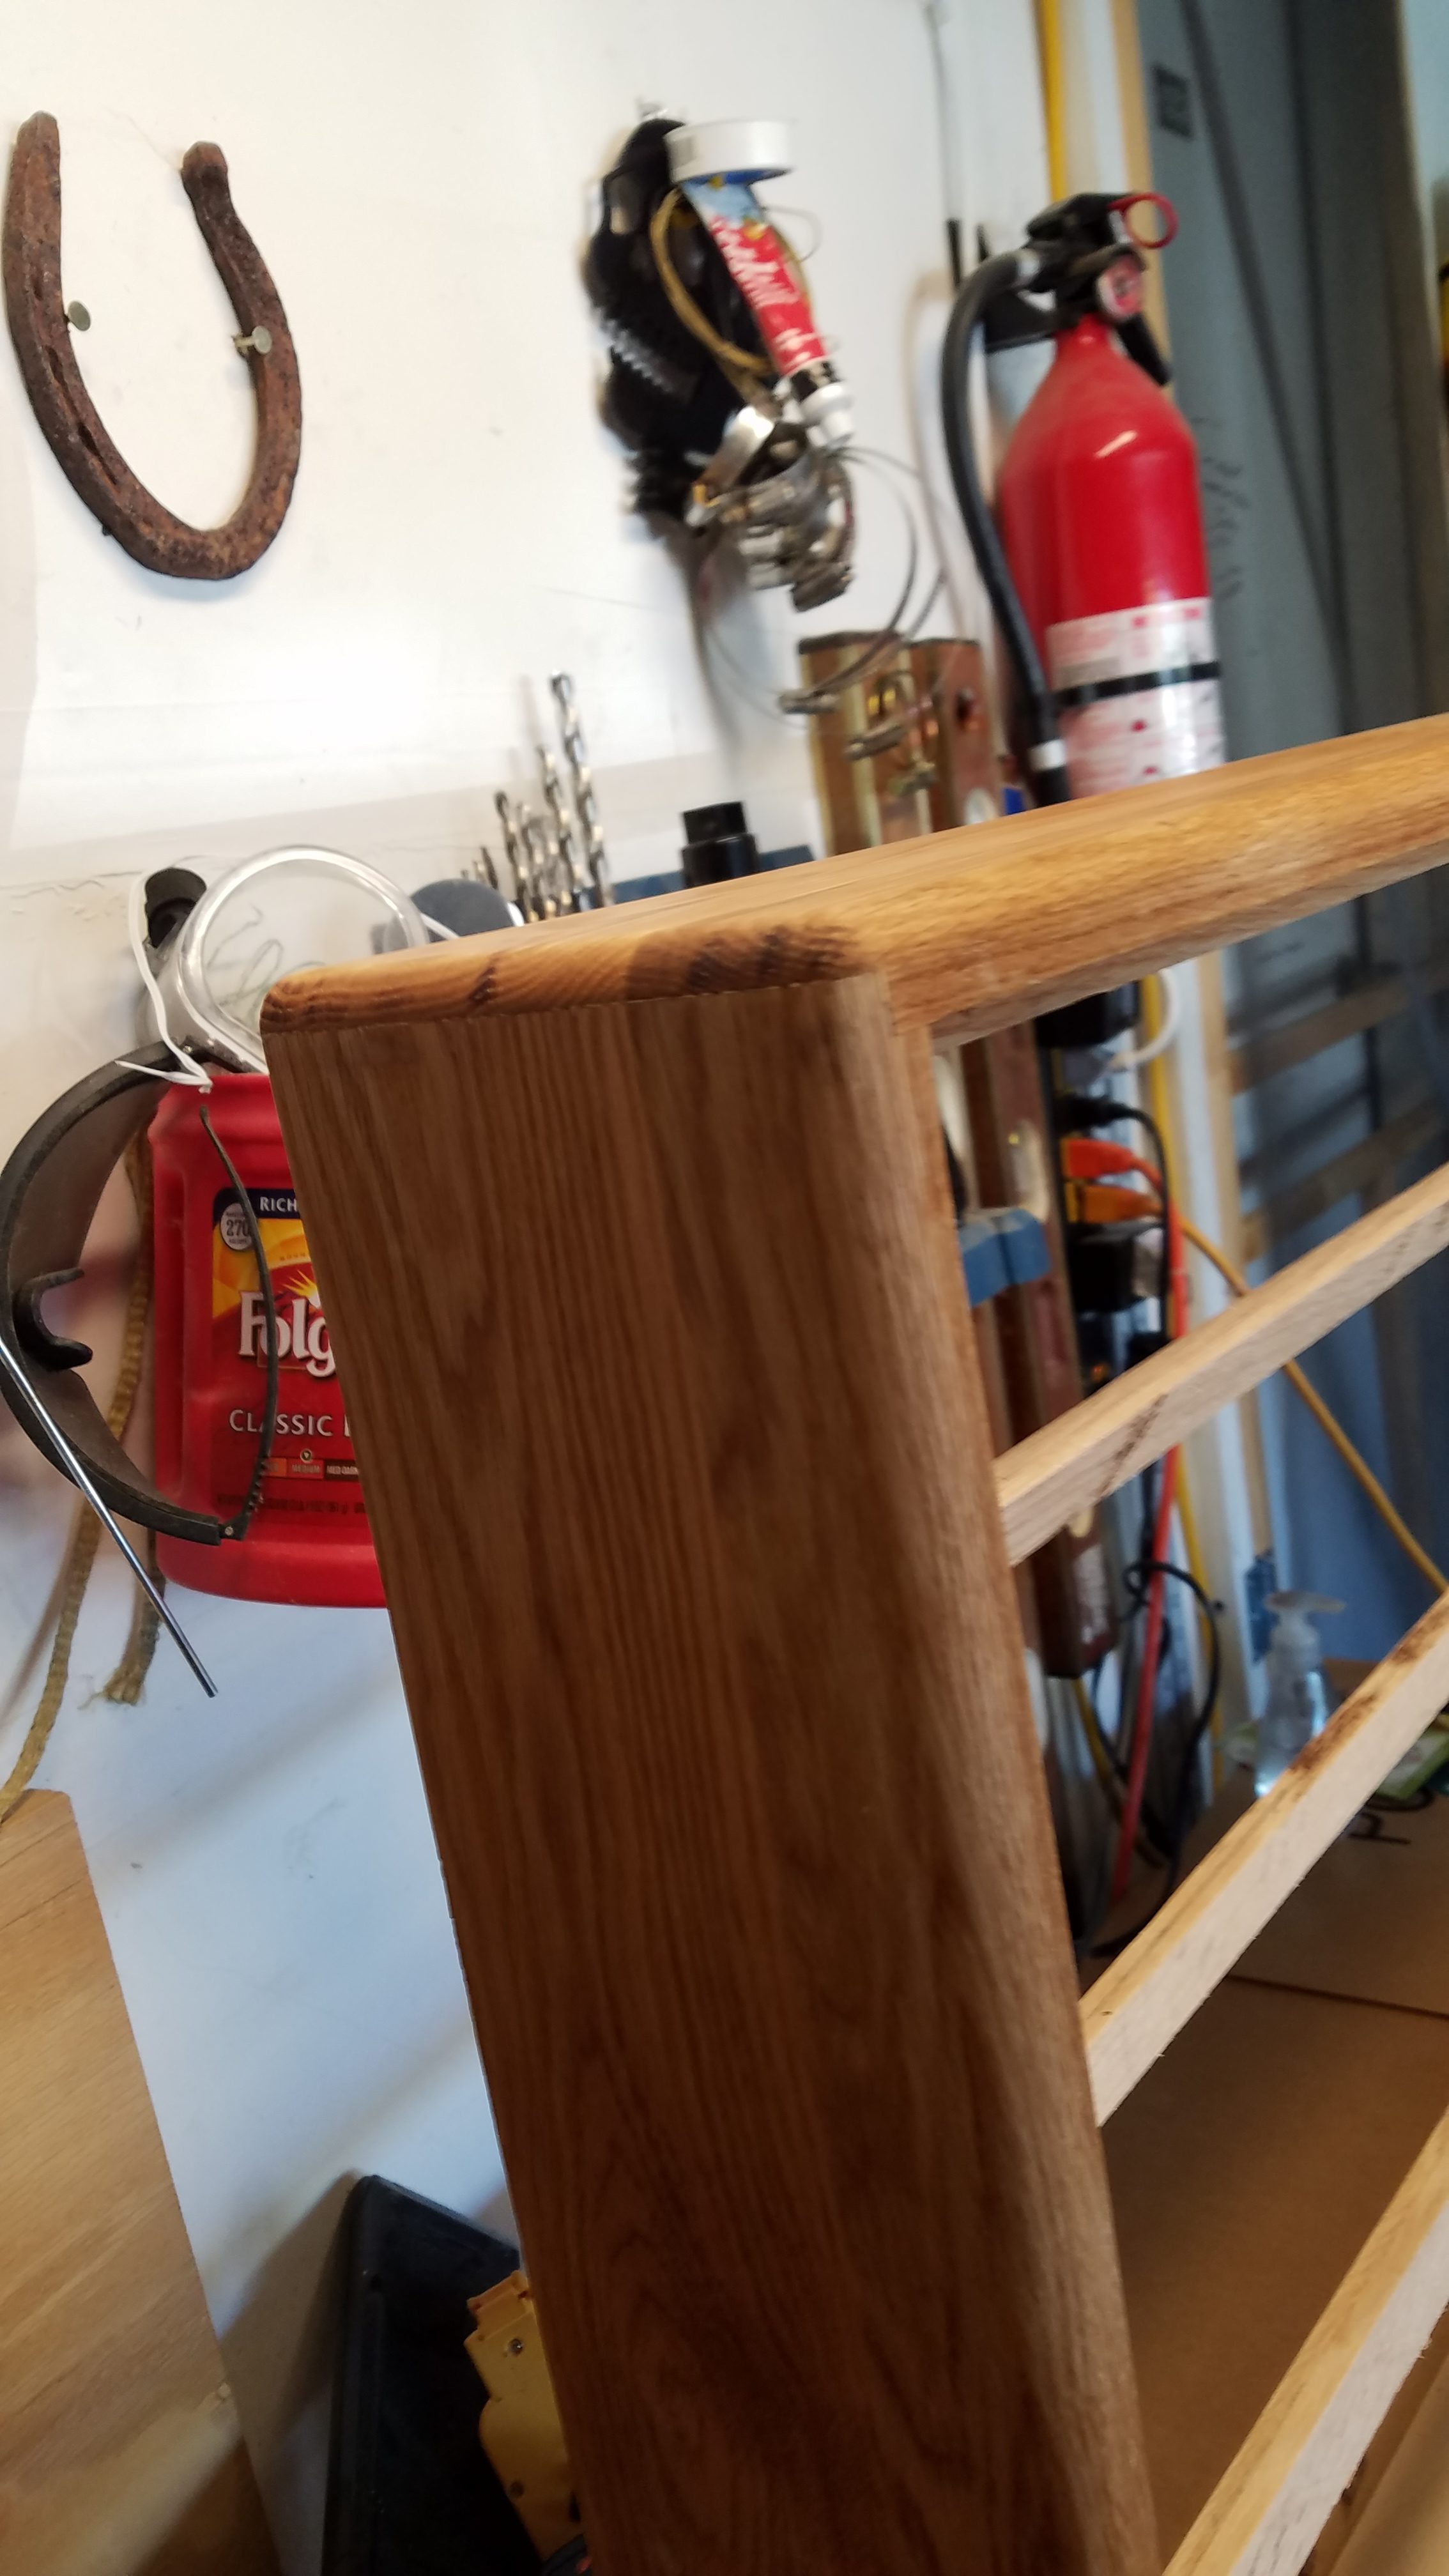
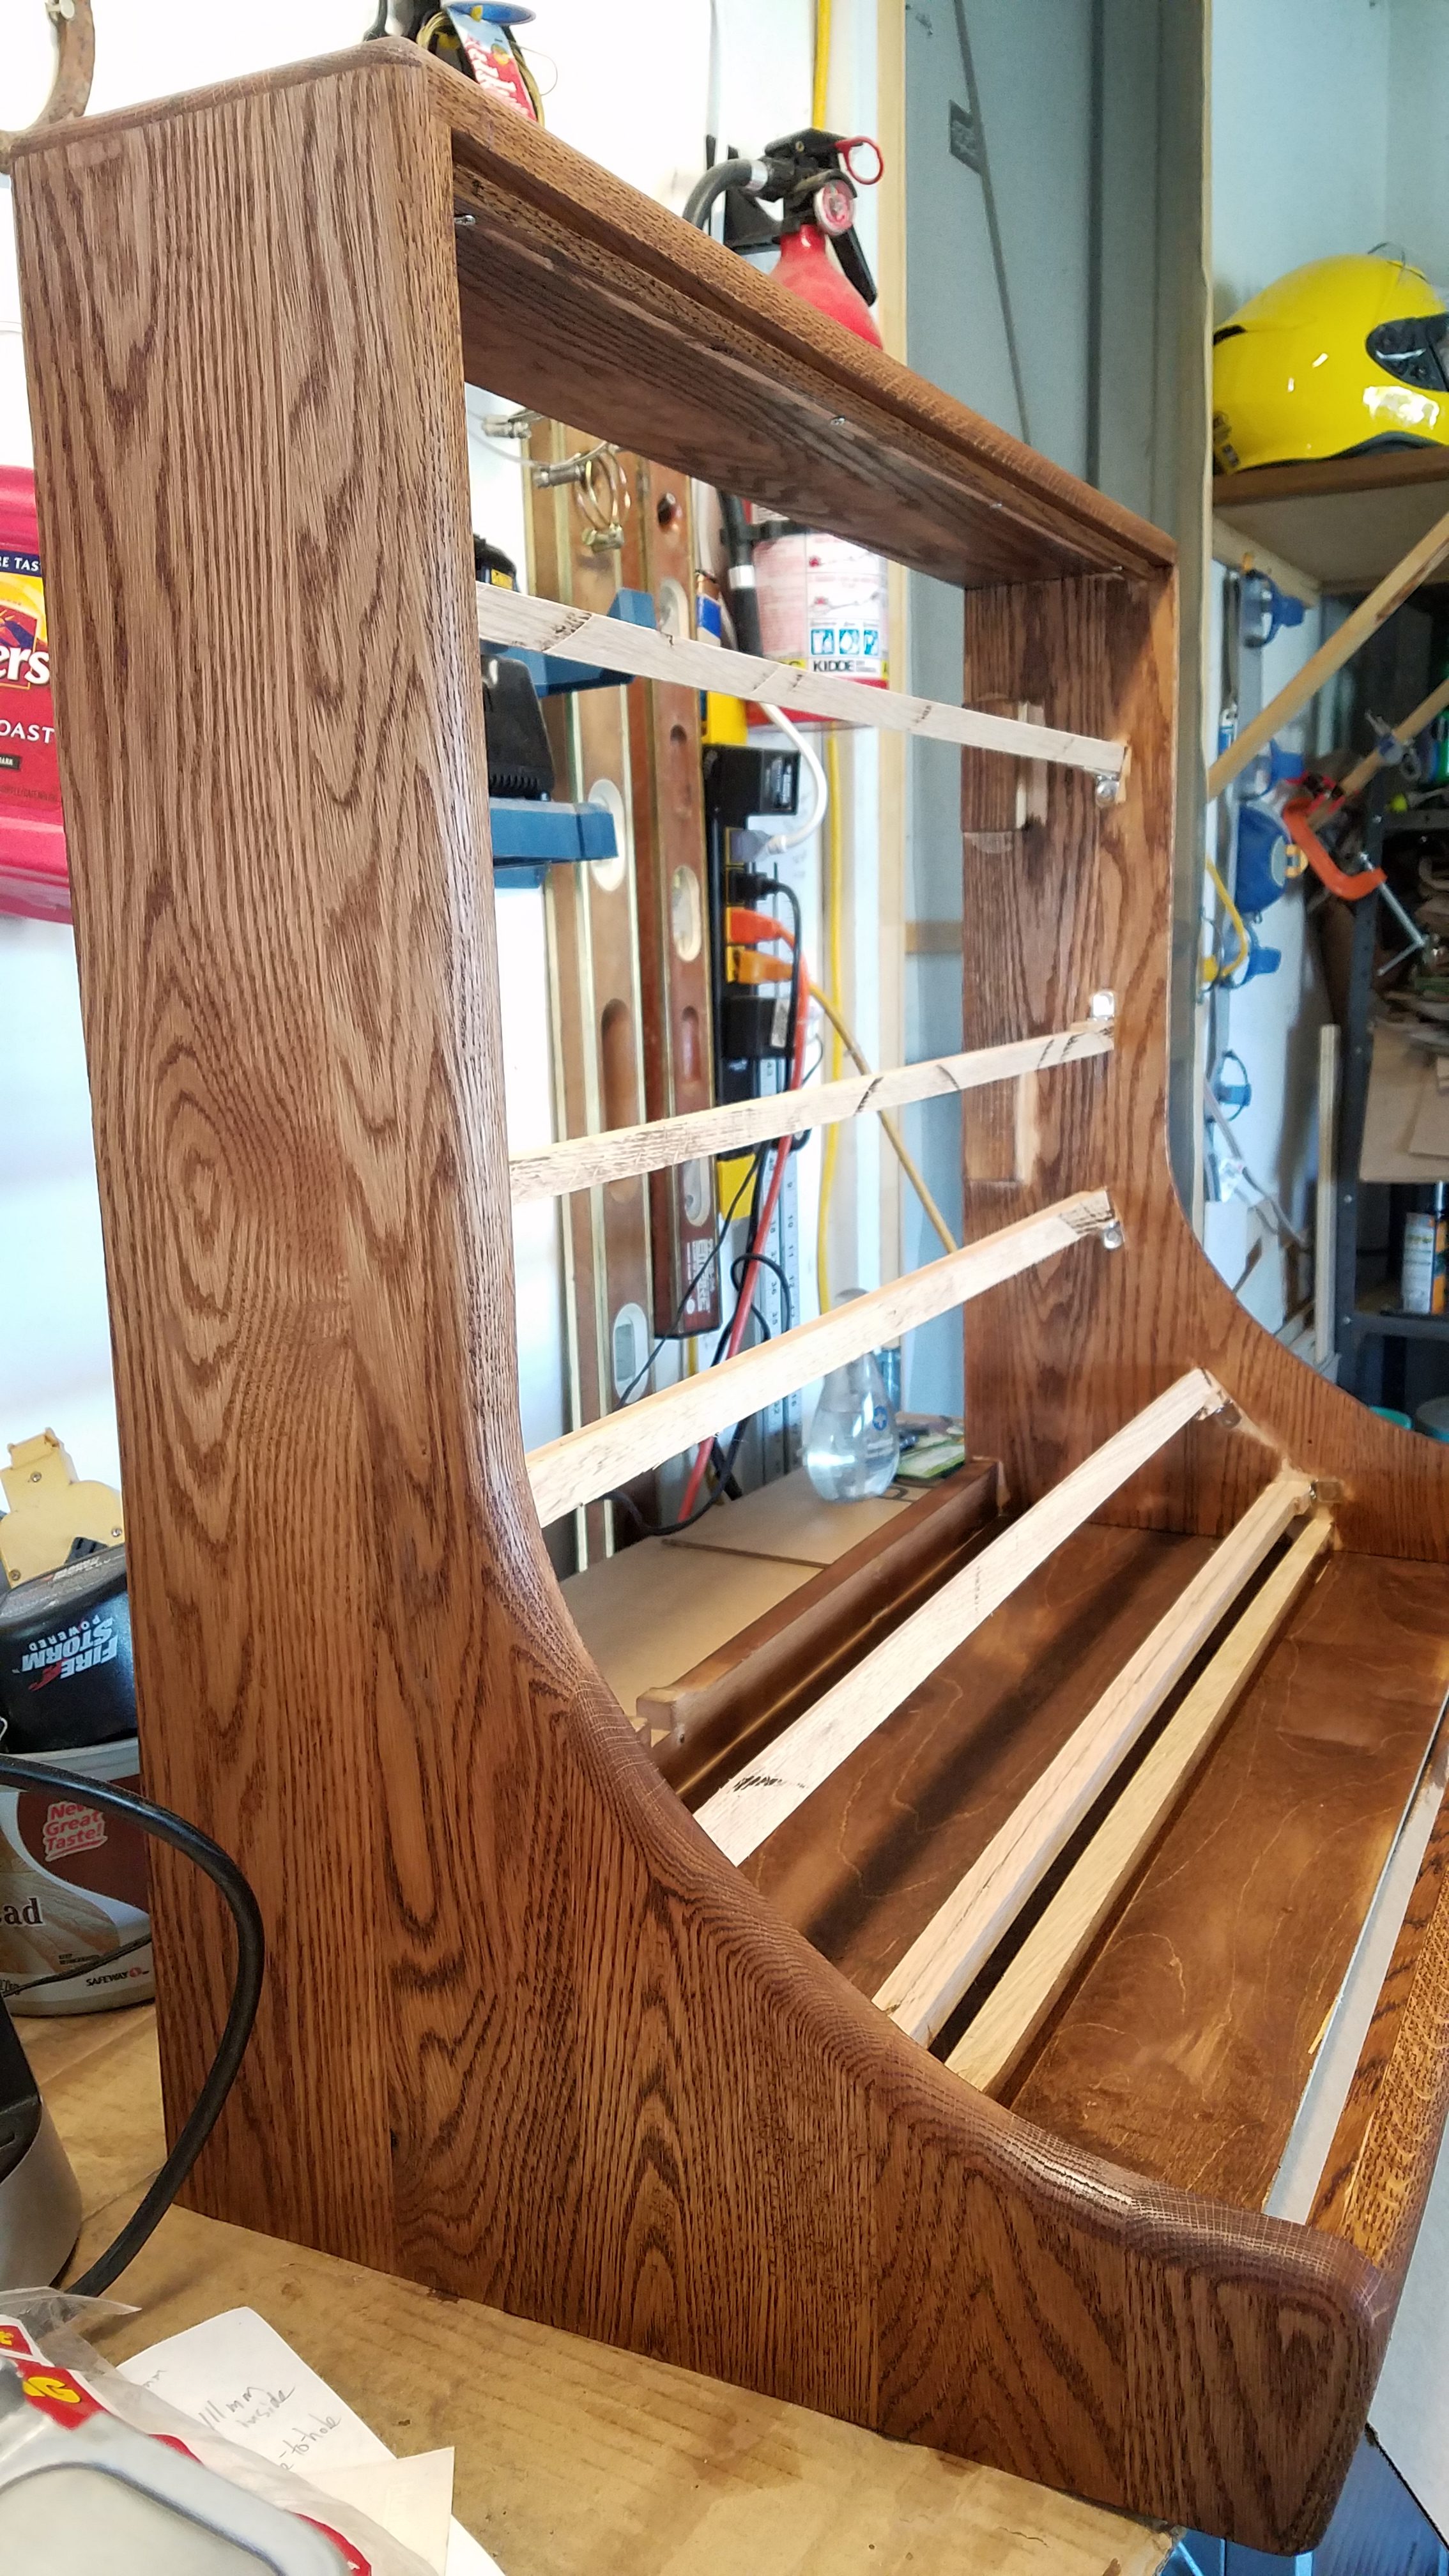
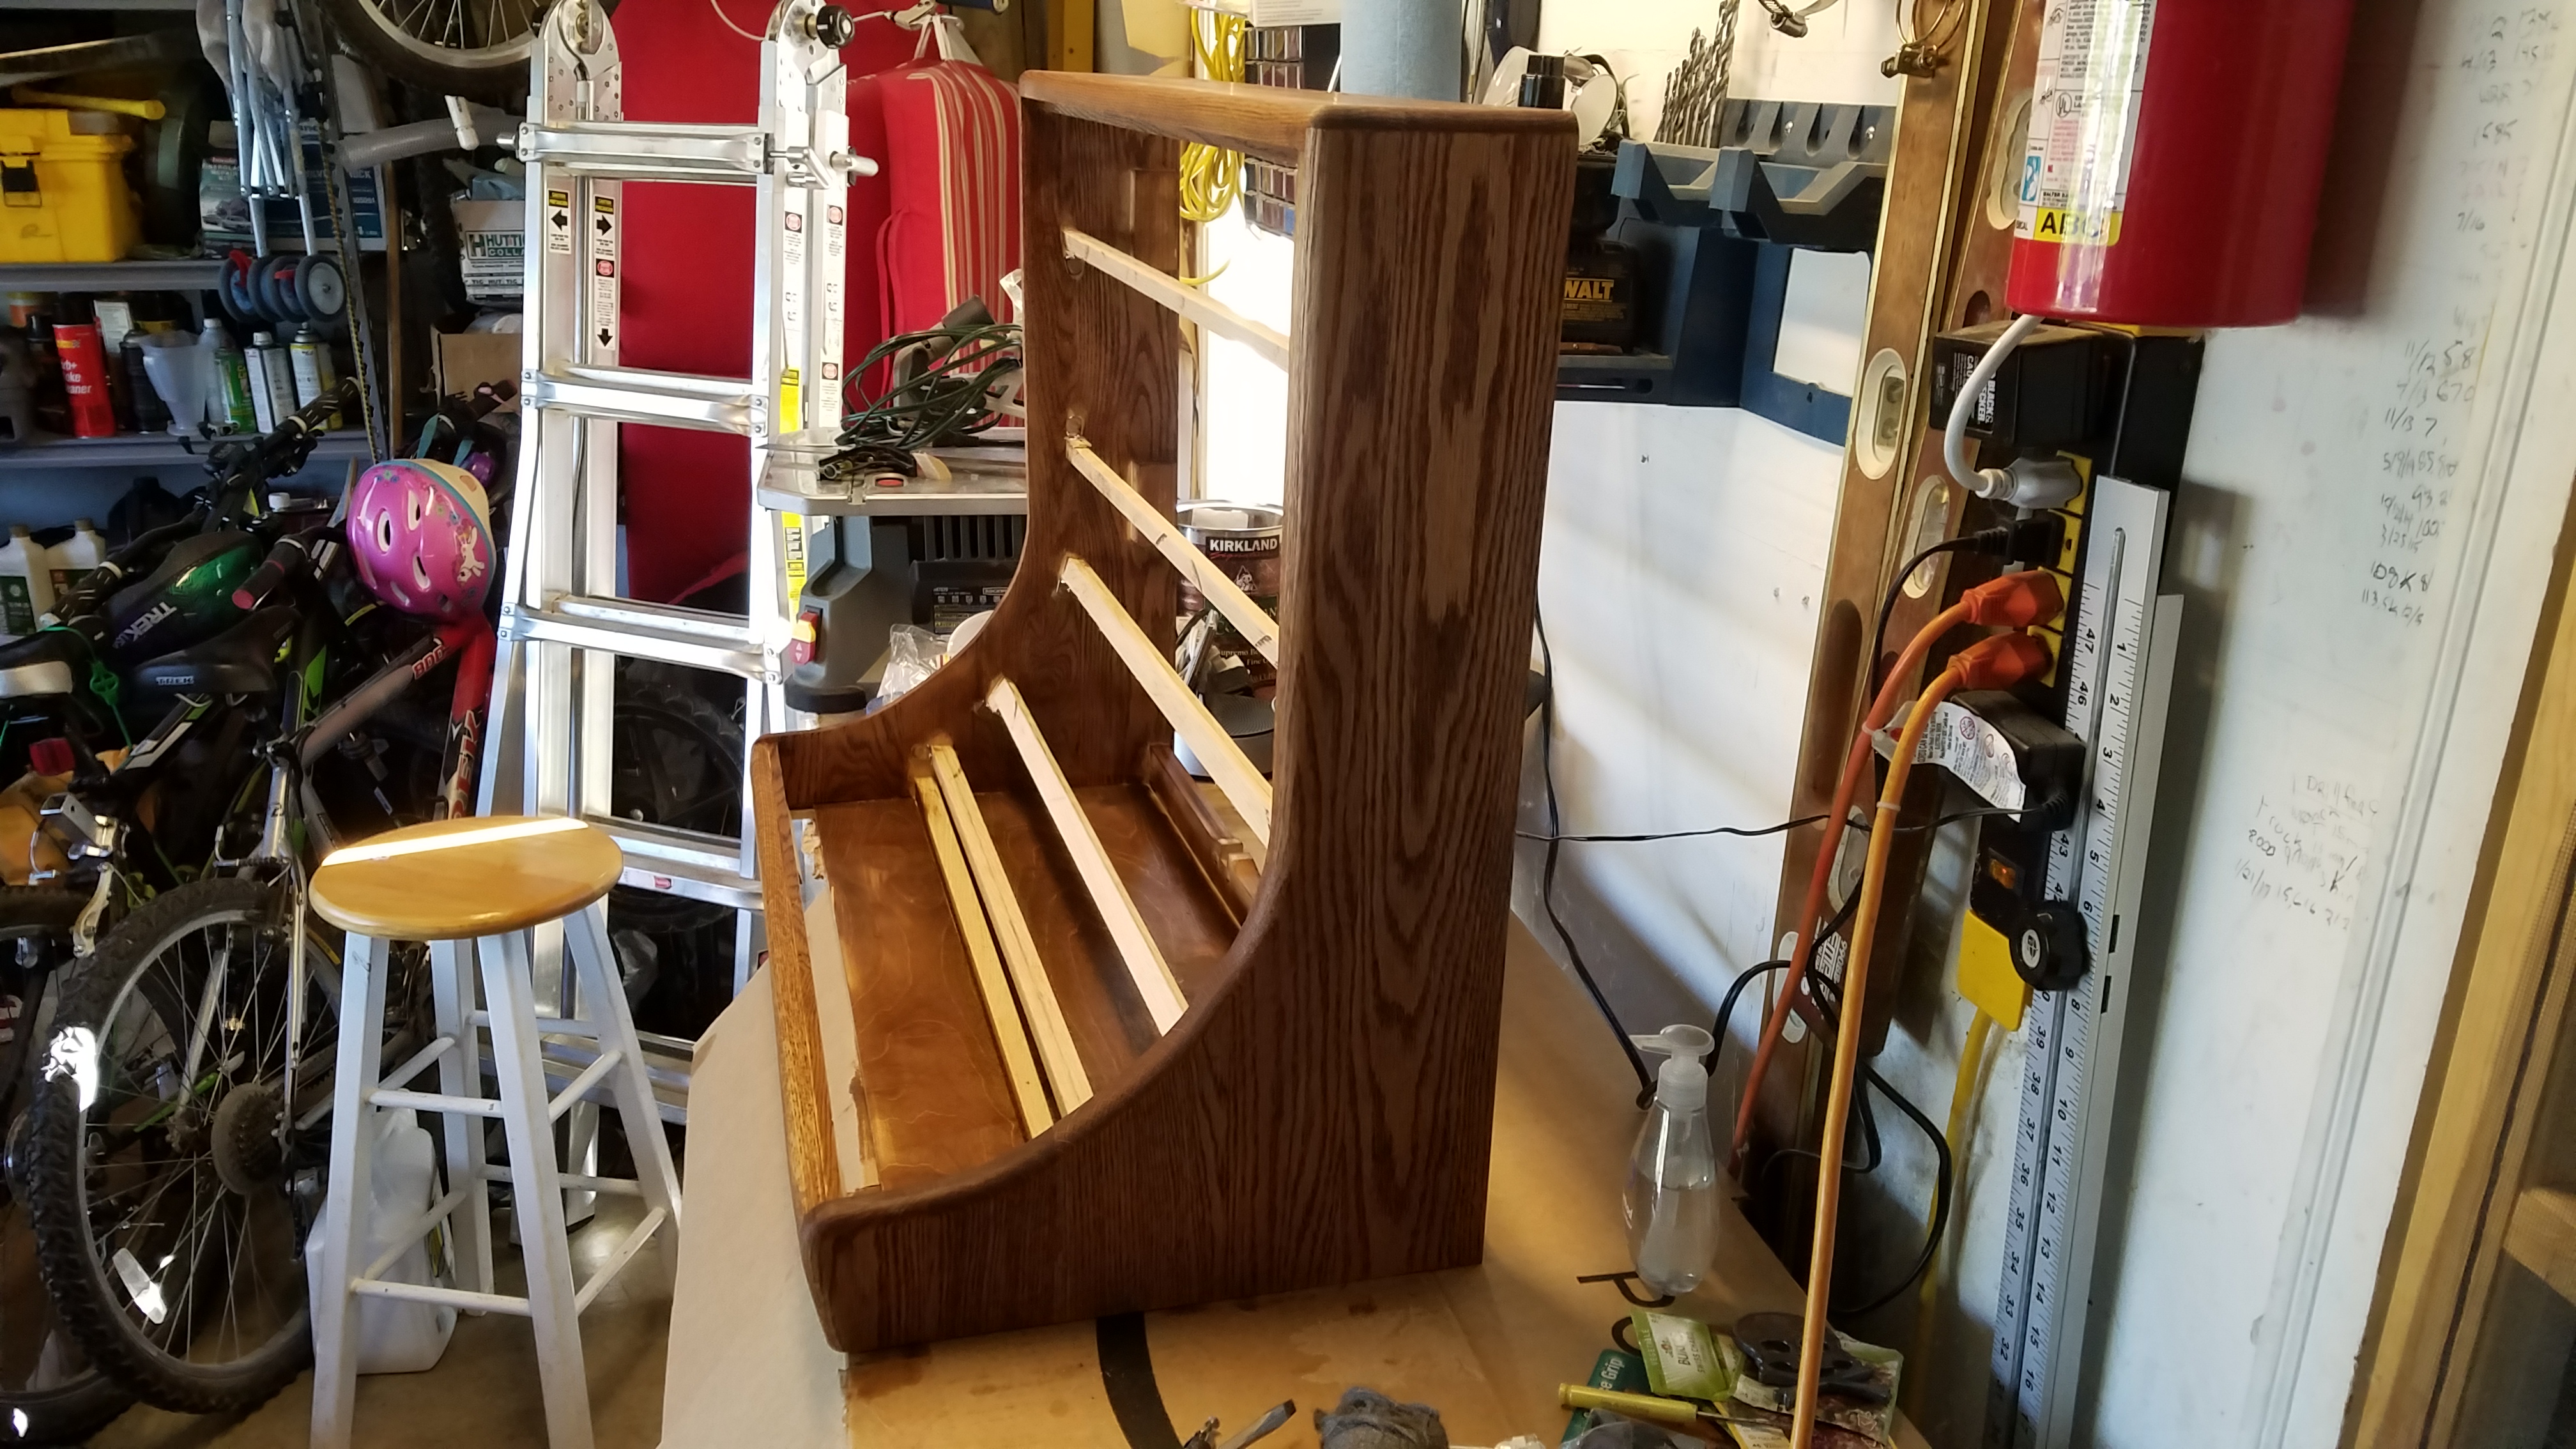
After waiting the prescribed amount of time (enough time to clean the brush) and wiping up any unabsorbed conditioner, it was time to stain. On past projects, I’d opted for Minwax Cherry #235 for a bit of red, which I like, but this time, the color swatches at Menard’s led me to “Honey,” #272. I shook up the can, popped the lid and . . . MAN was this stuff DARK. I nervously dipped the staining pad into the can and it came out like Hershey’s syrup. I pressed on and started on the top of the case. It went on equally dark, but quickly lightened up to something more pleasing. Again, the grain immediately popped. After giving all of the outside edges a good coat, I decided to stain the inside of the case as well. I had planned to leave it raw, but the stain was going on so easily and I had plenty to go around, so I did it up. I missed a couple corners, but I didn’t sweat it.

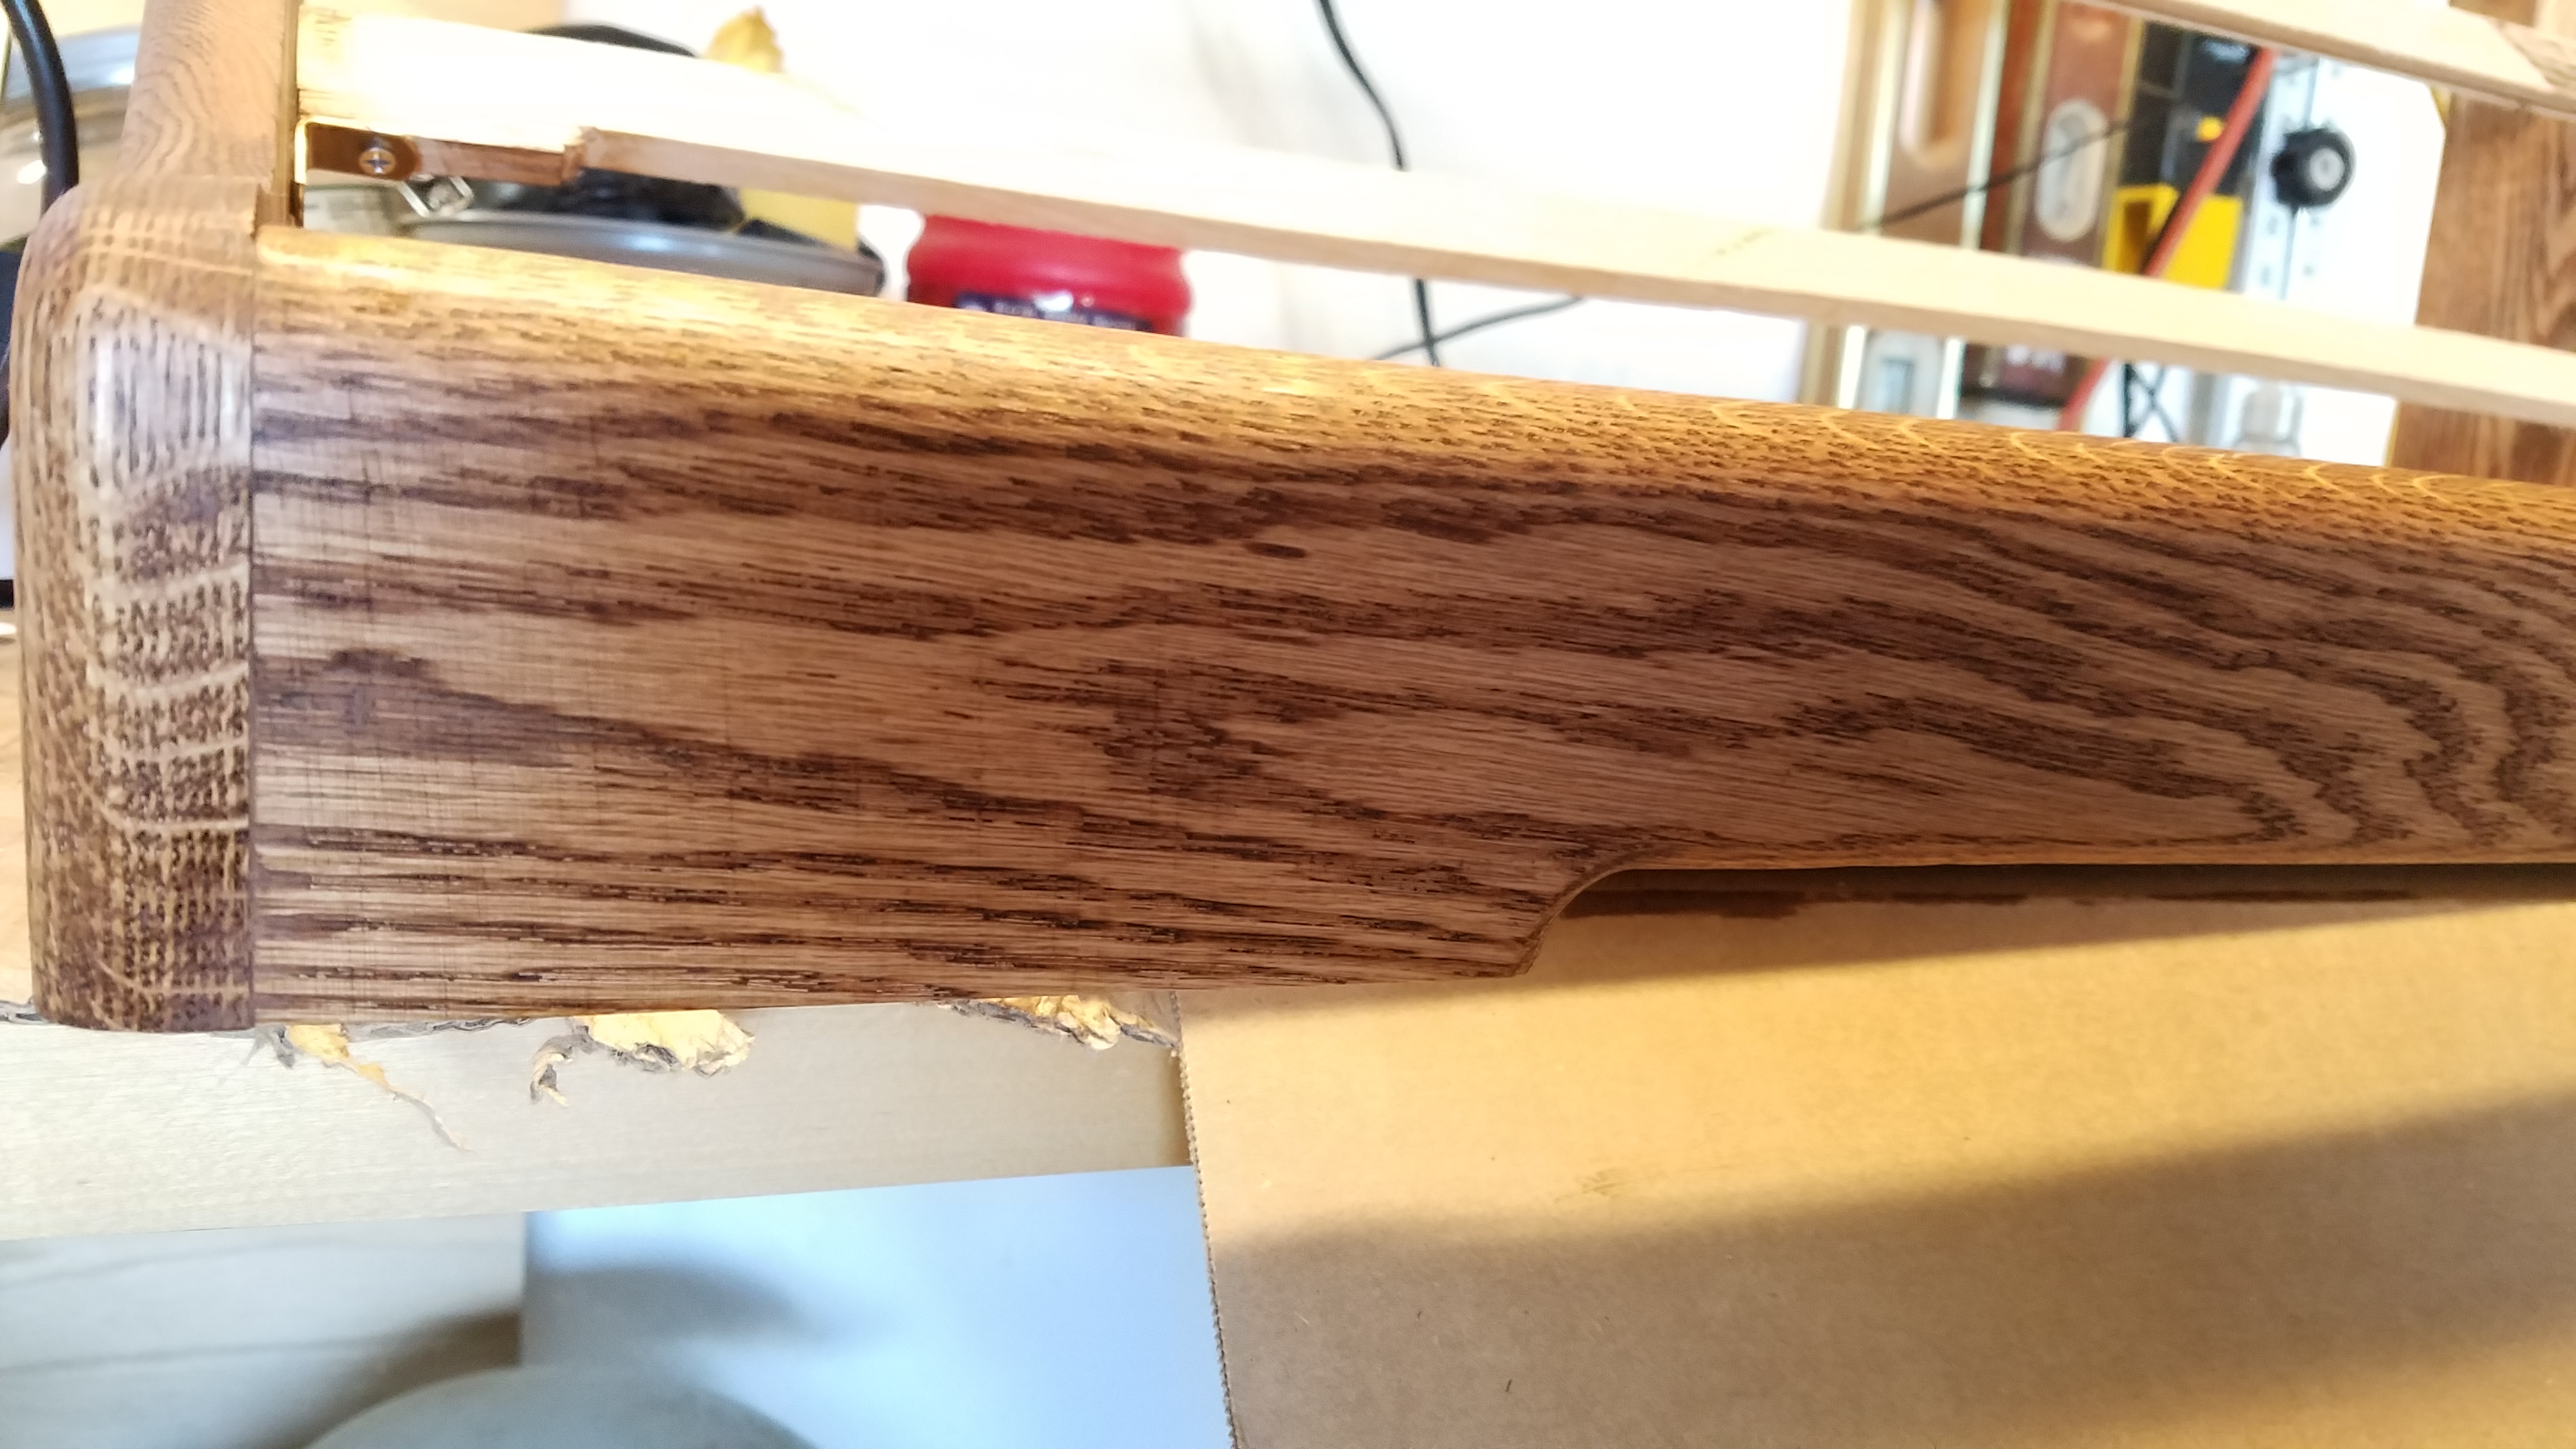
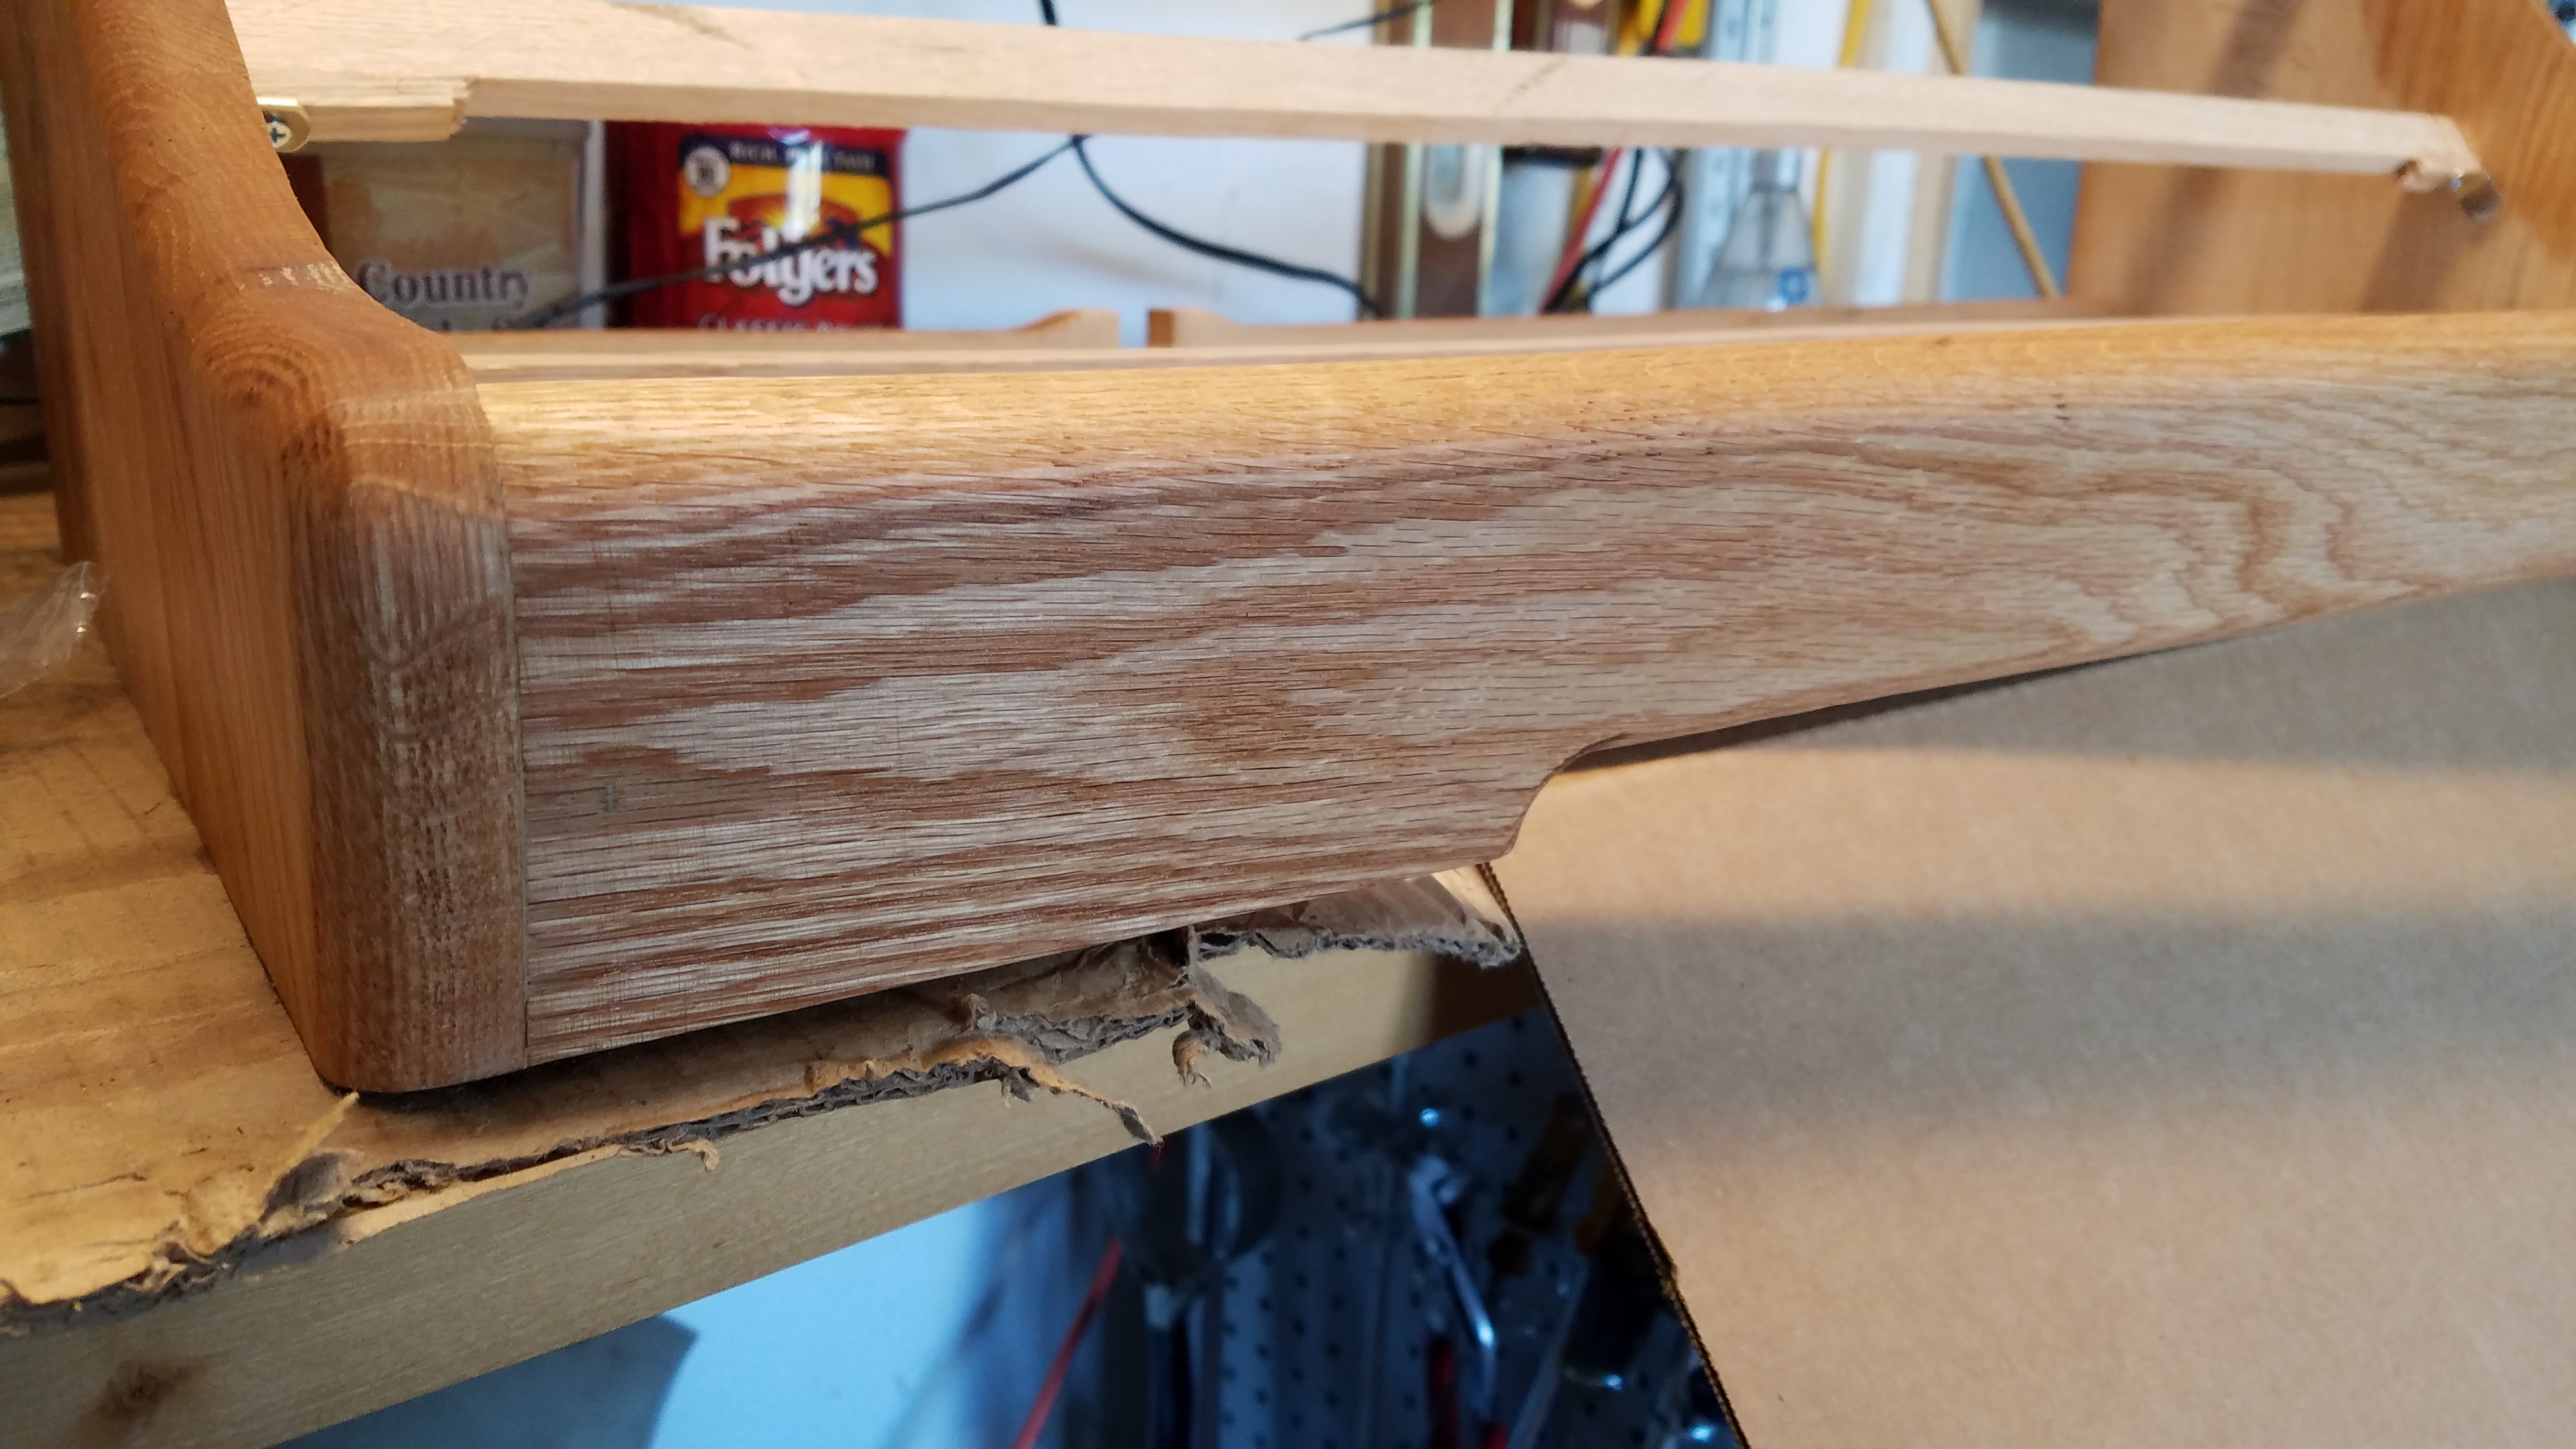
Oops, there’s some vertical scoring from an early errant pass with the belt sander and coarse grit. So it goes.
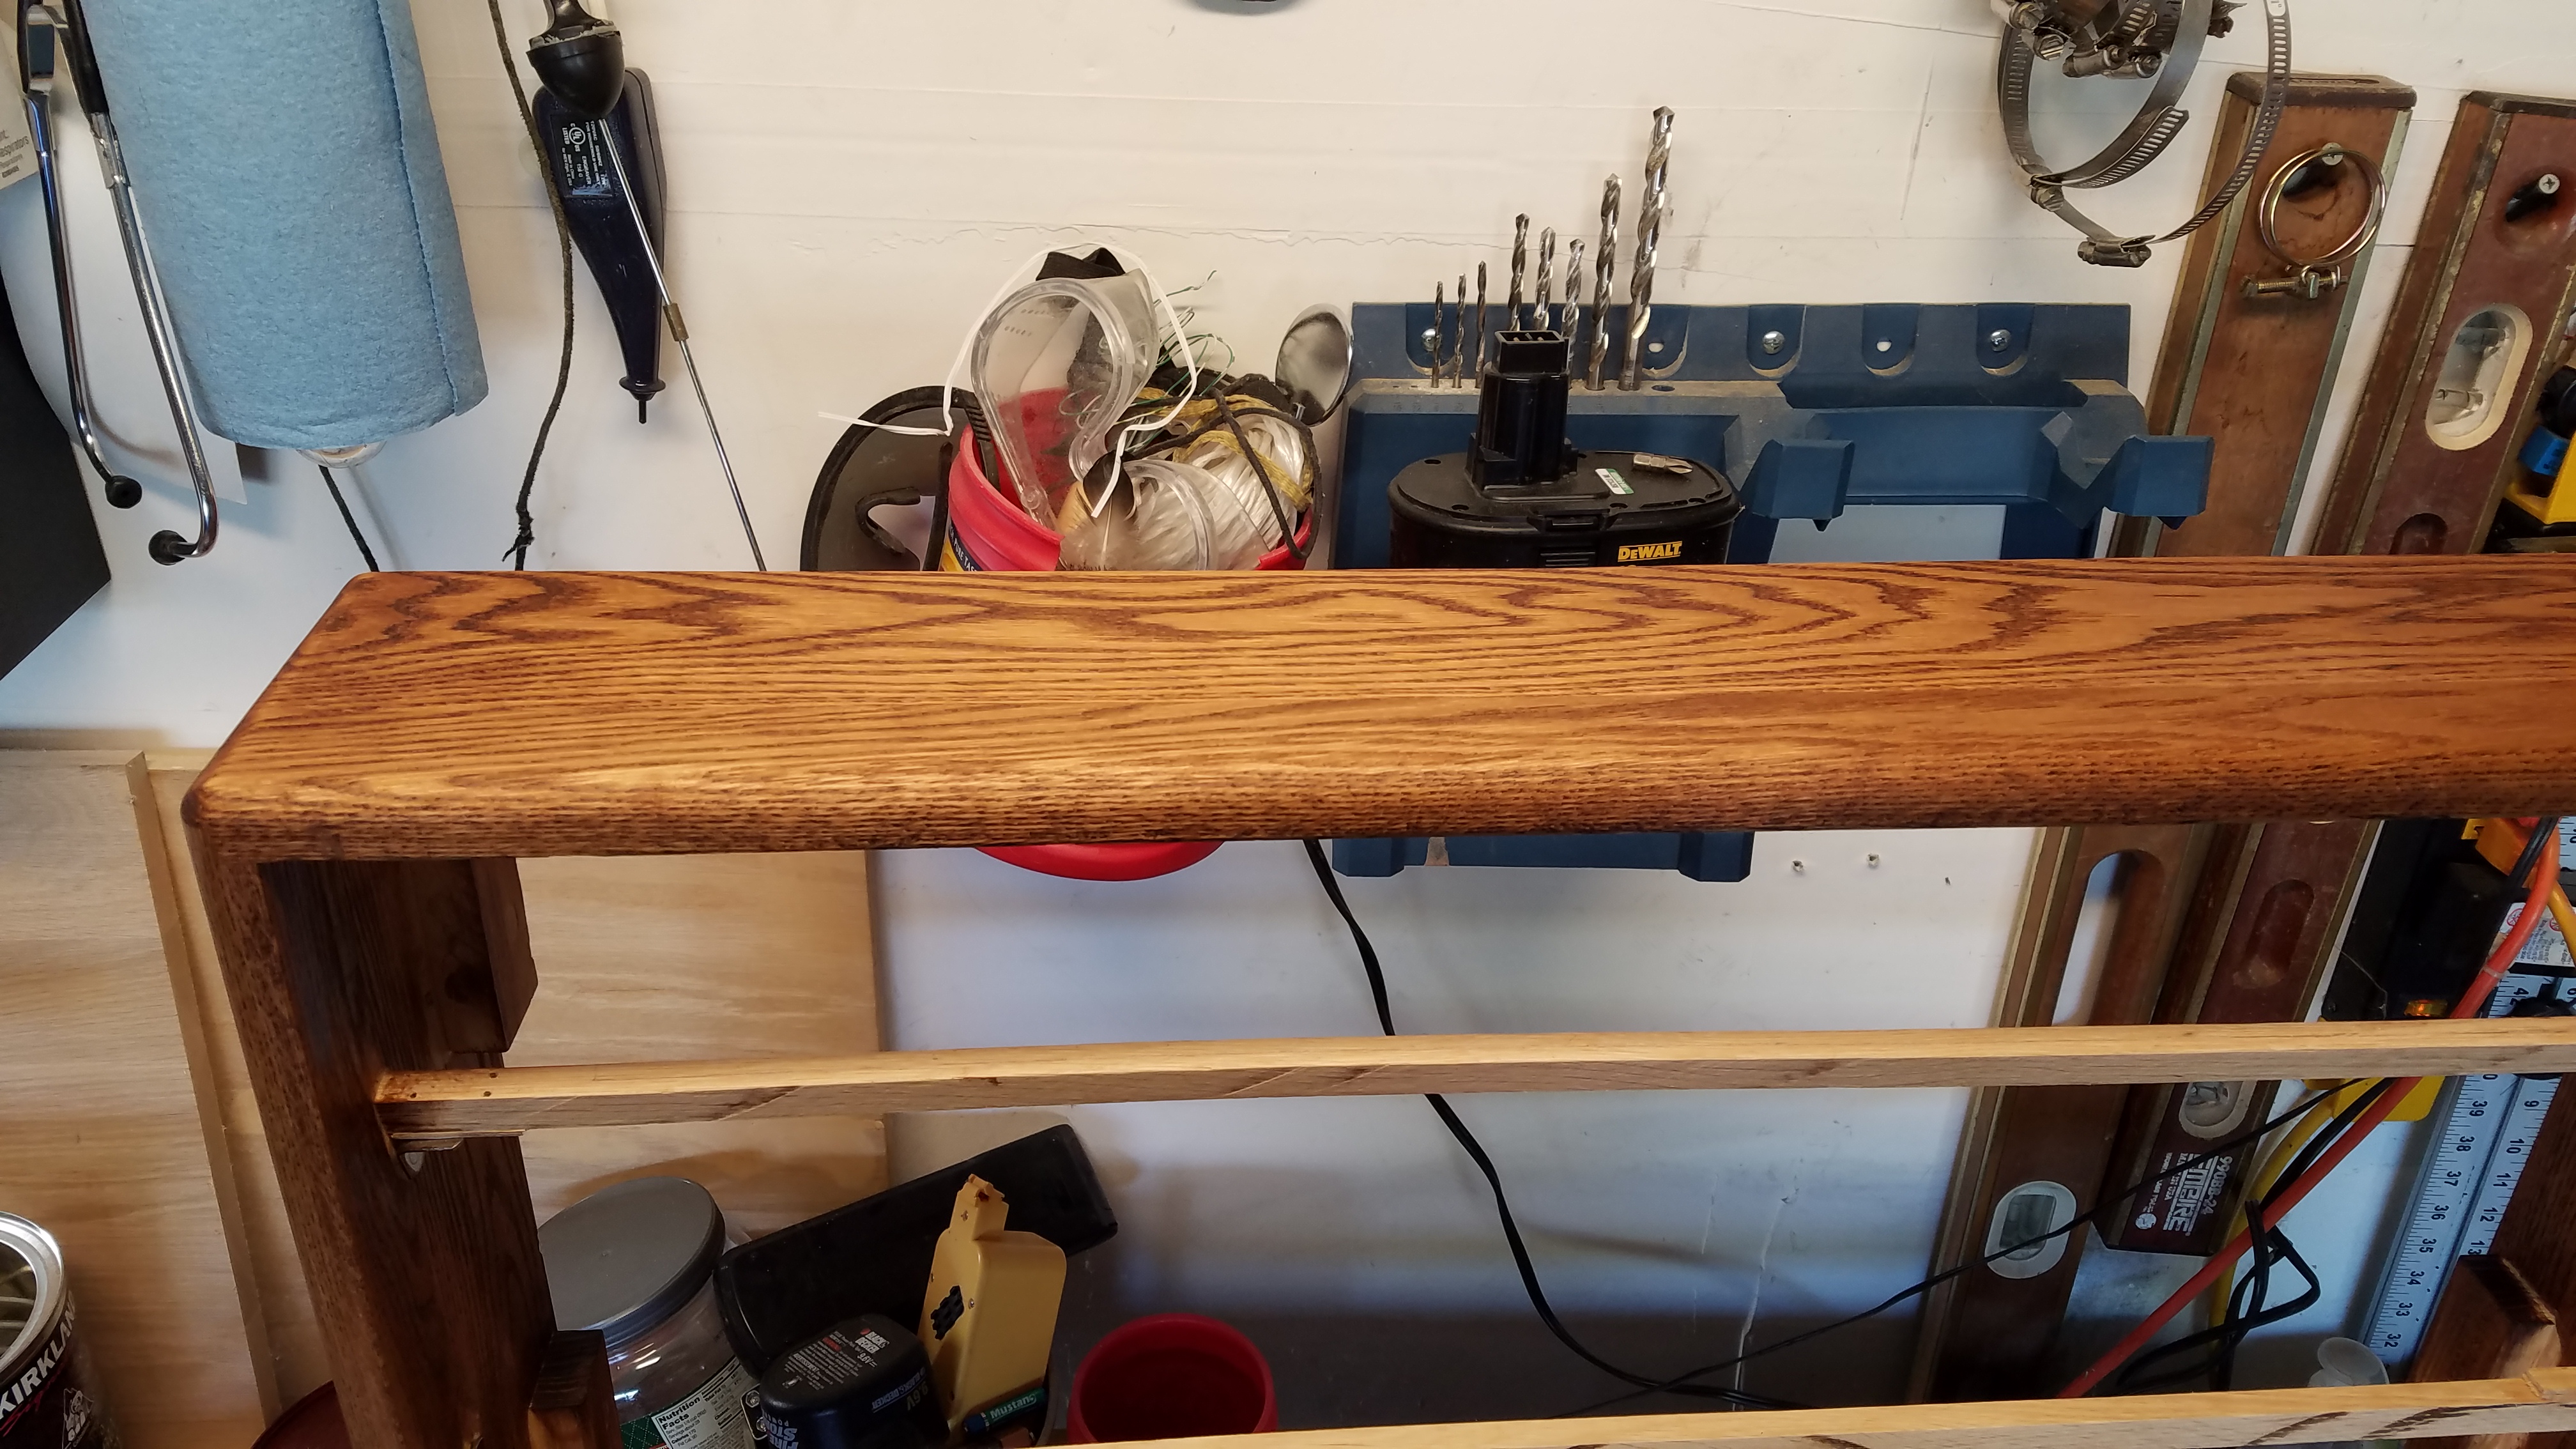

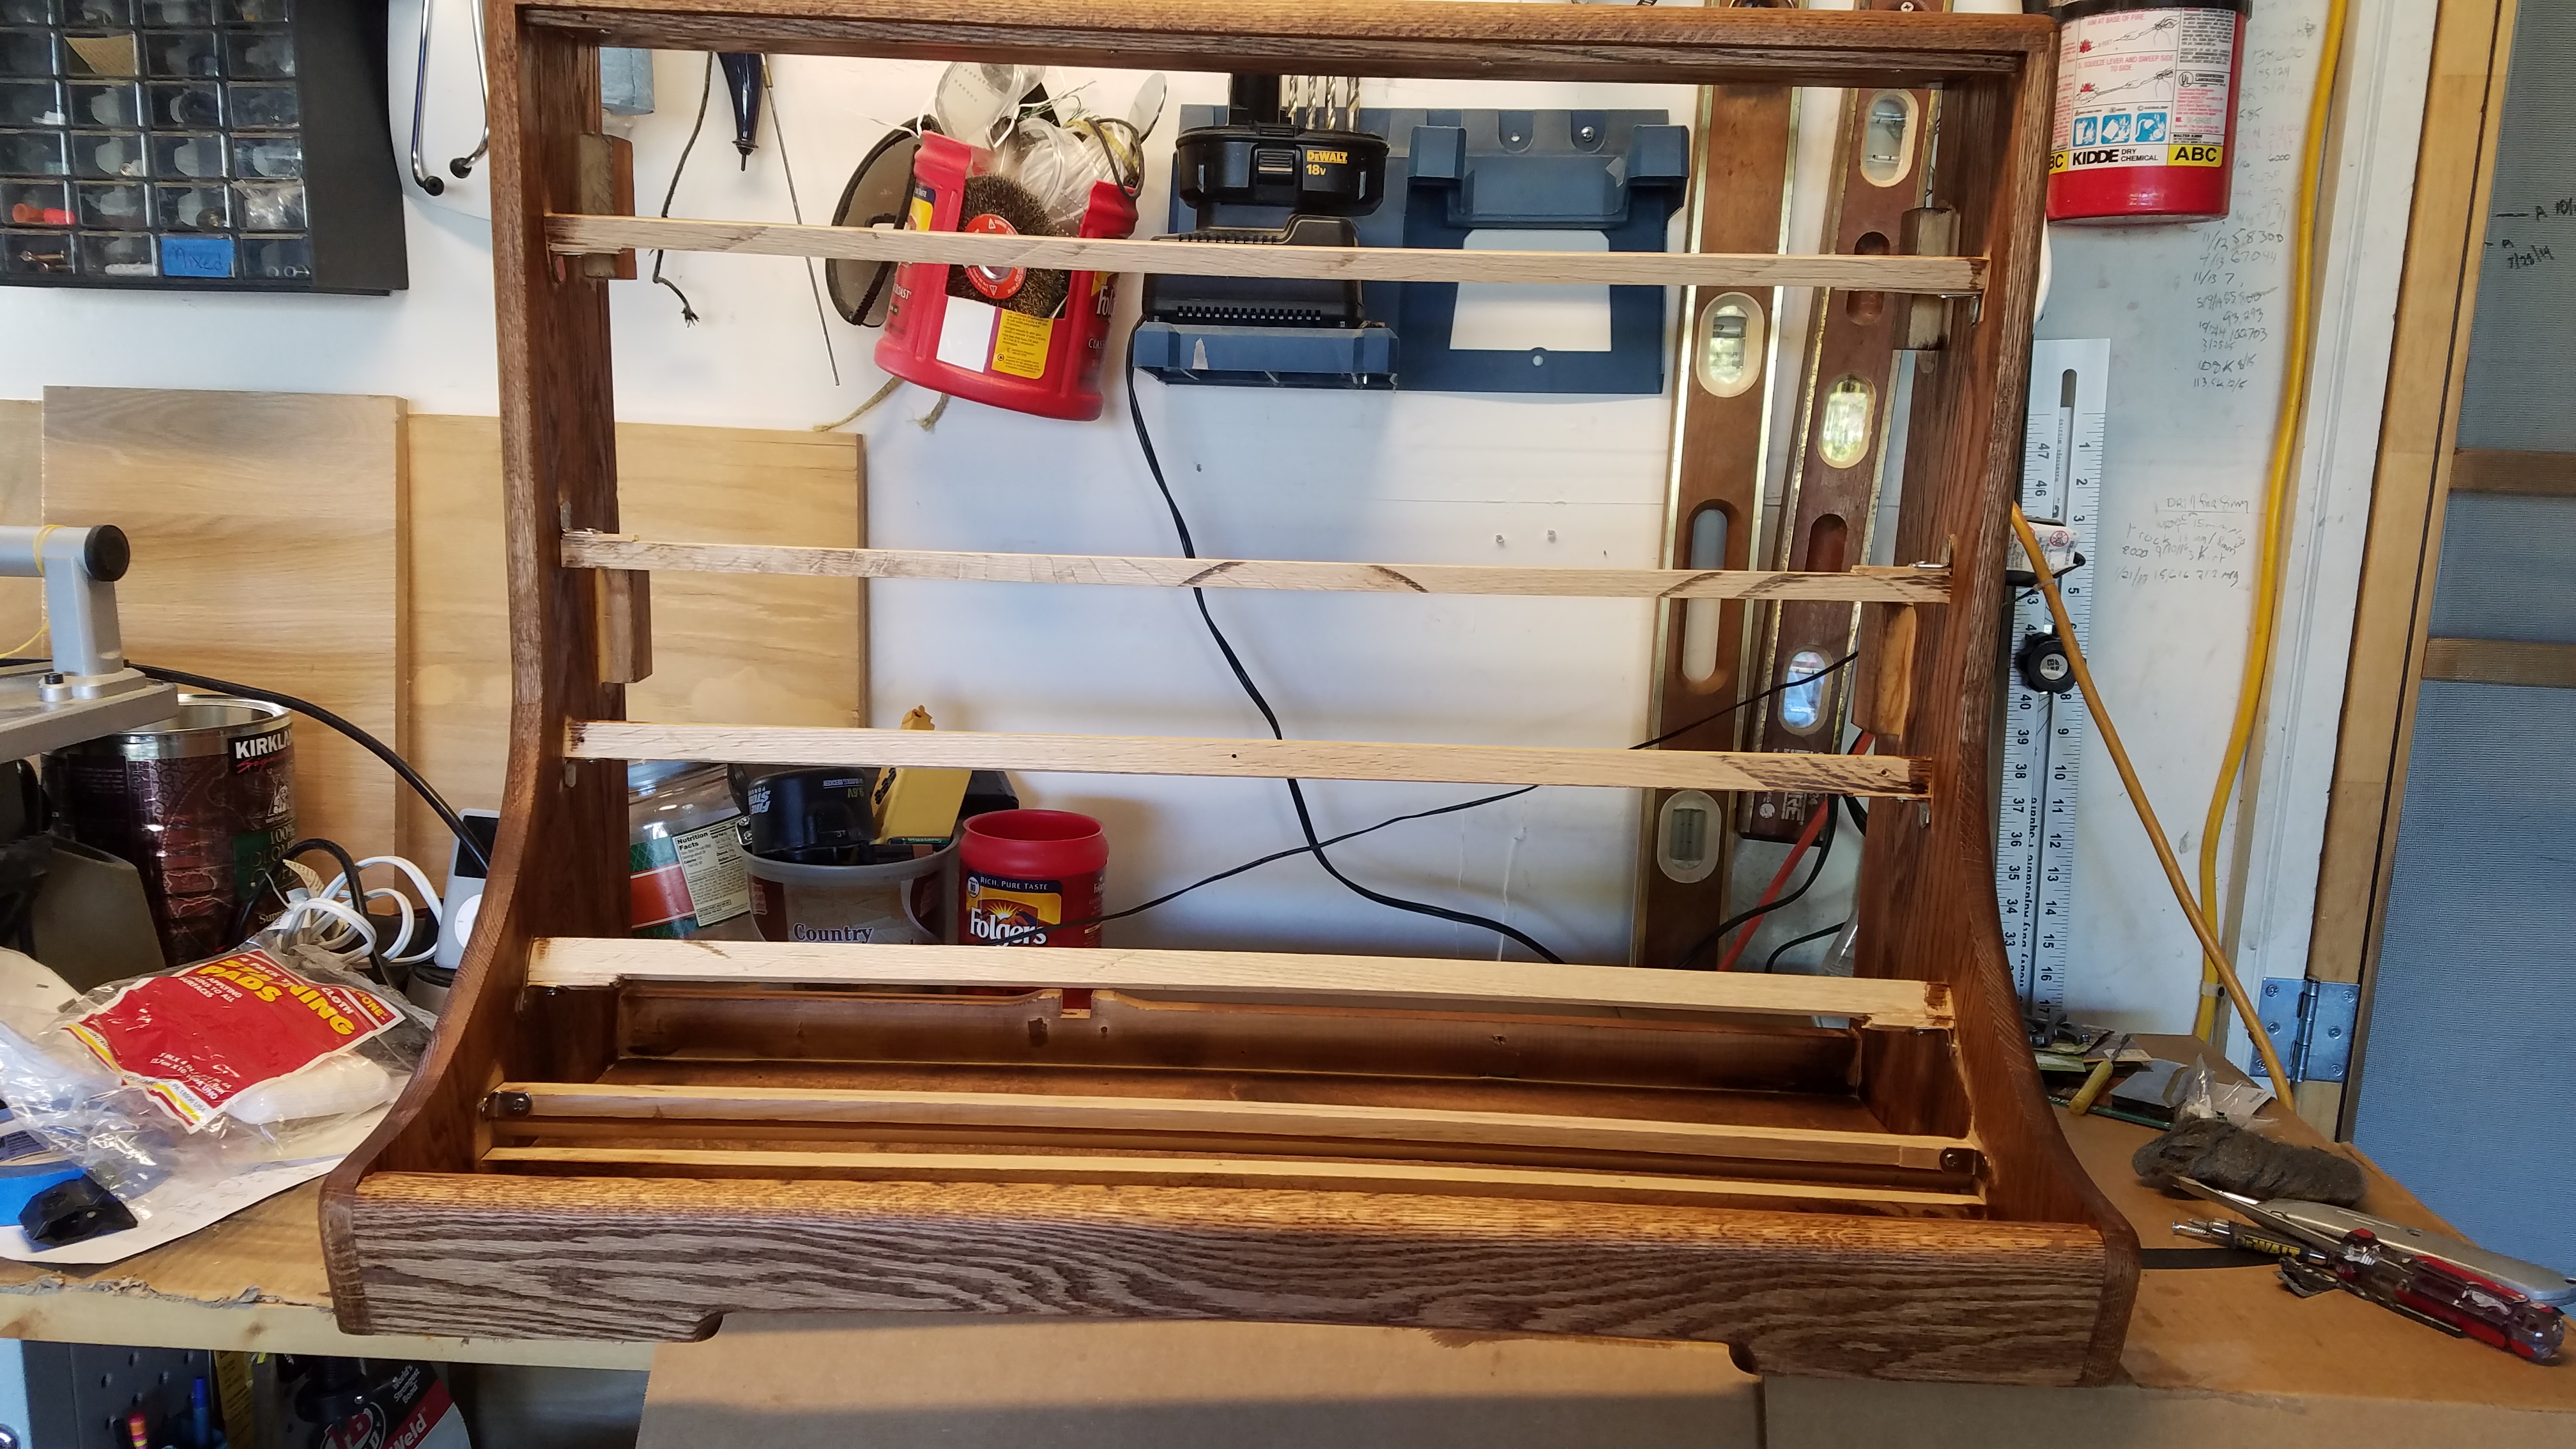
I’m not at all sure where the name “Honey” comes from for this stain – I think the conditioner itself was more bee-byproduct than this stain. It IS dark, and not nearly the red I was expecting, and yet, I kinda LOVE it. I had planned to do a second coat, but now I’m not sure. I don’t think I really want it any darker, but I’ll see where my head is on it tomorrow.
And finally, while I was on a roll I decided to do something with the outside of the back panel as well:
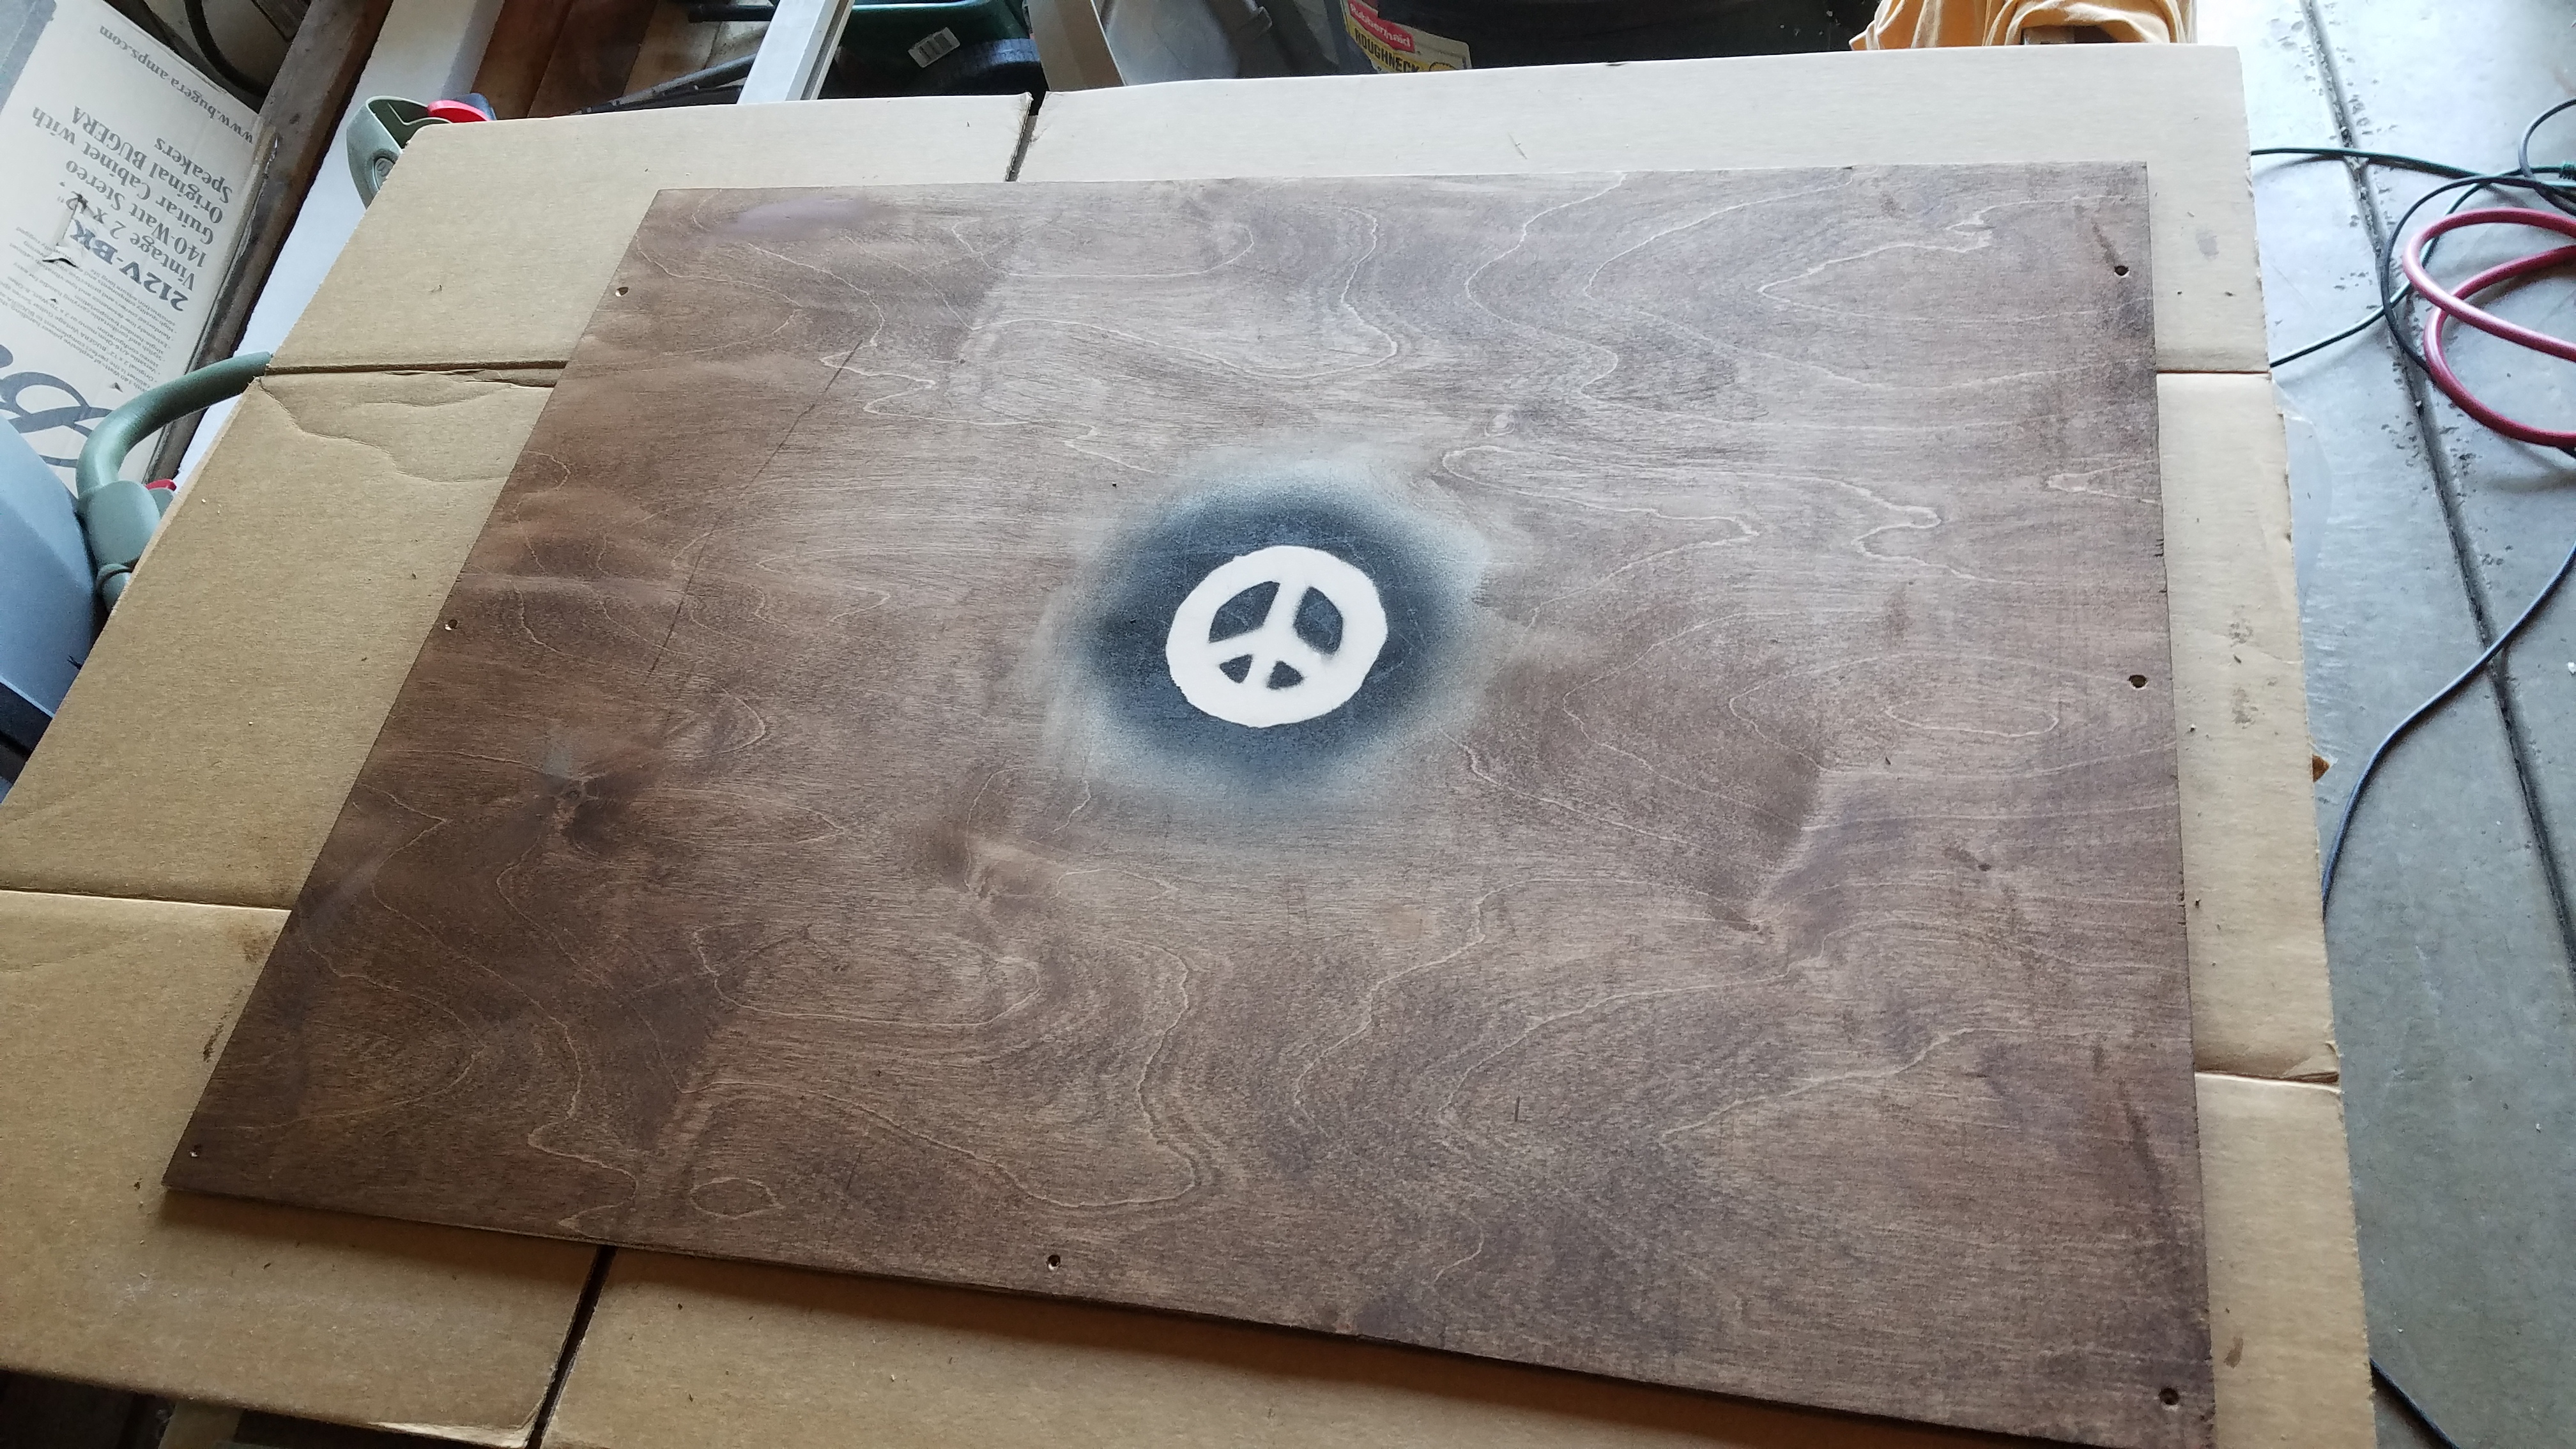
Back cover. Outside. Or is it the INSIDE???